Summer Fun with OVE Camp M and Toyota Tacoma TRD 6′ For Sale- See us at Overland Rally

Meet us at Overland Rally June 20-23. If you are looking for an overlanding camper that is super durable, light and great for winter camping this is what you want. We will sell just camper or include the truck. We will also deliver if you cover gas costs (we’ll keep receipts). Truck & Camper details below. Priced to sell a new camper with all our accessories would cost $50K, New Tacoma (can’t get V6 anymore) $55K.

$69K for both or $29K for Camper Only OBO-2021 Camp M Overland Explorer in mint condition-well taken care of when not in use parked in garage or under carport-winterized. Here’s why we love this combination:

  1. Durability: The Tacoma Off Road variant is a rugged companion, built for off-road adventures. Its narrow body allows us to explore even the most challenging terrain. The Camp-M is made from extruded aluminum, the interior is clean and tough.
  2. Comfort: The Tacoma’s interior is surprisingly comfortable, making long drives enjoyable. Plus, the quiet cabin ensures a peaceful journey. The Camp-M
  3. Off-Grid Capabilities: The Camp-M is designed for off-grid living. With its composite construction (extruded in one piece to prevent leaks), we can confidently camp in remote locations.
  4. Winter Camping: Thanks to the Camp-M’s insulation and thoughtful design, winter camping is a breeze. No more shivering nights!

If you’ve never heard of OEV, they’re a branch of LITE Industries Inc., from Alberta, Canada, with a knack for turning any old pickup truck into a mobile home suitable for off-grid travels and life. The campers they produce are completed from composites, extruded in one piece to ensure no leaks and tailored to fit mid-size beds from 5 feet (1.53 meters) to 6 feet (1.83 meters) in length.

The Camp-M is great off the grid and has features to make your off the grid experience more comfortable including (this is a mix of what is included and options we selected: a Truma Vario w/thermostat and AquaGo instant water heater, multi-speed MAXXfan roof vent, 20-gallon (91-liter) freshwater tank, and interior propane connection for a portable cooktop. A beefed-up electrical system is also in place and features everything from dual USB ports, a 12-volt auxiliary connection, a Redarc charger, lithium battery and 200 W solar panels. The screen door is a wonderful feature to keep the bugs out but get better cross ventilation and fresh air on those hot summer days and nights! It has a 10-pound propane tank for your heater and cooking needs. We loved the outside instant hot water shower and found standing on your tailgate to shower made it easy and kept your feet clean! Compared to many campers the electrical and plumbing are clean and organized and easy to follow. The extruded aluminum construction makes it very durable, lightweight and long lasting with no wood to fail. The composite panels have the same automotive gel coat finish as a fiberglass boat or Corvette. The aluminum extrusions are powder-coated white. If you are in a good sunny spot and near a stream for additional water, we were able to boondock a week when we were in Red Lodge, MT.

We like to do a lot of winter camping as we go searching for the powder skiing. The soft walls are rated R-4, made from a coated nylon on the exterior, a thermal fill for insulation, and a fire-rated canvas on the interior. The nylon they chose has the highest UV rating on any exterior-purposed nylon product on the market. The exterior nylon is dark grey for the highest UV block. The interior canvas is light cream to brighten up the interior. The sidewalls are designed to breathe. That prevents the sidewalls from retaining moisture. With the heater going all night and you breathing we found there was a lot of condensation, we crack the side window to help with that.

Inside the Camp M, sitting above the cab, you’ll find the bedroom with a 4″ memory foam queen mattress with an extender and additional memory foam to make it a King bedding suitable for two guests plus a four-legged friend or small child, I fit snuggly at 5’3″. A dinette sits at the foot of the bed. This dinette can also be converted into a sleeping area ideal for another smaller occupant and has storage under the seats. The cushions are made from marine grade fabric that is 4” medium-density foam. At the entrance of Camp M, you’ll find the kitchenette with a countertop, sink, faucet, gas connector for your stove, more storage and the tray for your cooler style refrigerator. We purchased the dependable, efficient Truma C63. The vinyl flooring is pretty indestructible, easy to clean and functional. The dimmable LED lights are one of our favorite features, especially as you wake up in the morning and don’t want to get blasted with a bright light right off the bat.

Dimensions: Exterior: 122″L x 77″W x 61″H closed, 83″H open Dimensions Interior: 118″L x 72.75″W x 81″H open  Dry Weight: 975 pounds

Quick walk-through of the Camper and Truck

Features:

-Cold weather package

-includes 10 rubber feet protect camper and truck bed 4
torque lift tie down latches

 -powder coated
aluminum extrusions

-OVE generation 4 composite floor

-Walls and roof R8

-Insulated soft walls R4

-locking roof supports

-gas struts assist for lift -DOT LED Lights

-Truma CP and Vario heat w/thermostat

-Truma AquaGo LP Gas instant water heater

 -continuous hot
water with sigiva outside shower connection and hose extension

-Truma C63 refrigerator

-10 speed Maxxfan roof vent

-20 gallon fresh water tank w/12v Flow Max Fluid Pump
-s/s sink w/flush mount glass top

-propane connection for portable cooktop

-entrance door grab handle

-screen door

-aluminum propane cabinet w/10lb bottle

-front east/west dinette folds down into a small bed
(28’x63.25″) w/under seat storage

-flip up countertop

-large exterior storage access via locking cargo door

-marine canvas cushions

-4.5″ medium density foam cushions -King Bed
extension

-high traffic grade Lonseal vinyl flooring

-fire rated thermal break kit and fire extinguisher

-structural powder coated aluminum interior cabinet
cabinetry

-LP/Smoke and CO detectors

-Dual USB Plug -12v auxiliary connection

-LED entry Light

-LED interior lights (dimmable)

-LED exterior lights

-REDARC BC/DC 1240 charger

-Dual Pane acrylic side window

-RIECON Titan 4 corner camper jacks heavy duty 2000 lb per jack capacity full 36″ lift

-180W solar panel

-OHMMU Gen 3 Group 31 Premium Lithium Battery 156 Amp hours 2000Wh built in BMS

-Canada Proof Battery Monitor

-Alucab 270 shadow awning (length 2.6m, weight 24 kg, shade area 10m2, aluminum construction, RHS mount, material is acrylic impregnated, with a heat reflection silver coating on one side. Has additional
water repellent coating on surface side, built in fungal resistance to prevent mold, water penetration/water column capability greater than 1000mm/1m -powder coated aluminum awning adapters

-OVE Molly rear accessory rack w /1 -2 gal water rotopax

Toyota Tacoma TRD OffRoad 6 ft bed 2021 4X4 DBL King Cab L/B 3.5LV6

Milage: 43,166

Features:

-Super white w LC27 Black Rubber truck bed protector

-TRD Premium Offroad package

-Technology Package -Leather Interior -N-FAB running boards (sanded and new 3 coast Rustoleum paint)

-Goodyear Airbags

-All weather floor liners/door sill protection

-2022 Falcon WildPeak AT3W Tires LT265 75R 16

-Bed Lights

-Bed outlet

-Mudguards

-Fluid Flow undercarriage sealer

Site Preparation for a Yurt

The process of building a yurt can be long and complicated, with many hurdles to overcome along the way. In this blog, I discuss our journey as we try to build our yurt on a piece of land in Sandpoint, Idaho. We had to navigate complex regulations and permitting processes, find reliable contractors, and deal with soaring wood prices during a time of high demand. Despite the challenges, we persevered, were ultimately able to complete our project and hope this helps you not make the same mistakes we made.

Once we ordered our yurt on June 28, 2021 we had until August 28th to get our property ready. The first thing we did was apply for an address with the county and the US Postal Service, as an address is required for many aspects of property development. Next, we visited the local library to research permits, regulations, and costs associated with developing an off-the-grid property. We looked into well-drilling, solar panels, grey water systems, platforms, and composting toilets. We researched the best composting toilets that did not require plastic bags since we wanted to maintain our eco-friendly lifestyle.

To our surprise, we learned that preparing non-developed land for development requires a lot of work, and it is not as easy as we initially thought. We assumed that there would be very few permits needed in Idaho, especially since our property was outside city limits and not subject to CCRs or HOAs. However, it seems that Idaho requires just as many permits as just about any town on the West coast. The advantage of living in a small town is that you can obtain the permits much faster than big cities if you take the time to meet with everyone in person and you live on your property full-time during development.

One of the biggest challenges we faced was drilling a well. We learned that the average cost of drilling a well was between $15,000 to $35,000, depending on the depth. After speaking with neighbors in the area, we found out that we would spend a minimum of $25,000 on drilling a well. We contacted several well contractors, but they were booked out for 18 months. Moreover, locals warned us about issues they faced with their wells, such as drying up due to new development and needing to be redrilled, with additional costs of $5,000 to $10,000. We decided to connect to the local Syringa Water District instead, which would cost us about $6,000. We filled out the necessary permit requirements and attended a local board meeting to request that three adjacent neighbors get water on our property on the North Idaho version of fast track. The board was understanding and promised to get us connected in the next 2-3 weeks, just in time for our Labor Day weekend yurt-raising. 

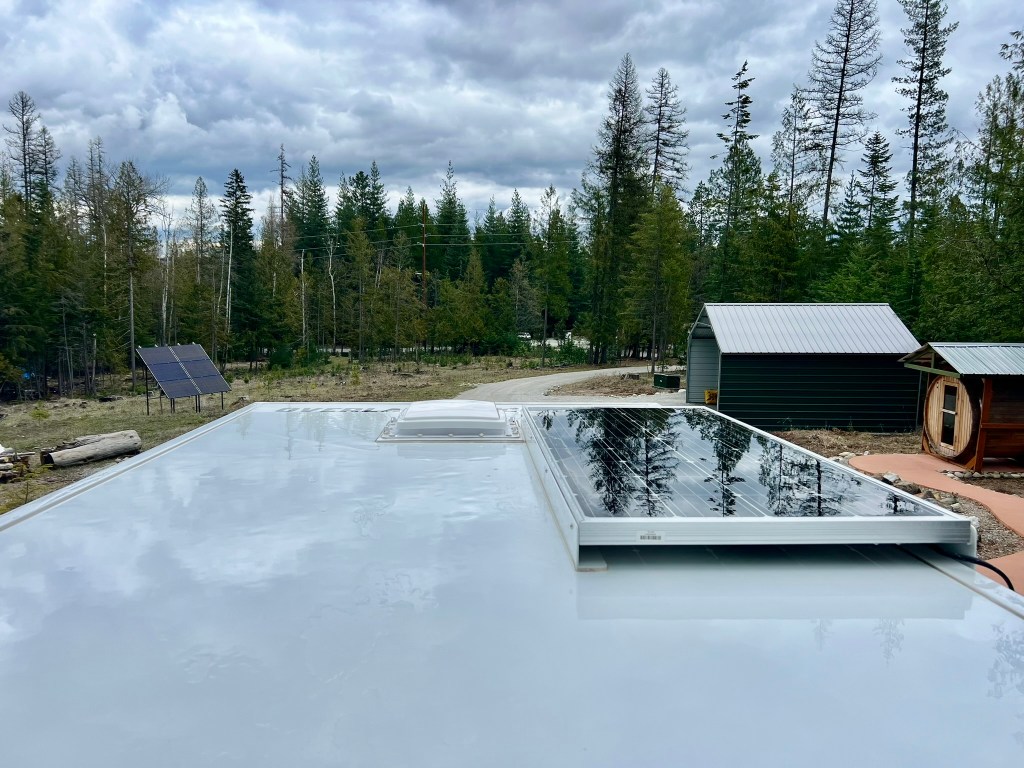
We also discovered that due to the long, grey winters in Idaho, we would not generate enough solar energy to power all of our electrical needs. The better option was to connect to the local electricity grid and send energy back to the grid during summer months when there is a surplus of power. This is referred to as a net metering system.  Therefore, we decided to connect to the local electricity grid and natural gas line, as I love cooking with gas and we might get a gas fireplace in the future. This required more permits and applications with the local utility company (AVISTA). Fortunately, AVISTA was understanding and worked with us to meet our short deadline so that we could get all utilities in, concrete poured, and set before September 1.  Don’t forget the solar permit is a different permit from your electrical and before AVISTA will turn-on your net meter, they need the approval from the state inspector.  You need to find an electrician who will dig your trenches (if you don’t want to), lay all electrical cables, meter install and transformer.  There are forms your electrician must submit to AVISTA on your behalf.

To obtain a site building permit, driveway permit, water, electrical, solar, and gas permits, we needed a detailed site plan. Fortunately, I had taken architectural and technical drafting in high school, so I was able to create one. We measured everything precisely, ensuring that we were 25 feet from the property line and had a 7.5-foot utility easement. We measured the length of our road, the distance between each corner of the property lines and our yurt, and the dimensions of our patio, which we put on the permit.  We learned that it is important where temporary property line markers are to put up metal property line markers (you can purchase at Home Depot, we bought the 6 footers and used a stake driver to place them in the ground).  You don’t want to have to pay for a surveyor when wildlife, trees or snow knock them down.  (Note: You will modify this many times, do it in pencil, and be ready to modify it with contractors and inspectors onsite and you can take a picture and send it immediately while they are onsite.)

I had initially planned to install a Sun Mar composting toilet in our yurt and had found a cabin-on-wheels company in Spirit Lake, Idaho that sold them. However, due to the state’s regulations, we were not allowed to have a composting toilet and direct city water in the same dwelling. Instead, we were required to install a grey water system, which was a large concrete tank with a pump that filters the grey water and only allows us to use the water to water trees. After researching various solutions, I found Hydra-Loop, which had innovative technology to filter our grey water so that it could be reused for watering trees, gardens, and even for washing clothes. However, we were told that Hydra-Loop wasn’t eligible by Idaho DEQ standards and we would need to contact the company to get approved before we could use what I was suggesting. The company was willing to go through the application process, but it would take over a year, which was too long for our 3-month deadline. Therefore, we opted to give up on our composting toilet and grey water system and instead applied for a traditional septic system, which would cost us almost the same amount.

Oh well, best laid plans!

While researching all the regulations and permits required, we were also trying to find a contractor to build our yurt deck platform, make our driveway, and do all the necessary trenches. We had to consider various factors such as the distance between the water, electric, and gas trenches and the most logical spot to put them to make it easy to dig up in the future if there were any issues. (Note: Water, gas and electrical lines can’t be in the same trench). We also had to consider the opportunity to share costs with our neighbors who were also putting in their water, gas, and electricity. After multiple revisions to our site plan, we finally found a solar guy who was an electrician and could do our electrical trench, put in our electrical meter, and do all the yurt electrical. We also managed to secure a plumber and someone to do a gravel pad for our shed and driveway, but it was a challenge due to the high demand and escalating costs for contractors.

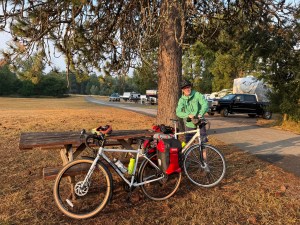
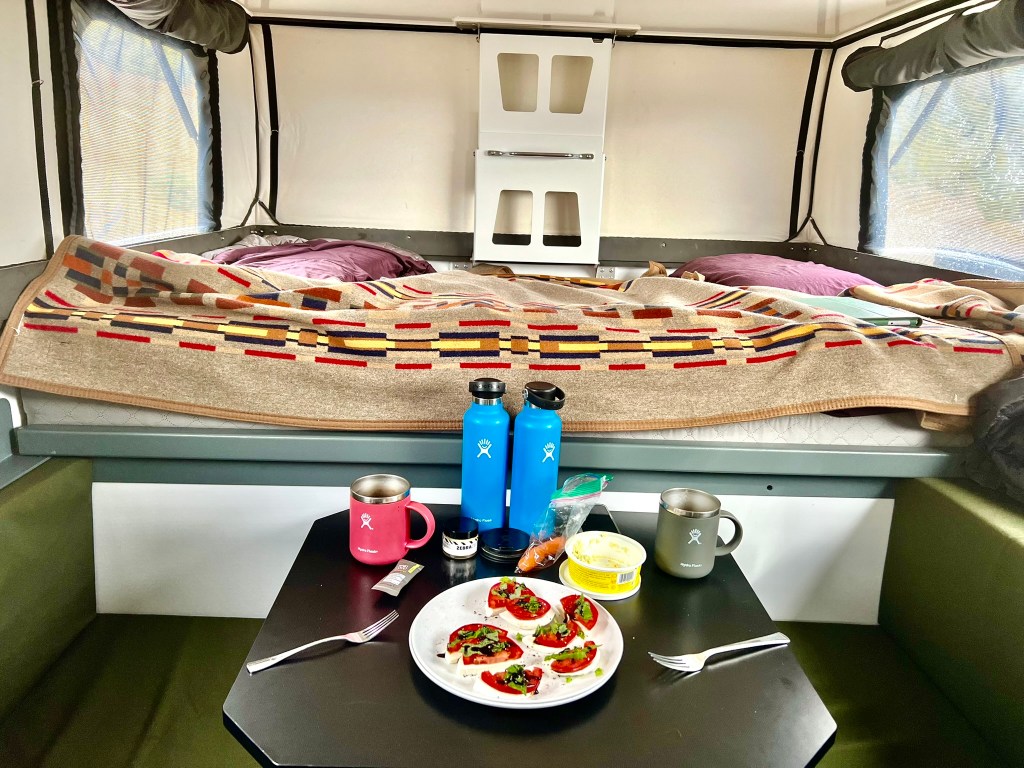
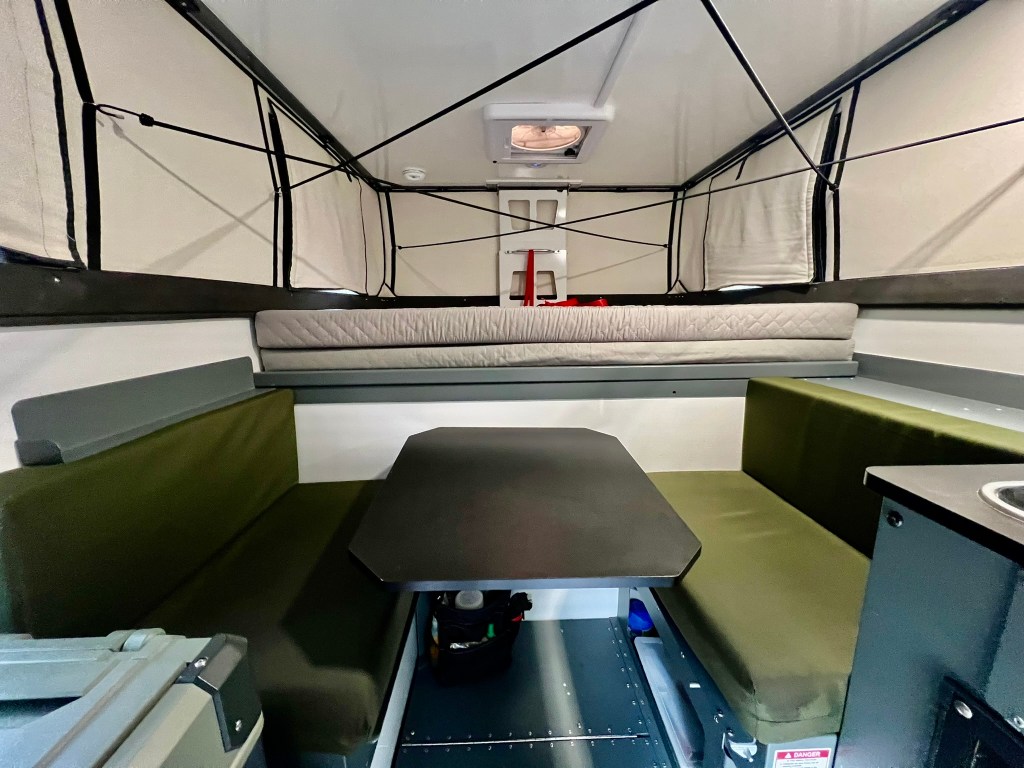
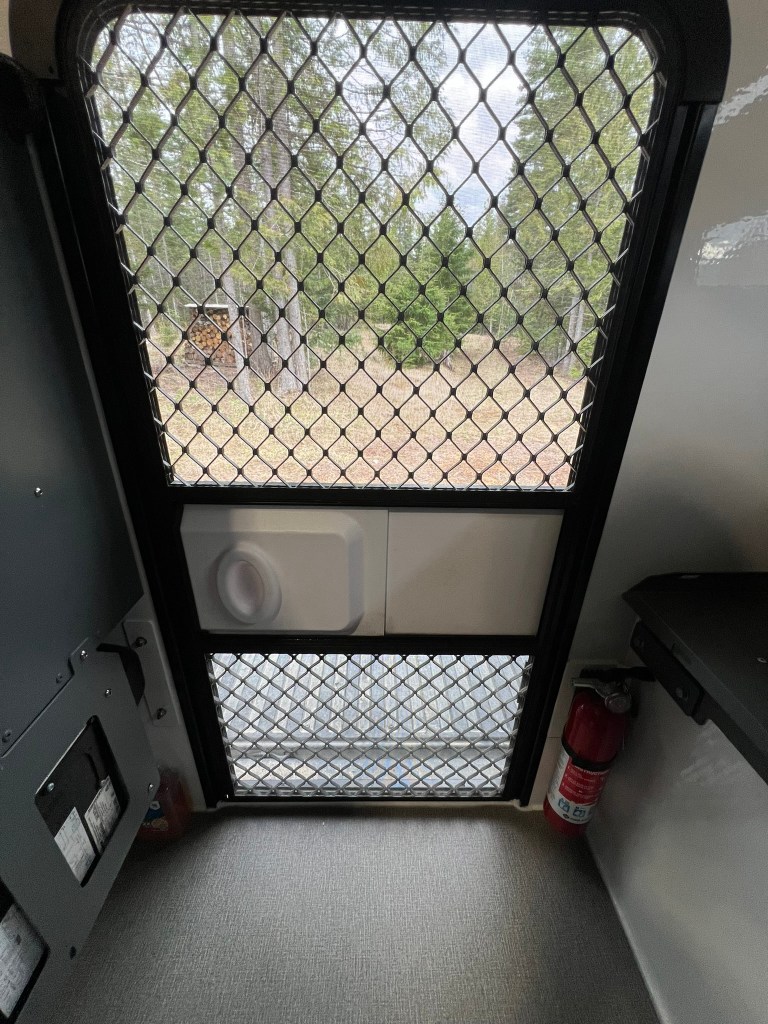
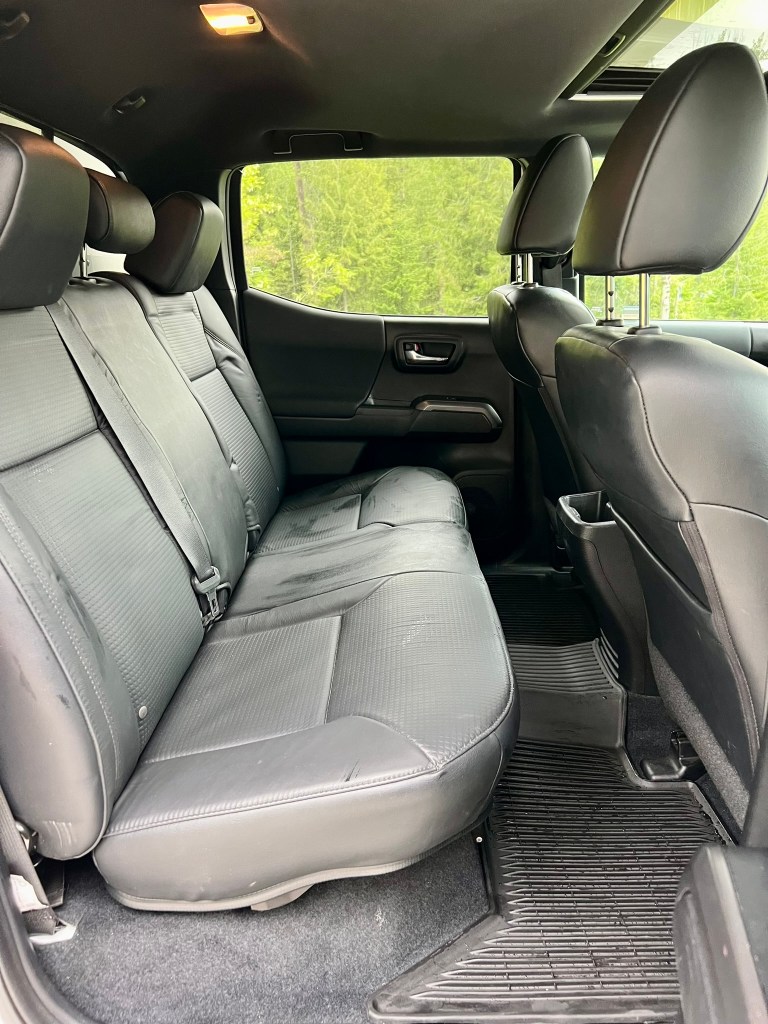
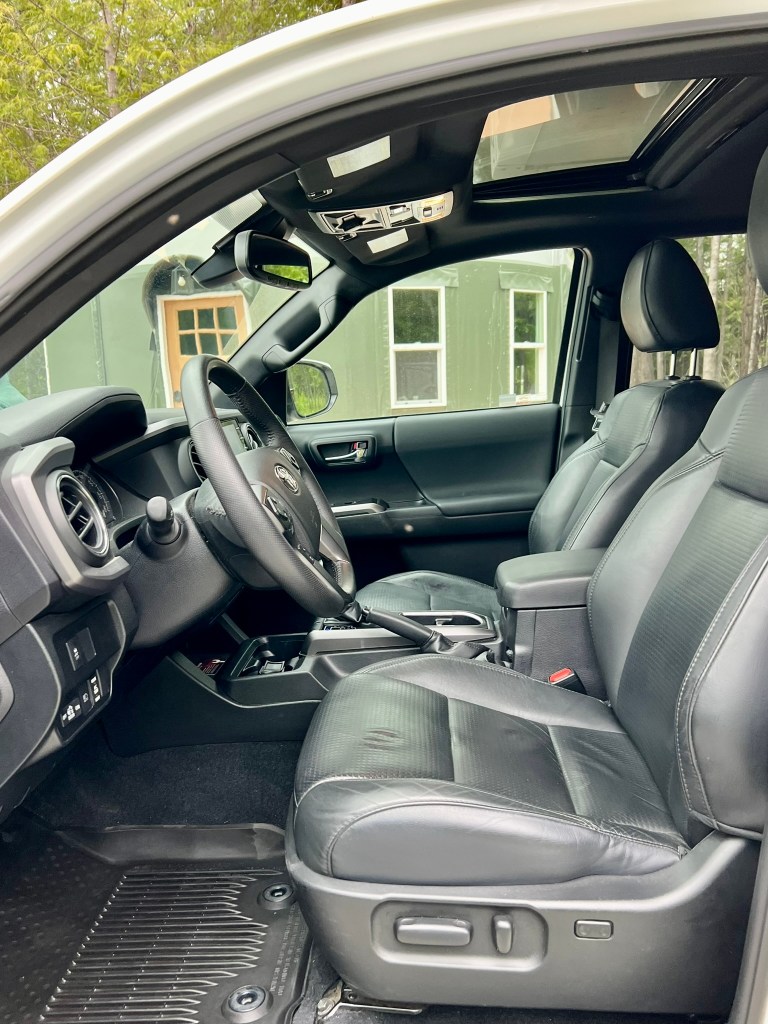
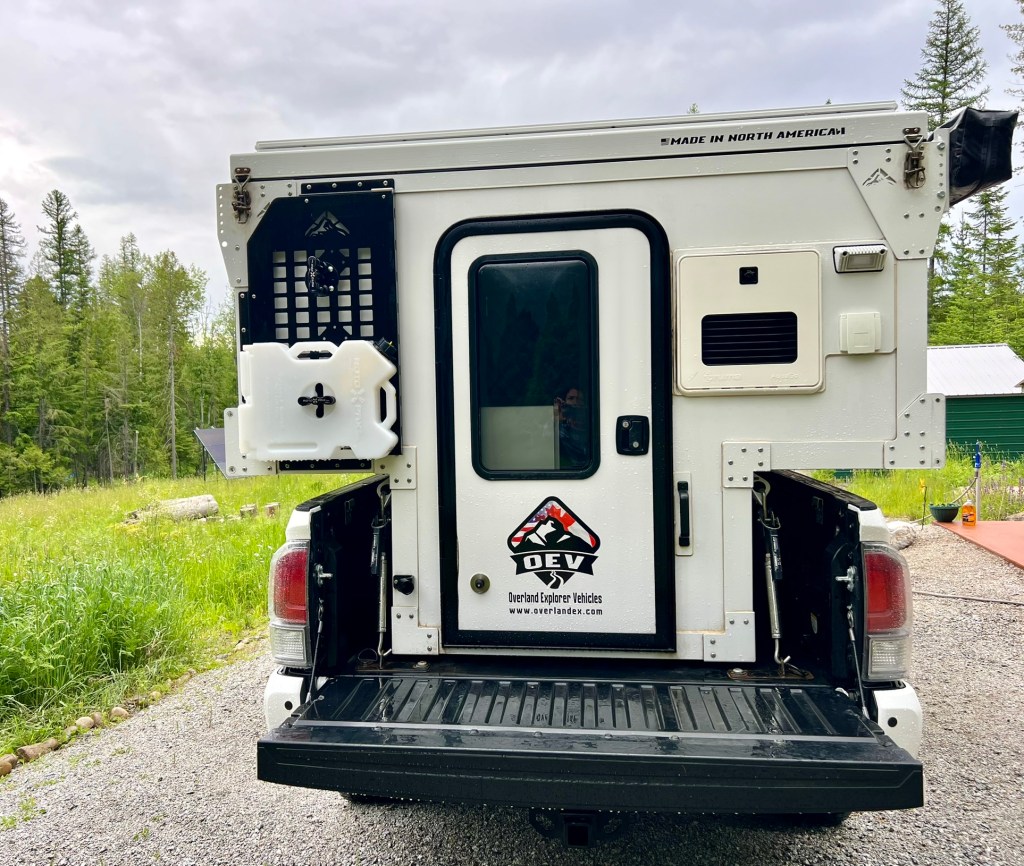
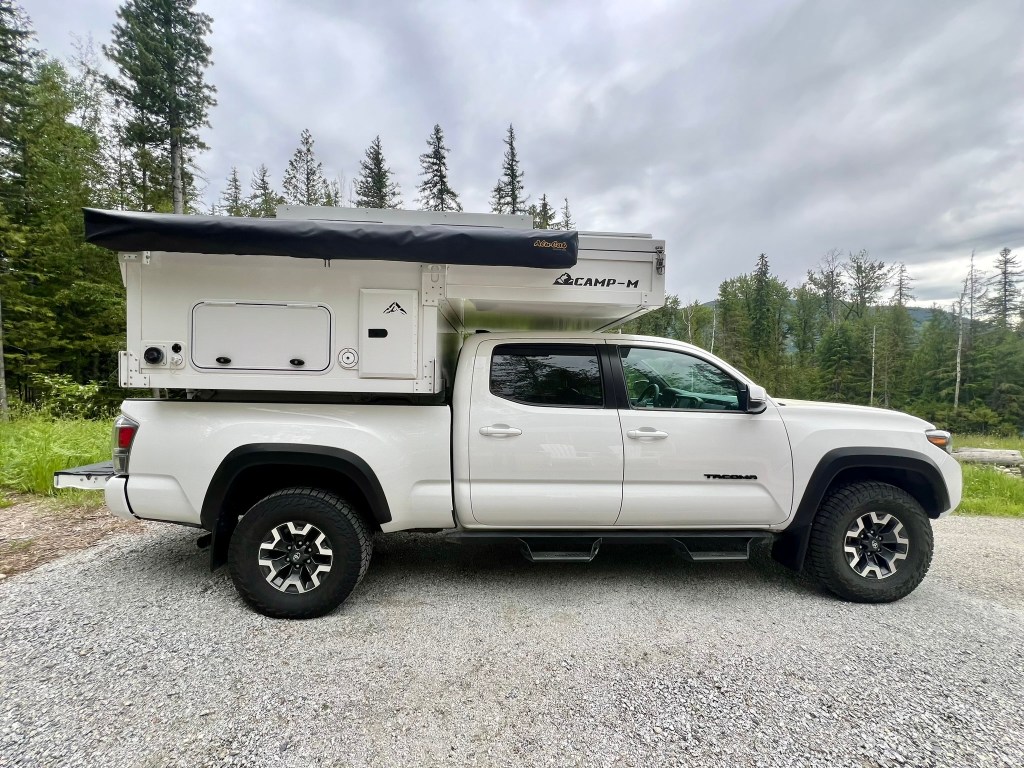
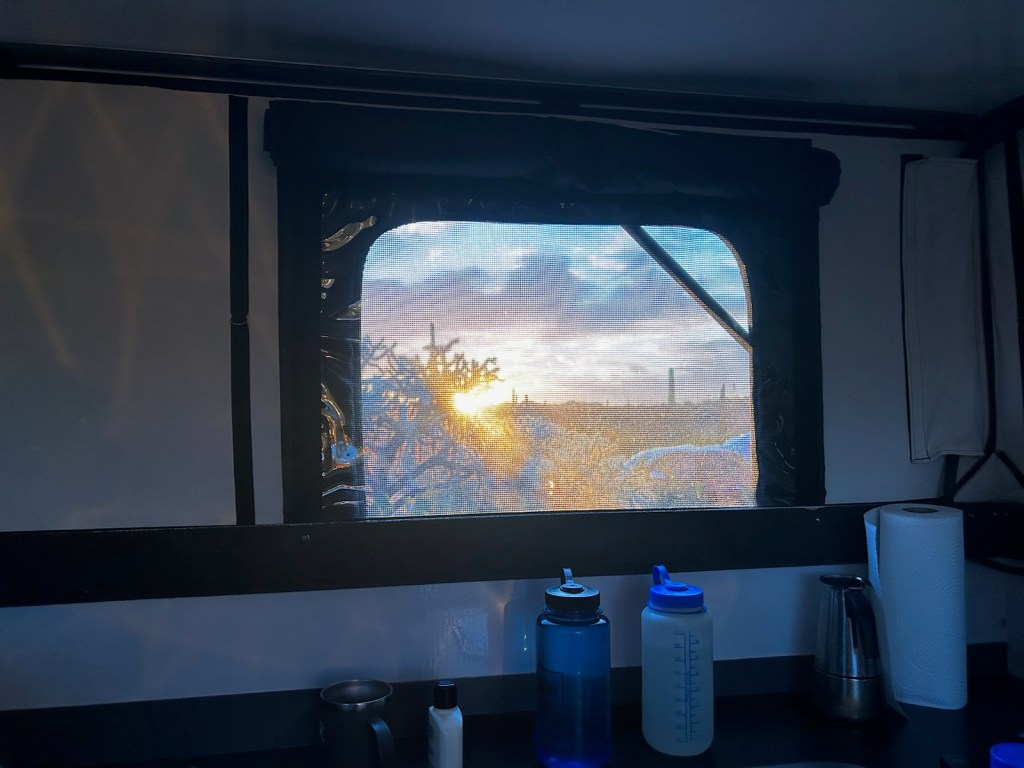
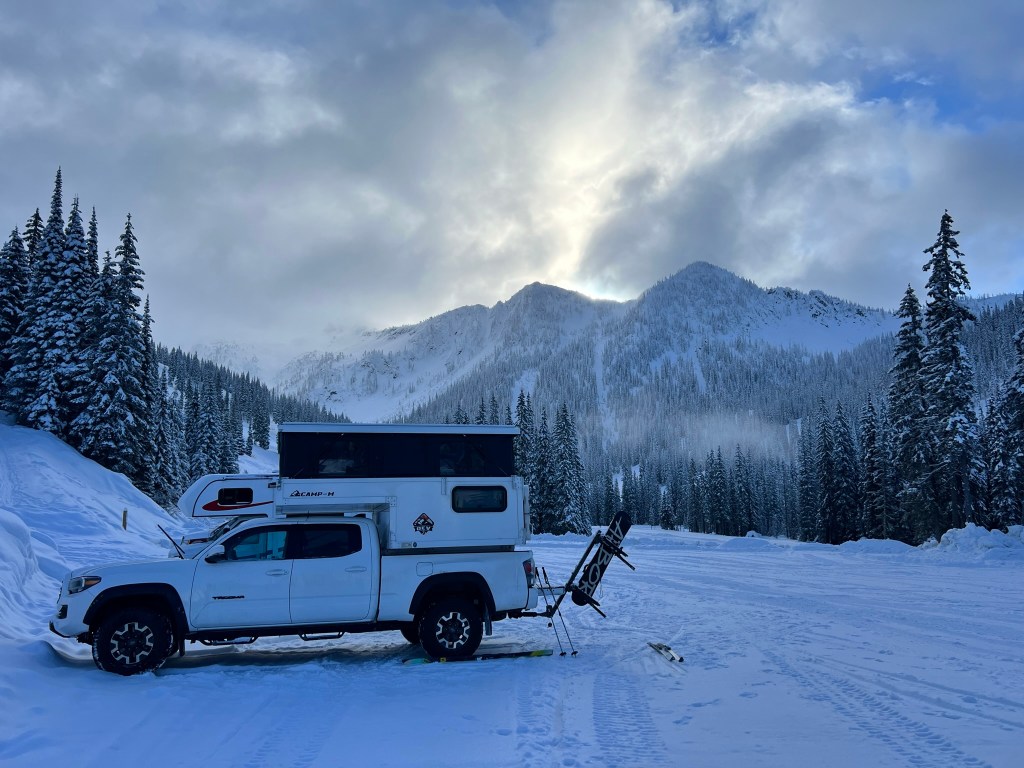
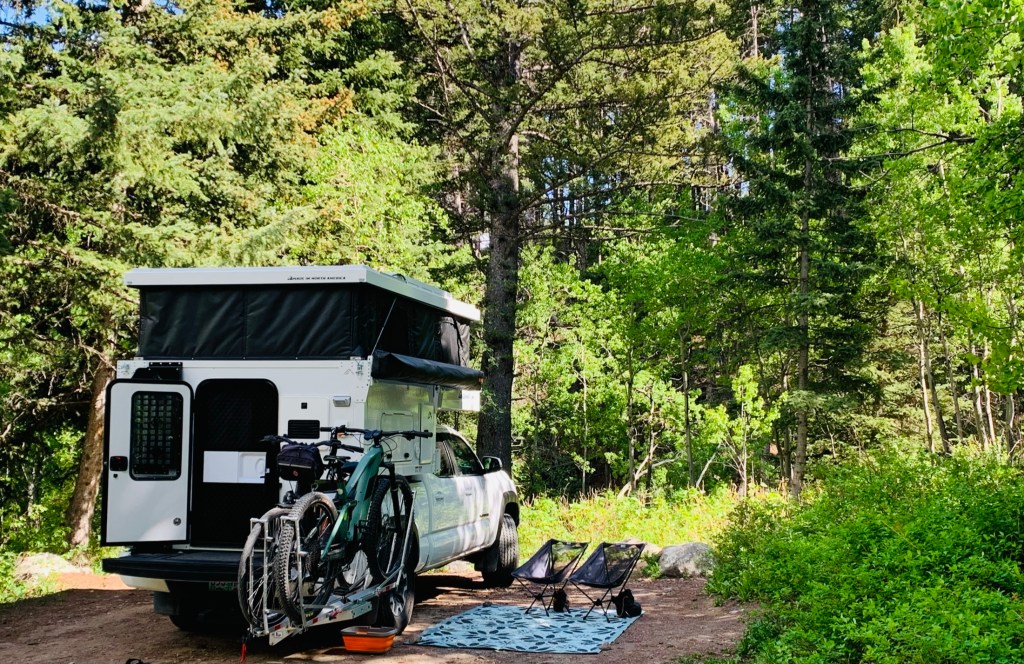
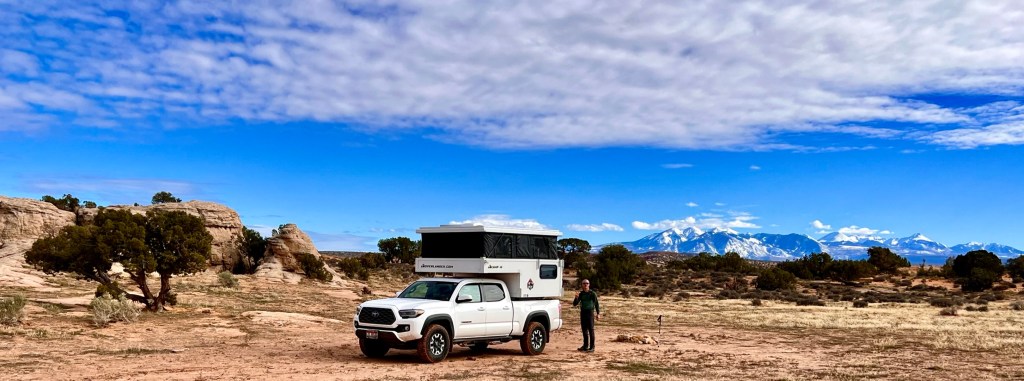
During this time, we were living full-time on our property in our truck camper, which made it easier and more convenient for all the inspectors and contractors to stop by. We were working tirelessly in the hot summer to limb up all the trees in the area of where the yurt would be built. Our five acres had been previously logged, and there were dead limbs everywhere, so we had to create six huge burn piles of dead limbs over the next three months. It was exhausting work, but we were making progress. One day, while taking a beer break, one of the driveway contractors drove by and asked if we needed a gravel pad. He was about to finish a job and said he could come over in 15 minutes to give us an estimate. After talking with him, we were able to secure his services, and things were finally falling into place.

As mid-July approached and trenches were being dug for water, gas, and electrical lines, we knew we needed to make a decision on our yurt platform. We searched online for platform plans but ultimately decided to do it ourselves, calculating the costs of timber, cement bases, and various materials needed. We also began obtaining quotes from septic contractors. Fortunately, my childhood best friend’s dad, who owned one of the other 5-acre parcels near us, had already researched septic costs and feasibility before purchasing the property. We contacted several contractors, one was available and provided us with a bid for all the necessary work, including trenches, septic installation, and driveway construction. After some discussion, we agreed to have a simple cement pad for the yurt and a cement patio, which would be less expensive and lower maintenance than wood. The contractor went to work prepping our property.

It is important to note that before purchasing a property that requires a septic system, a perc test should be conducted to evaluate soil drainage. The perc test helps determine the best location and size of the septic tank and drain or leach field, which distribute treated wastewater into the soil. If the property fails the perc test, a septic system cannot be installed. It is also important to build your home/yurt above this spot to take advantage of gravity and avoid the need for a pump house.

As someone who loves to cook, a real kitchen was important to me. We ordered all the necessary appliances (stove, refrigerator, washer/dryer combo) cabinets, countertops, bathroom sink, kitchen sink, toilet/bidet combo (saves on toilet paper), shower, hot water heater from Home Depot and Selkirk Glass and Cabinets.  It takes around six weeks to receive all the necessary components, so it is crucial to give yourself ample time to have everything ready for installation.  We were able to store most items in our shed until the yurt was built.

By August 25th, we had completed all necessary preparations and were ready for our yurt materials to be delivered on September 2nd, with our crew of friends and neighbors scheduled to arrive the following day for the yurt raising. In our next blog, we will discuss how to organize a yurt raising party and what it takes to raise a Weatherport 24’ yurt. But first, some lessons learned.

Lessons Learned:

  1. Be nice but persistent! If you live in a small community, take the time to meet all of the permitting officials in person, be super friendly, and do everything they want on the spot. Several times, officials made changes to our plans while on-site, and we made sure they were happy before sending the changes with them or via email. Being nice is critical, as you are the one with deadlines, not them. Being rude or mean will not help you, as they can ignore you and move on to the next person. Many officials expressed their appreciation for working with us because we were organized, had everything filled out properly, were nice, available, listened, made necessary modifications, and tried to make their jobs easier. When a permit was taking longer than expected, we gave a friendly nudge via voicemail or email.
  2. Live on-site! With so many people building right now, many are doing everything remotely. Officials and contractors appreciate your presence, as they can show you issues, and together you can make the necessary modifications and understand their concerns.
  3. Keep it simple! In the end, the simplest solution was often the best. Concrete was easier and less expensive than wood. However, it is crucial to remember that all plumbing, electrical, and gas lines must be laid before the concrete is poured. It is permanent and cannot be moved, so ensure that everything is in the correct place. Also, make sure your contractors are measuring from the same spot and clearly mark all your spots to avoid confusion. Have a detailed drawing indicating where sinks, toilets, showers, drains, and supply lines are being placed with exact dimensions.

Exploring Rocky Mountain National Park

I have a new respect for great youtubers and bloggers and I will no longer complain or make fun of a vlogger who did not have the most engaging post.  It is hard work to have an entertaining post!  We have been on the road for nearly 6 months now and my goal when we first started was a video/blog a week.  Being on the road, much of this country has dead zones with zero cell service, which makes editing and posting blogs and vlogs on YouTube and WordPress difficult if you are trying to be consistent!  After traveling 100-150 miles in a Sprinter Van, setting up camp, cooking, cleaning, hiking, biking, and/or paddle boarding, many times I find myself just wanting to enjoy a beer and the view and not jumping on my computer to write or video edit!   I have found myself not posting for several weeks or even getting my computer out, which is not good if you are trying to create a following.  You must have consistency with vlog/blog postings every week.  I also did not realize how much work it is to create a good video and the frustration of right before compressing your video(that you spent 50 hours editing) that your audio for one part was bad and hard to understand and need to decide do I: redo the video, do a voiceover, just add music or say oh-well and post the bad audio (I’ve done all but redo the full video, which is not good if you are trying to create great quality- sorry to those who would like us to redo the Boldt Review Video!).  I have decided I probably won’t get to be the quality level to get great sponsors but hope these will be helpful for your travels, help newbie RVers not to make our same mistakes or be great virtual explorations if you can’t get out to these wonderful places.  This week’s post won’t have a video but just photos.

This week I’ll be sharing our adventures at the Rocky Mountain National Park.  We were considering skipping this park since it is so close to Denver and we have been trying to avoid huge crowds but I am so glad Greg pushed us to change our minds.  Currently, with COVID19 Rocky Mountain requires you to have a timed entry permit or a campground reservation or arrive before the park opens at 6am.  This is fabulous and made this one of our favorite places to visit, as there are about 60% less people in the park right now!  The only two campgrounds are open (Moraine Park and Glacier Basin) and only half of the campground is open for social distancing requirements.  Even if you go on reservation.gov and see no campsites available, I suggest calling the toll-free number (877-833-6777) and sitting on hold for 45 minutes as several people cancel last minute and this is how we got our two-day campsite reservation.  We stayed at Glacier Basin in Loop B, if you can get Loop C that is the loop with the amazing views and a chance to see Elk and Moose in the meadow if your neighbors can be quiet and not run their generators. 

We entered from the westside, which I recommend as only 20% of park attendees come from this entrance, most come from the eastside-Denver Area.  We camped the night before at Lake Granby at Stillwater Campground, which is a fun paddle boarding lake.  We decided to stay here instead of boondock since a big thunder and windstorm was expected for the late afternoon and we didn’t want to get our van stuck in sand.  There were a lot of fisherman and plenty first come first serve campsites next to the lake.  We left early the next morning 5am to hit the park to see wildlife.  We were able to see moose, elk, prairie falcon, peregrine falcon, marmot, ground squirrels and golden eagles.  There was plenty of room to stop at every pullout and interpretive trails and hiking trails.  All morning we only saw 3 cars until we got to Deer Ridge Junction when you get to the intersection of 34 and 36 the eastside and westside.  We stopped at the EndoValley Picnic Area which is the end of 2 way.  We were going to bike the Old Fall River Road which is one way the road is a gravel dirt road and pretty narrow, not something you want to attempt in your camper van unless you are a great backroad 4X4 higher clearance driver.  It was already 90 and when seeing how close cars/trucks come by you on the trail we decided to turn back on our bike ride.  After stopping at Sheep Lake, looking for our Bighorn Sheep (none were out) we headed to our campground before the big thunderstorm hit again in the late afternoon.  This campground also had an RV dump and water fill area, which was great! 

The next morning, we headed out early again at 5:45am as I wanted to hike to Dream Lake to watch the sunrise.  Note RVs greater than 21 feet need to park before you get to the Glacier Gorge Trailhead there is a parking lot RVs could fit under 25 feet and a couple pull outs after Bierstadt Lake Trailhead right before Glacier Gorge. Note: There is a sign that says RVs greater than 23 feet should not go beyond the Park and Ride across from Glacier Basin.  We did not notice this so when we got to Bear Lake we were asked to leave that our rig was too big (we are 23 feet). Greg went back to the campground and I did the hike by myself and I would take the shuttle back to the campground.  There is a free shuttle but it doesn’t start running till 730am.  I highly recommend taking the shuttle, remember to bring your mask it is required to get on the bus. I got there just in time to take the trail to see Bear Lake, Nymph Lake, Dream Lake and Emerald Lake and watch the sunrise over Dream Lake.  It was beautiful but a lot of traffic!  The parking lot was almost full at 6:15am and the Glacier Gorge Trailhead parking lot was already full.   As I returned to Bear Lake Parking Lot, I decided to take the Alberta Falls Trail and then return to the Glacier Gorge Trailhead and take the shuttle back to the campground.  The campground has water and an RV dump.  We then took Highway 7 out of the park and the backroads to North Glenn as we head to Florissant Fossil Bed National Monument.  We decided to stay at Cracker Barrel for the night but there were several great boondocking spots along the river on highway 7. 

Advice if you go to the park:

  1. Enter through the Westside, only 20% of visitors come this route
  2. If camping at Glacier Basin campground stay in Loop C
  3. Do sunrise hike to Dream Lake
  4. Use the free shuttle, make sure to bring a mask or you can’t get on!
  5. Bring your bike/e-bike to travel through the park makes it much mroe enjoyable