
It’s that magical time of year again—Amazon Prime Deal Days are here! 🎉 Starting tomorrow, October 7th and 8th, the deals are rolling in hot, and we’ve rounded up our favorite van and bike camping essentials that are tried, tested, and totally loved. Whether you’re gearing up for winter camping or getting a jump on Christmas gifts (yes, it’s already that time), we’ve got you covered.
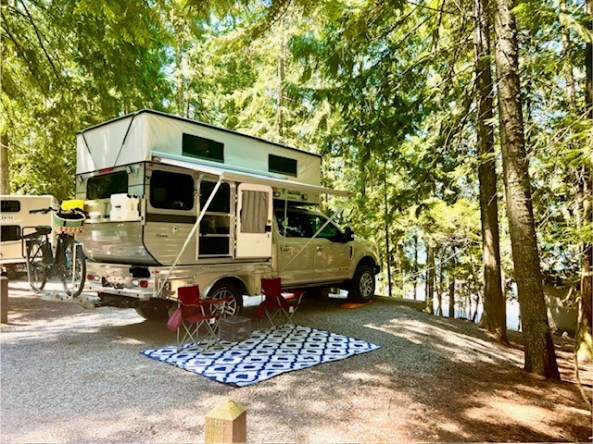
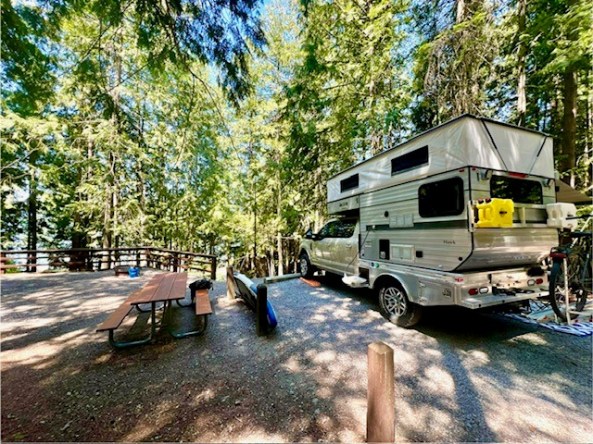
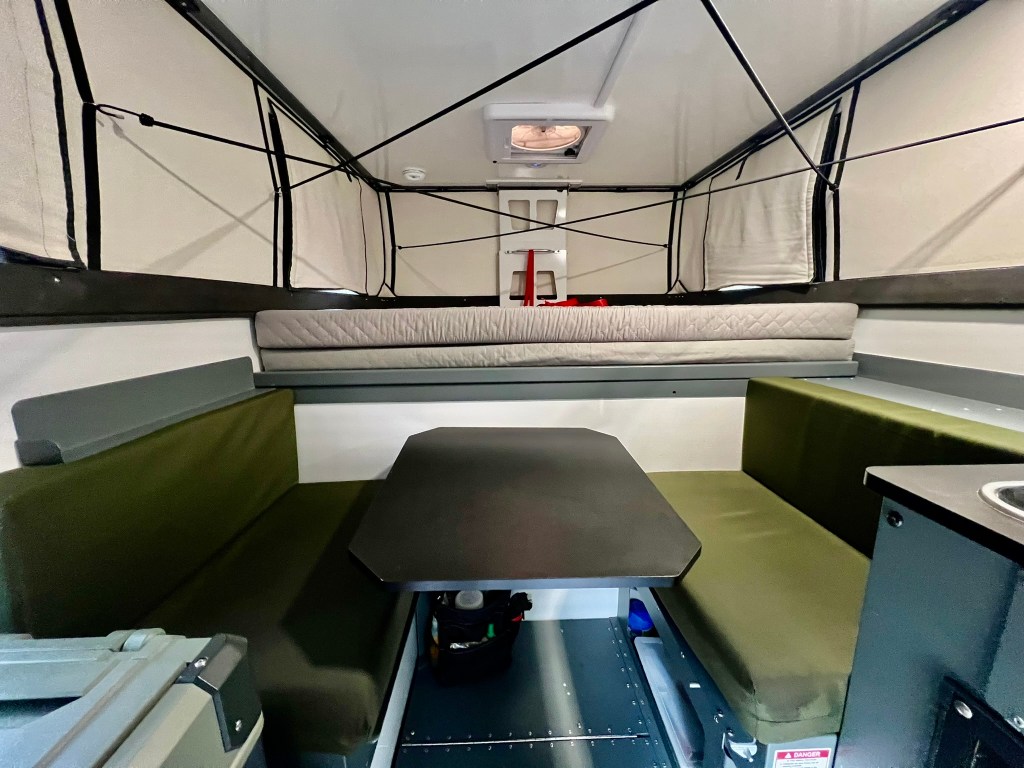
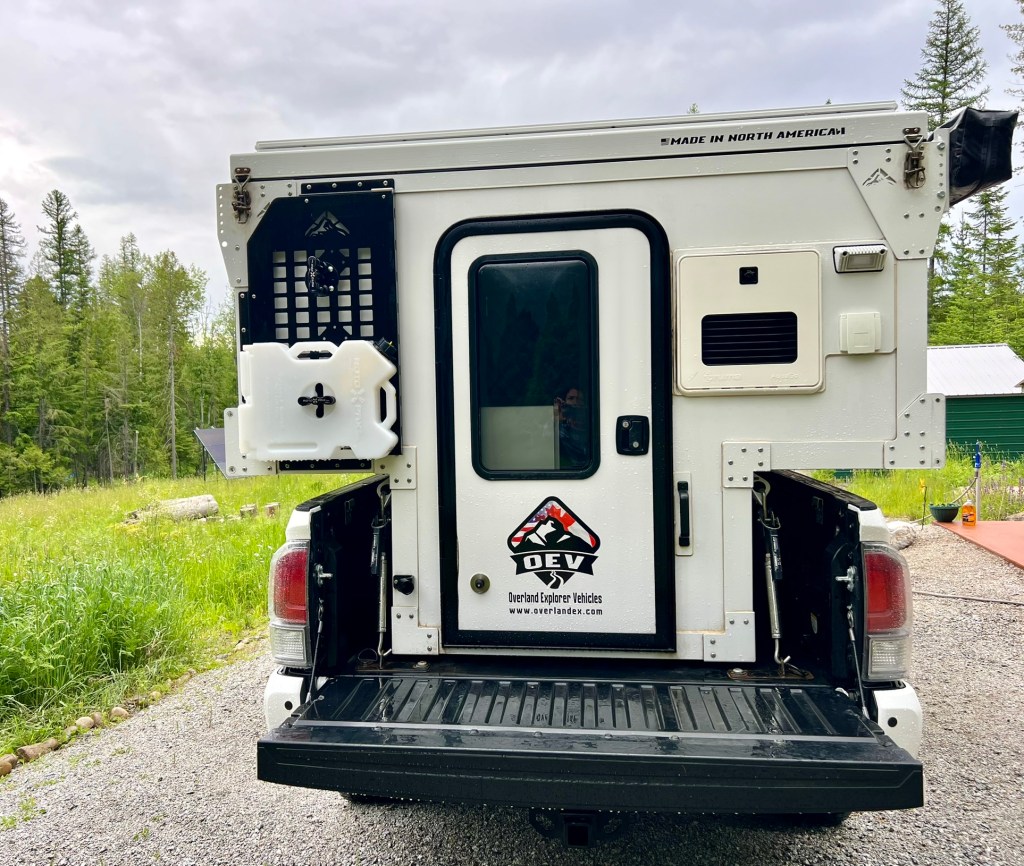
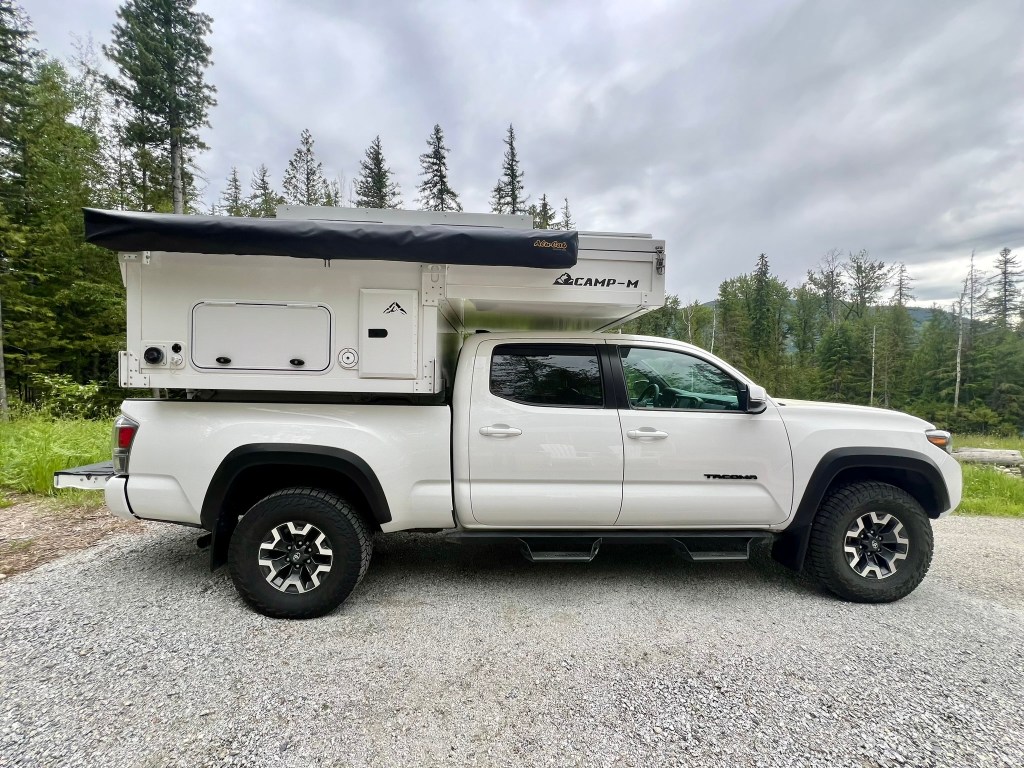
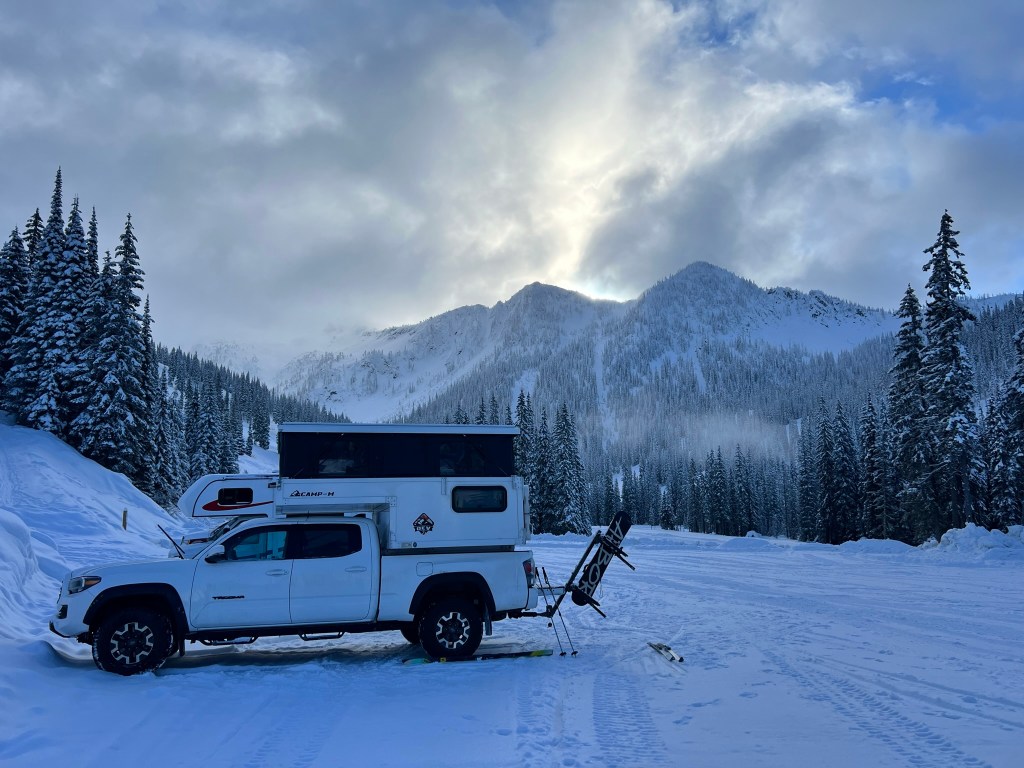
After fully transitioning from our trusty truck camper to our beloved Storyteller Mode LT Transit van—aka Goldilocks—we’ve spent a full year chasing seasons and soaking up the van life. Spoiler alert: she’s just right. We’ll gush about her in another blog, but today, let’s talk gear.
🧺 Van Life = Organized Life
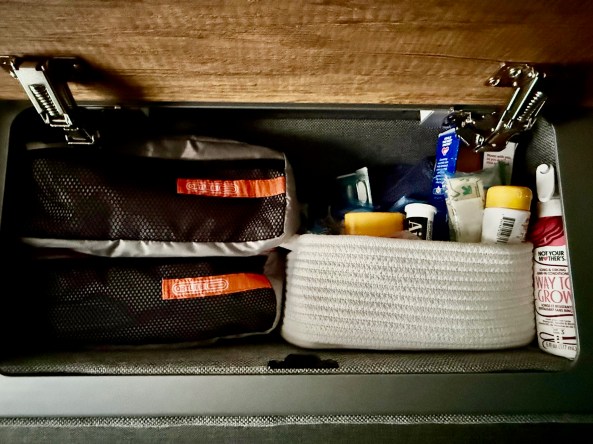
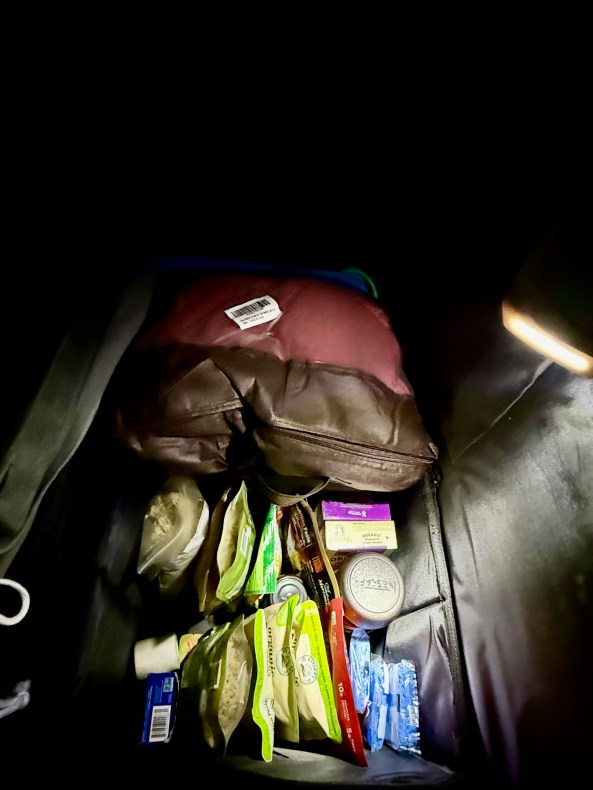
When you’re living in a tiny space for months at a time, organization isn’t just helpful—it’s survival. We’ve tested everything from clunky plastic bins to heavy metal cabinets, and finally found our groove with these soft trunk organizers. They’re lightweight, easy to move, and roomy enough for everything from packaged food to our Berkey water filter.
These felt containers are our go-to for sundries, first aid, cooking gear, and snacks. They keep everything snug and rattle-free in the cabinets. And don’t get us started on these cabinet hooks—they’re the unsung heroes of van organization.
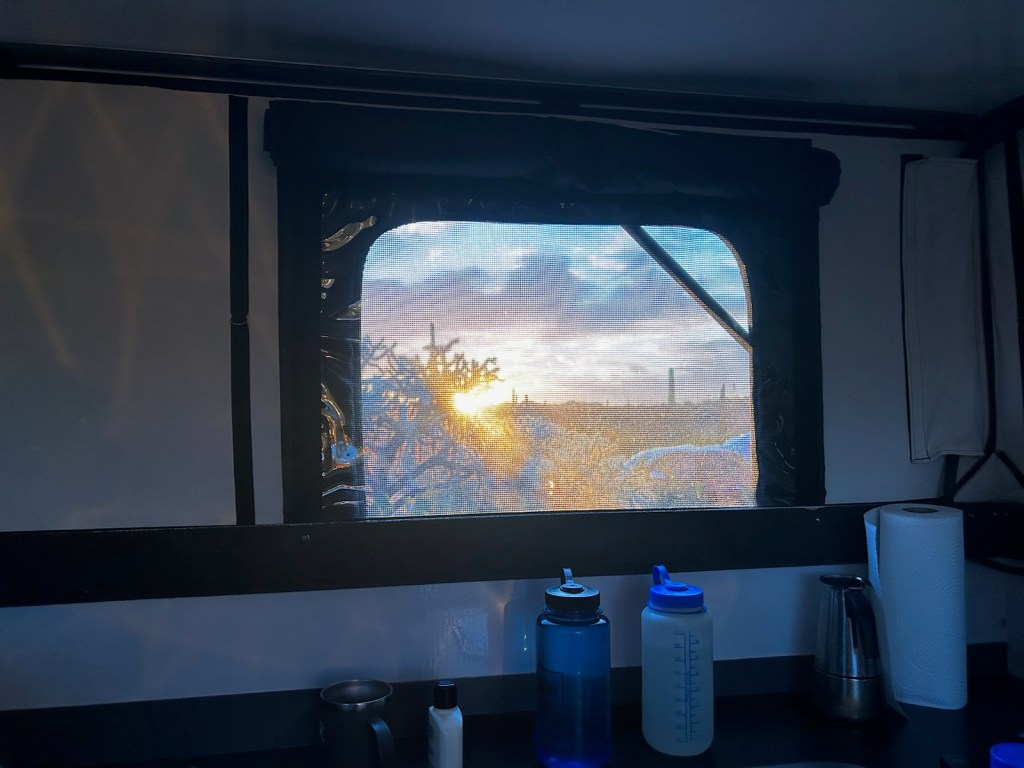
This paper towel rack is a van essential. Pro tip: add a clothespin to the end so your roll doesn’t unravel while driving. Trust us, it works.
We tag our bikes, bags, and anything we can’t afford to lose with Apple Airtags. Peace of mind, always. And when winter rolls in, this compact space heater keeps us cozy without overworking the van’s heating system. The first one we saw that has many great reviews and wish we got, the second we have its trusty, dependable and pretty inexpensive.
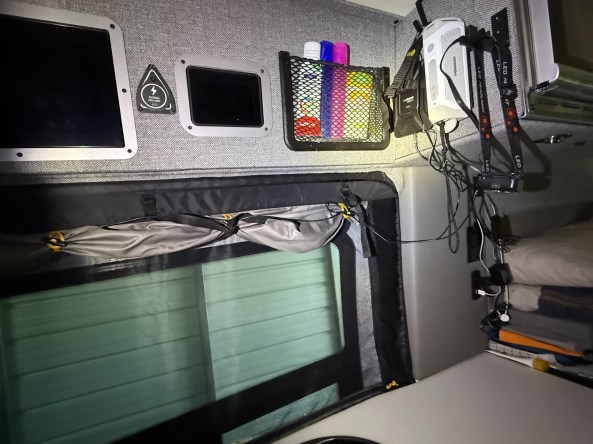
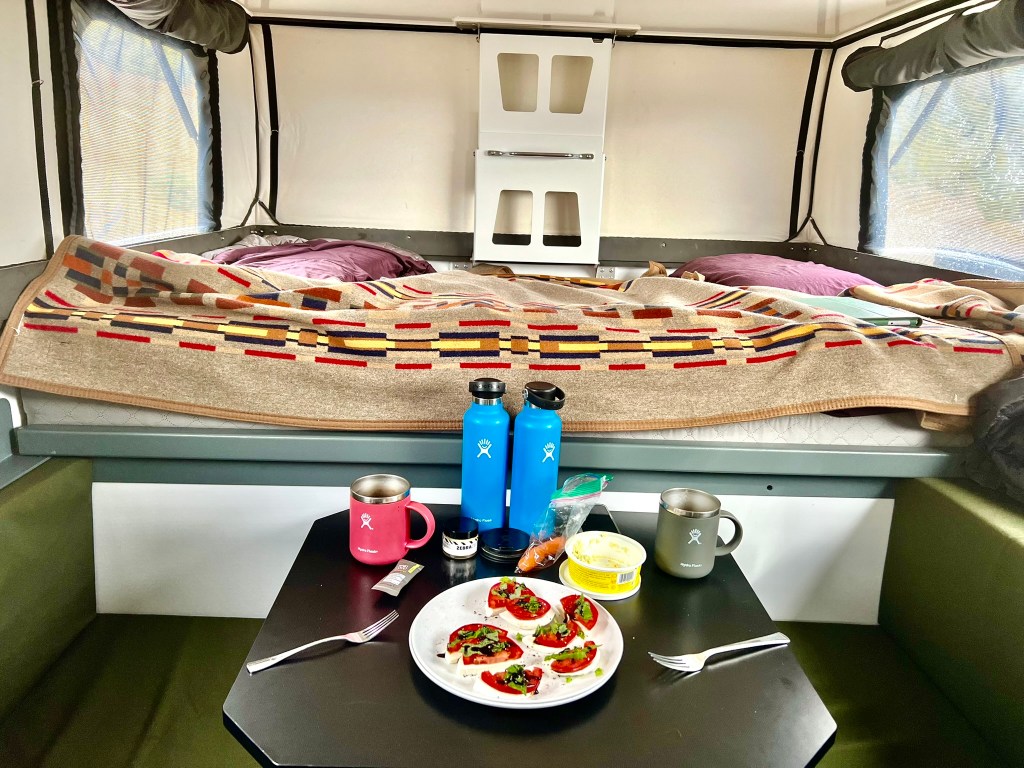
If you are like us and just not ready to pay for Starlink, we find our t-mobile with the Weboost we get reception in almost everywhere. A also nice for winter camping is this Southwest sherpa blanket it brightens up the space and is a nice snuggle for your bed. So you’re not fighting over it we like the 60×80 size and have twin Pendleton blankets with duvets on them.
- 📍 Apple Airtags: Never loose important and expensive items
- 🔥 Space Heater & Our Current Space Heater: Give the system a break when plugged in
- 🧻 Paper Towel Rack: How to get the paper towels off the counter
- 🧺 Felt Storage Containers: Organize and keep quiet inside those cabinets
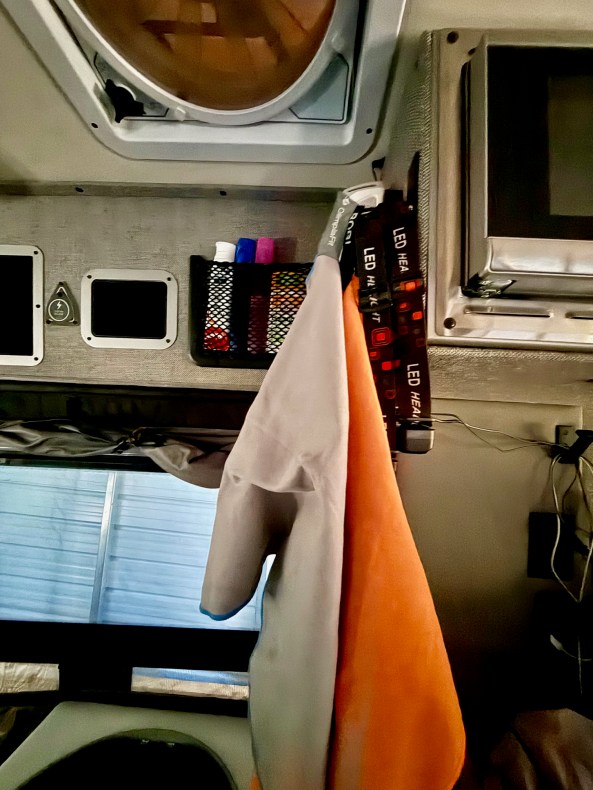
- 🧵 Cabinet Hooks: Hang towels, jackets, backpacks—whatever you need
- 🧳 Trunk Organizers: Perfect for food, towels, sheets, and even your Instant Pot.
- WeBoost Our Version on sale, WeBoost Newer Version not on sale: No Starlink no problem
- Southwestern Throw Blanket : Fun design and warm
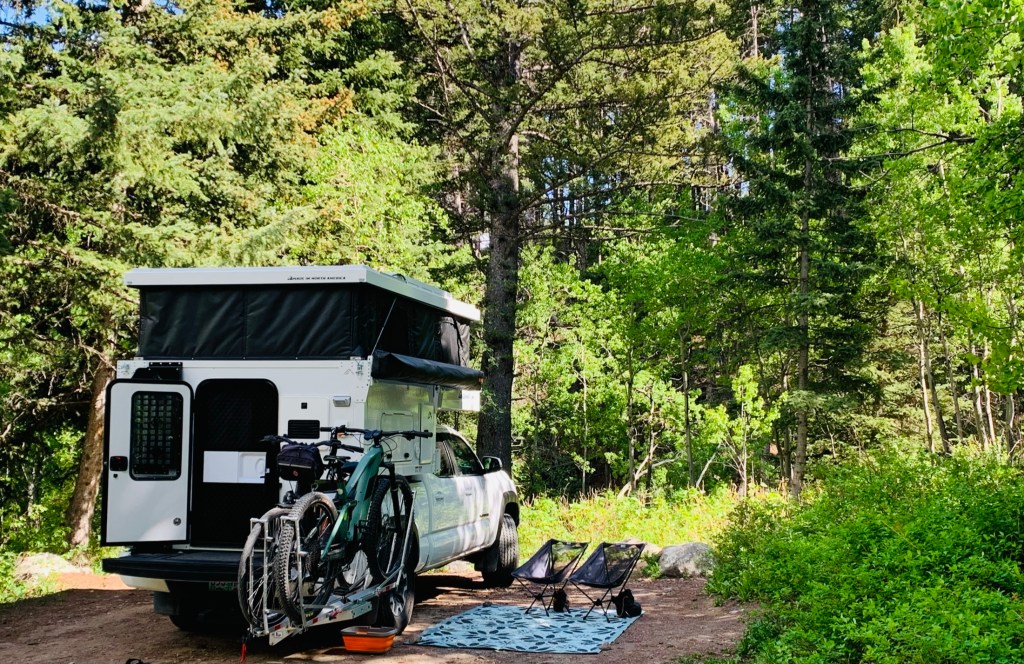
🚲 Bike Touring Must-Haves
We’ve been pedaling through some epic bike tours lately, and these storage organizers are a game-changer. They fit perfectly in panniers and your van cabinets, keeping clothes and gear neat and accessible. These are our favorite panniers waterproof, durable and on sale! Navigate trails and snap pics on the go with this sturdy bike phone holder. It’s a small upgrade that makes a big difference. If bike camping or in the van, that late night relief you need to see, these rechargeables are great head lamps.
- 🧦 Storage Organizers: Ideal for bike touring and van cabinets.
- 🧳 Ortlieb Panniers: Waterproof, durable, and on sale!
- 📱 Bike Cellphone Holder or Alt Option: No need to buy expensive bike computers, use your phone
- 🔦Head Lamp: Late night escapes need light.
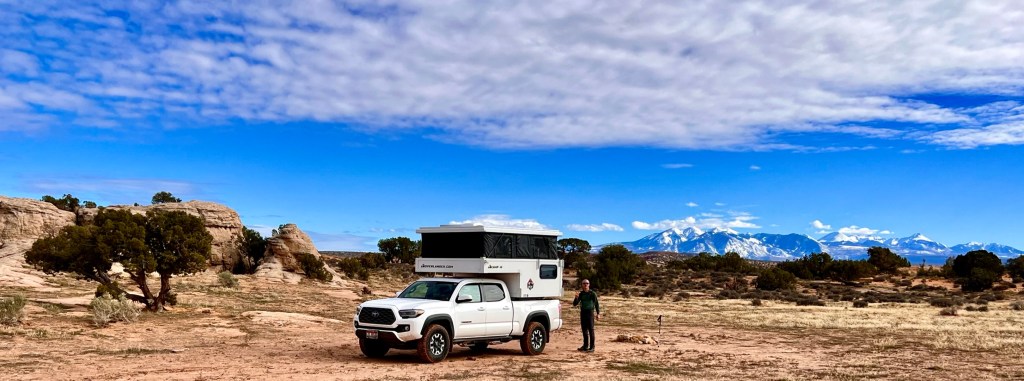
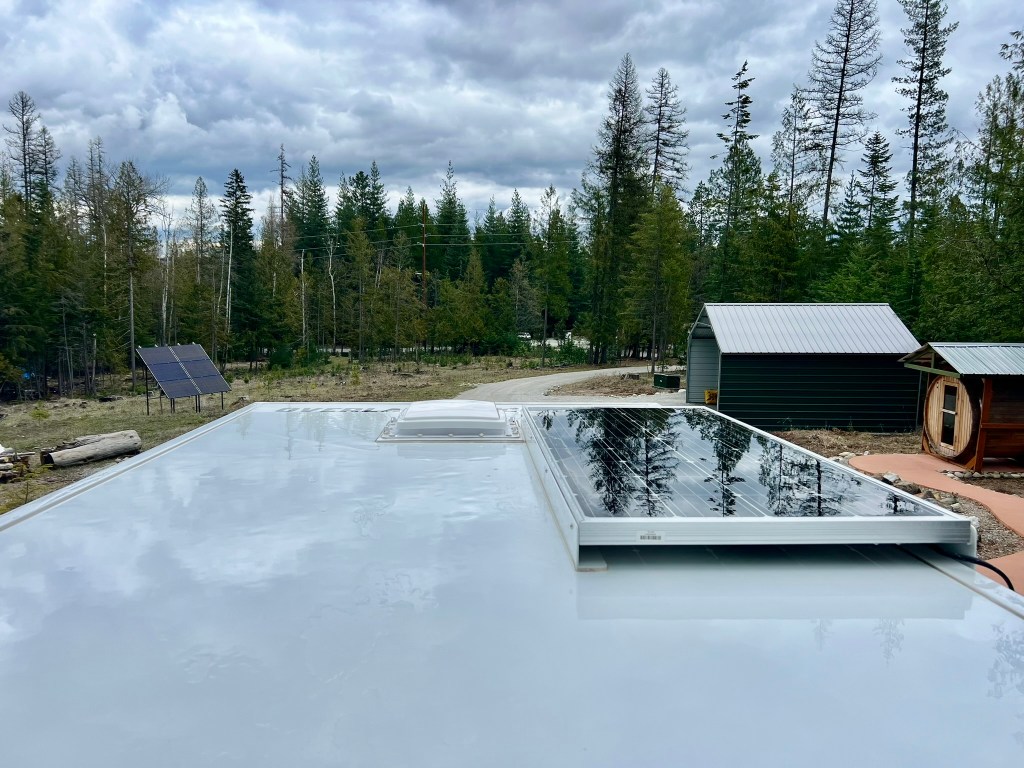
We’ve included some shots of us using these items in action—because nothing beats gear that’s been road-tested by real vanlifers. Hope these picks help you save a few bucks and make your adventures smoother, warmer, and more organized. Happy Deal Days and even happier trails! We will be back for Christmas must haves soon. 🏕️🚴♂️🎁


