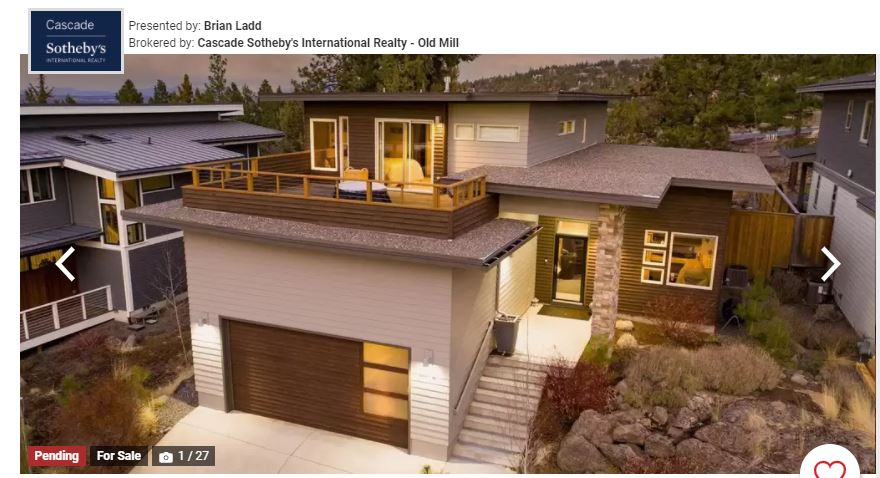
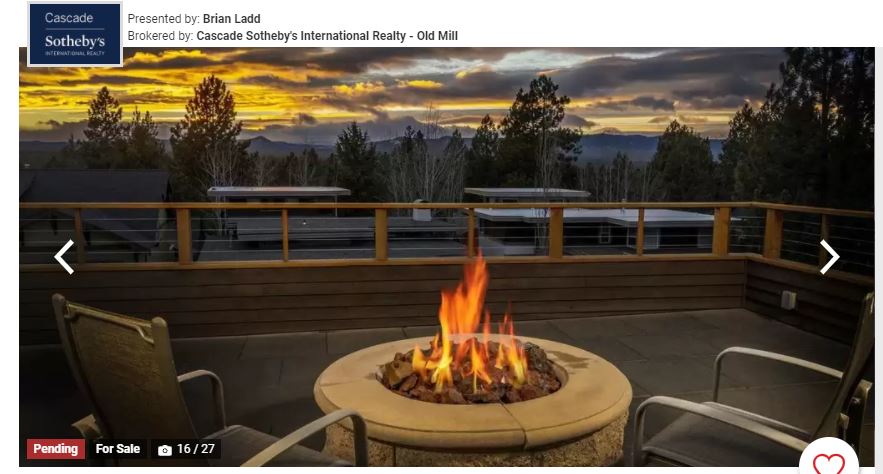
Sorry we have been very quiet for the last several weeks. There have been a lot of changes for us. First off, after 15 months on the road we have learned that we enjoy life on the road, even with its challenges. We have really enjoyed the Van Life and traveling all over the USA exploring mother nature’s great outdoor spaces, so we decided it’s time to go all the way in. We returned to Bend, Oregon on February 25th to sell our home and all our possessions and become full-time Nomads! If you haven’t seen the news Bend is the number one remote working city on the West Coast and is growing like crazy! There is more demand than there are homes for sale. So in less than 8 days we decluttered, staged and sold our house. Then in another 8 days, we sold all our possession and packed- up a few items to store at our vacation rental. Thanks to my brother, David who did a few truck load round trips to help us move the few things we decided to keep. Of course, no sale is easy and to make a long story short we did a hurry up and wait and after 35 days it finally closed.
If that wasn’t enough work, we got the bright idea we are ready to try overlanding. For those who do not know what overlanding is, Wikipedia has a great definition (I typically am not a huge Wikipedia fan but will give this exception…) “Overlanding is self-reliant overland travel to remote destinations where the journey is the principal goal. Typically, but not exclusively, it is accomplished with mechanized off-road-capable transport (from bicycles to trucks) where the principal form of lodging is camping, often lasting for extended lengths of time (months to years) and spanning international boundaries.” Overlanding has been around since the 1900s where it started in Australia traveling across their continent delivering live stock. In the 1940’s it became more of an outdoorsmen activity. usually involves long-distance travel to remote locations that are under-documented and where little prior exploration has occurred. Other characteristics that define overlanding include, but are not limited to, self-reliance, adventure, survival, and discovery. Overlanding can involve a variety of elements such as crawling on massive boulders, wading in deep waters, slogging through mud, driving through sand and sprinting across a dry lakebed. It is minimalistic living and also with a focus of leaving no trace! Making sure we keep mother nature as is as much as possible for future generations to explore!
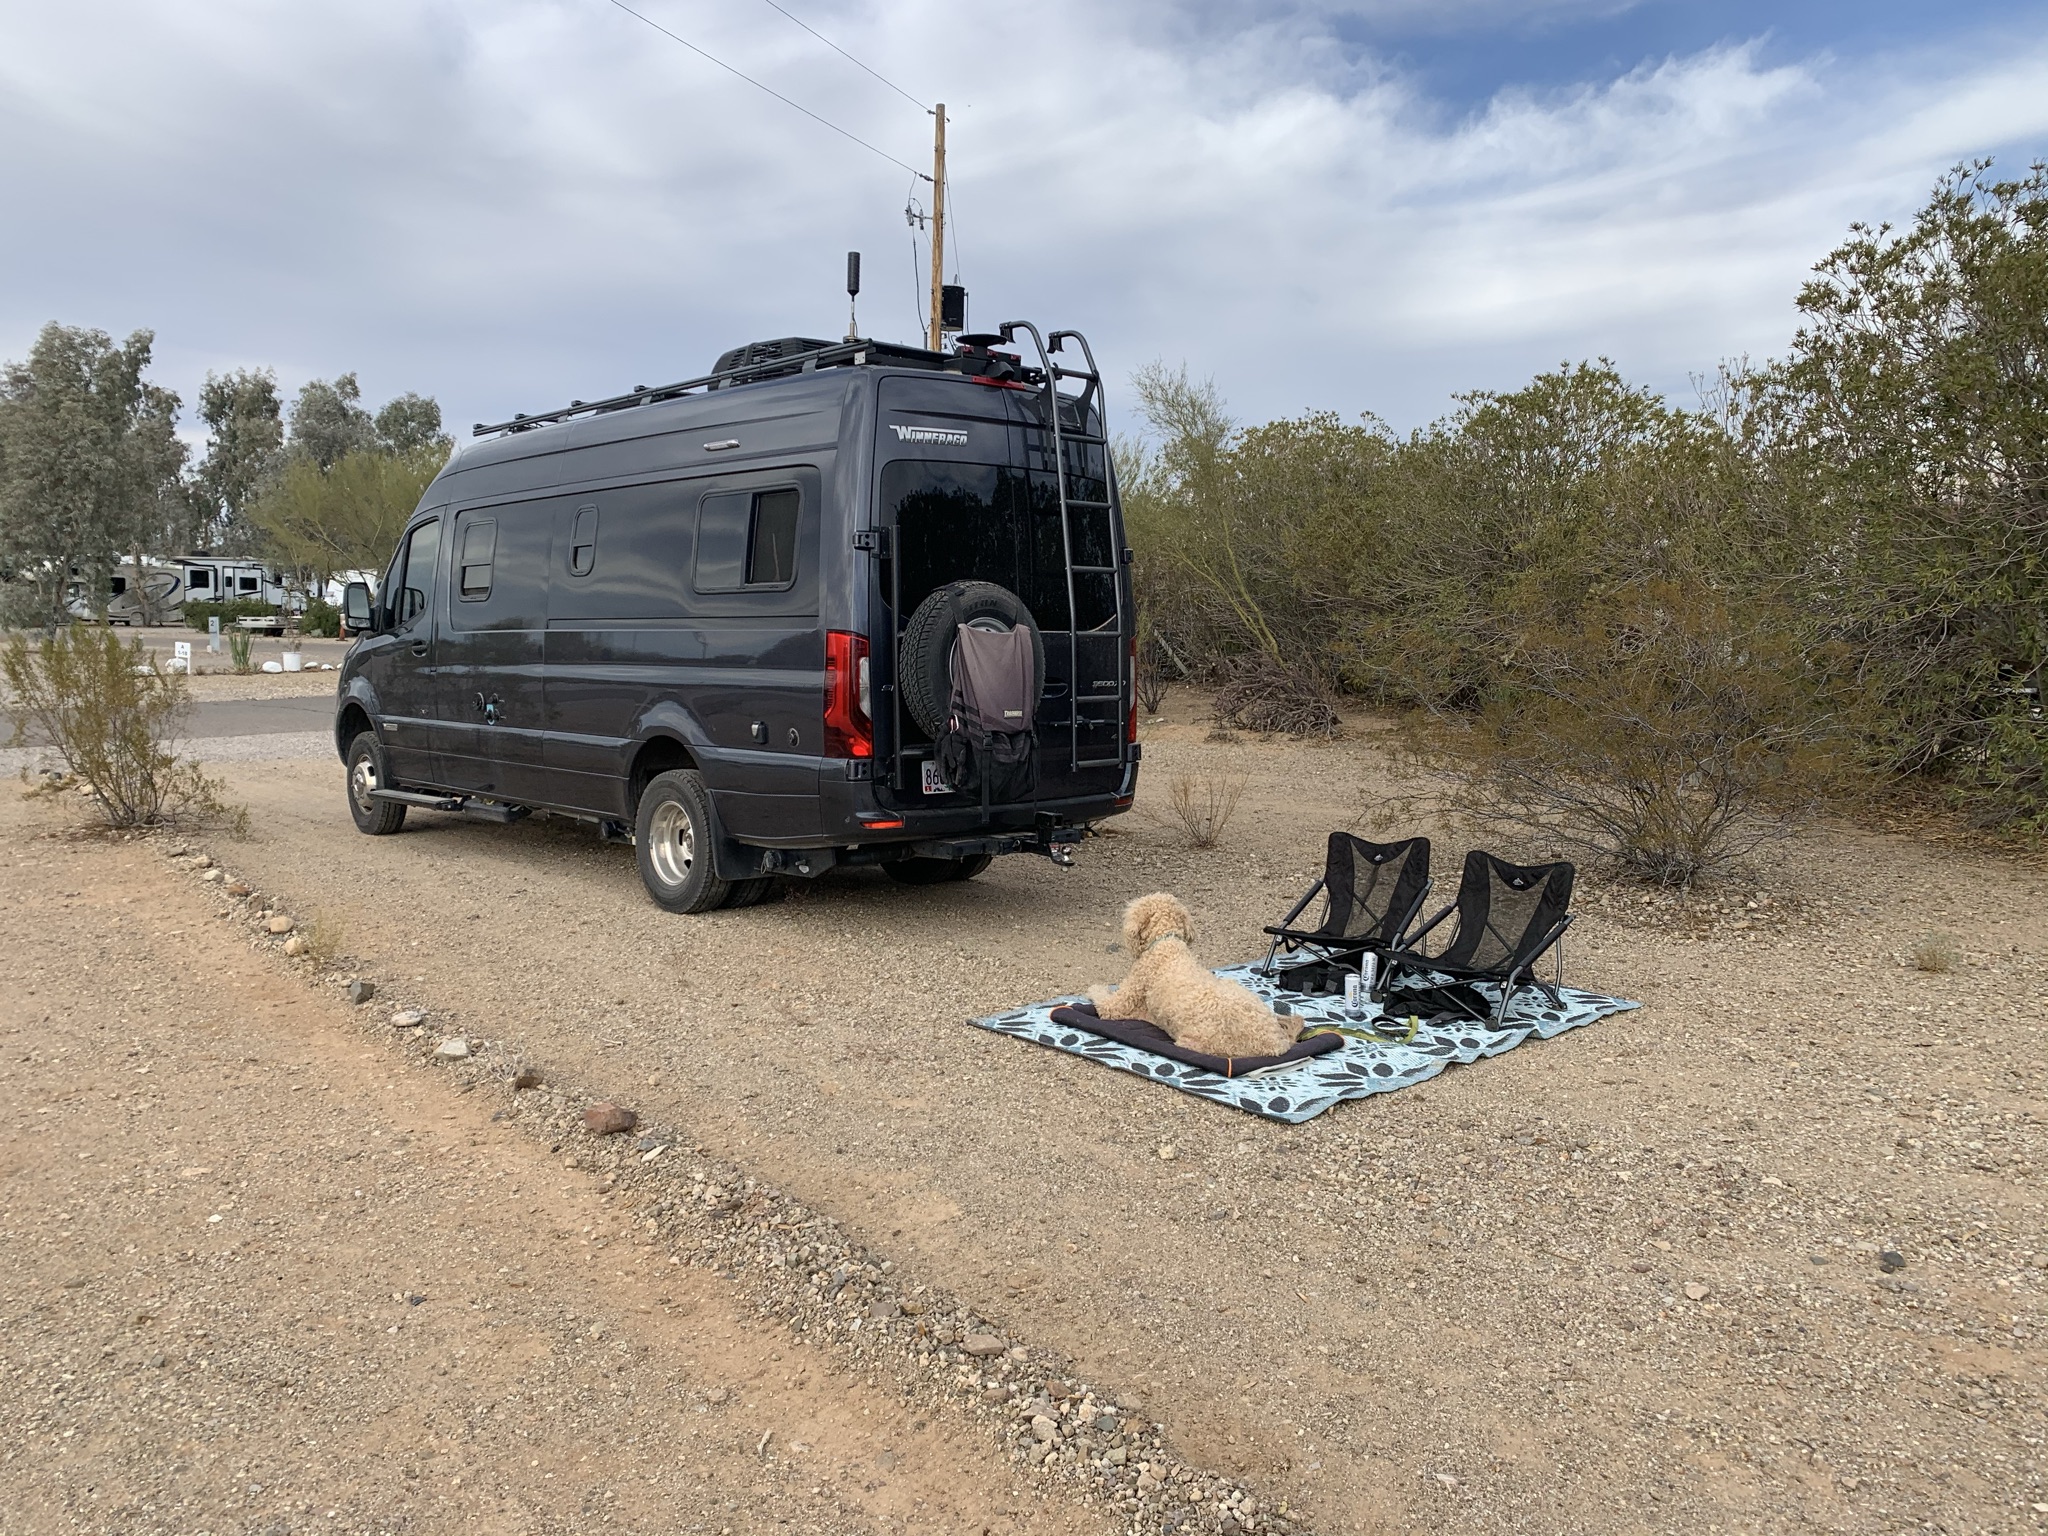
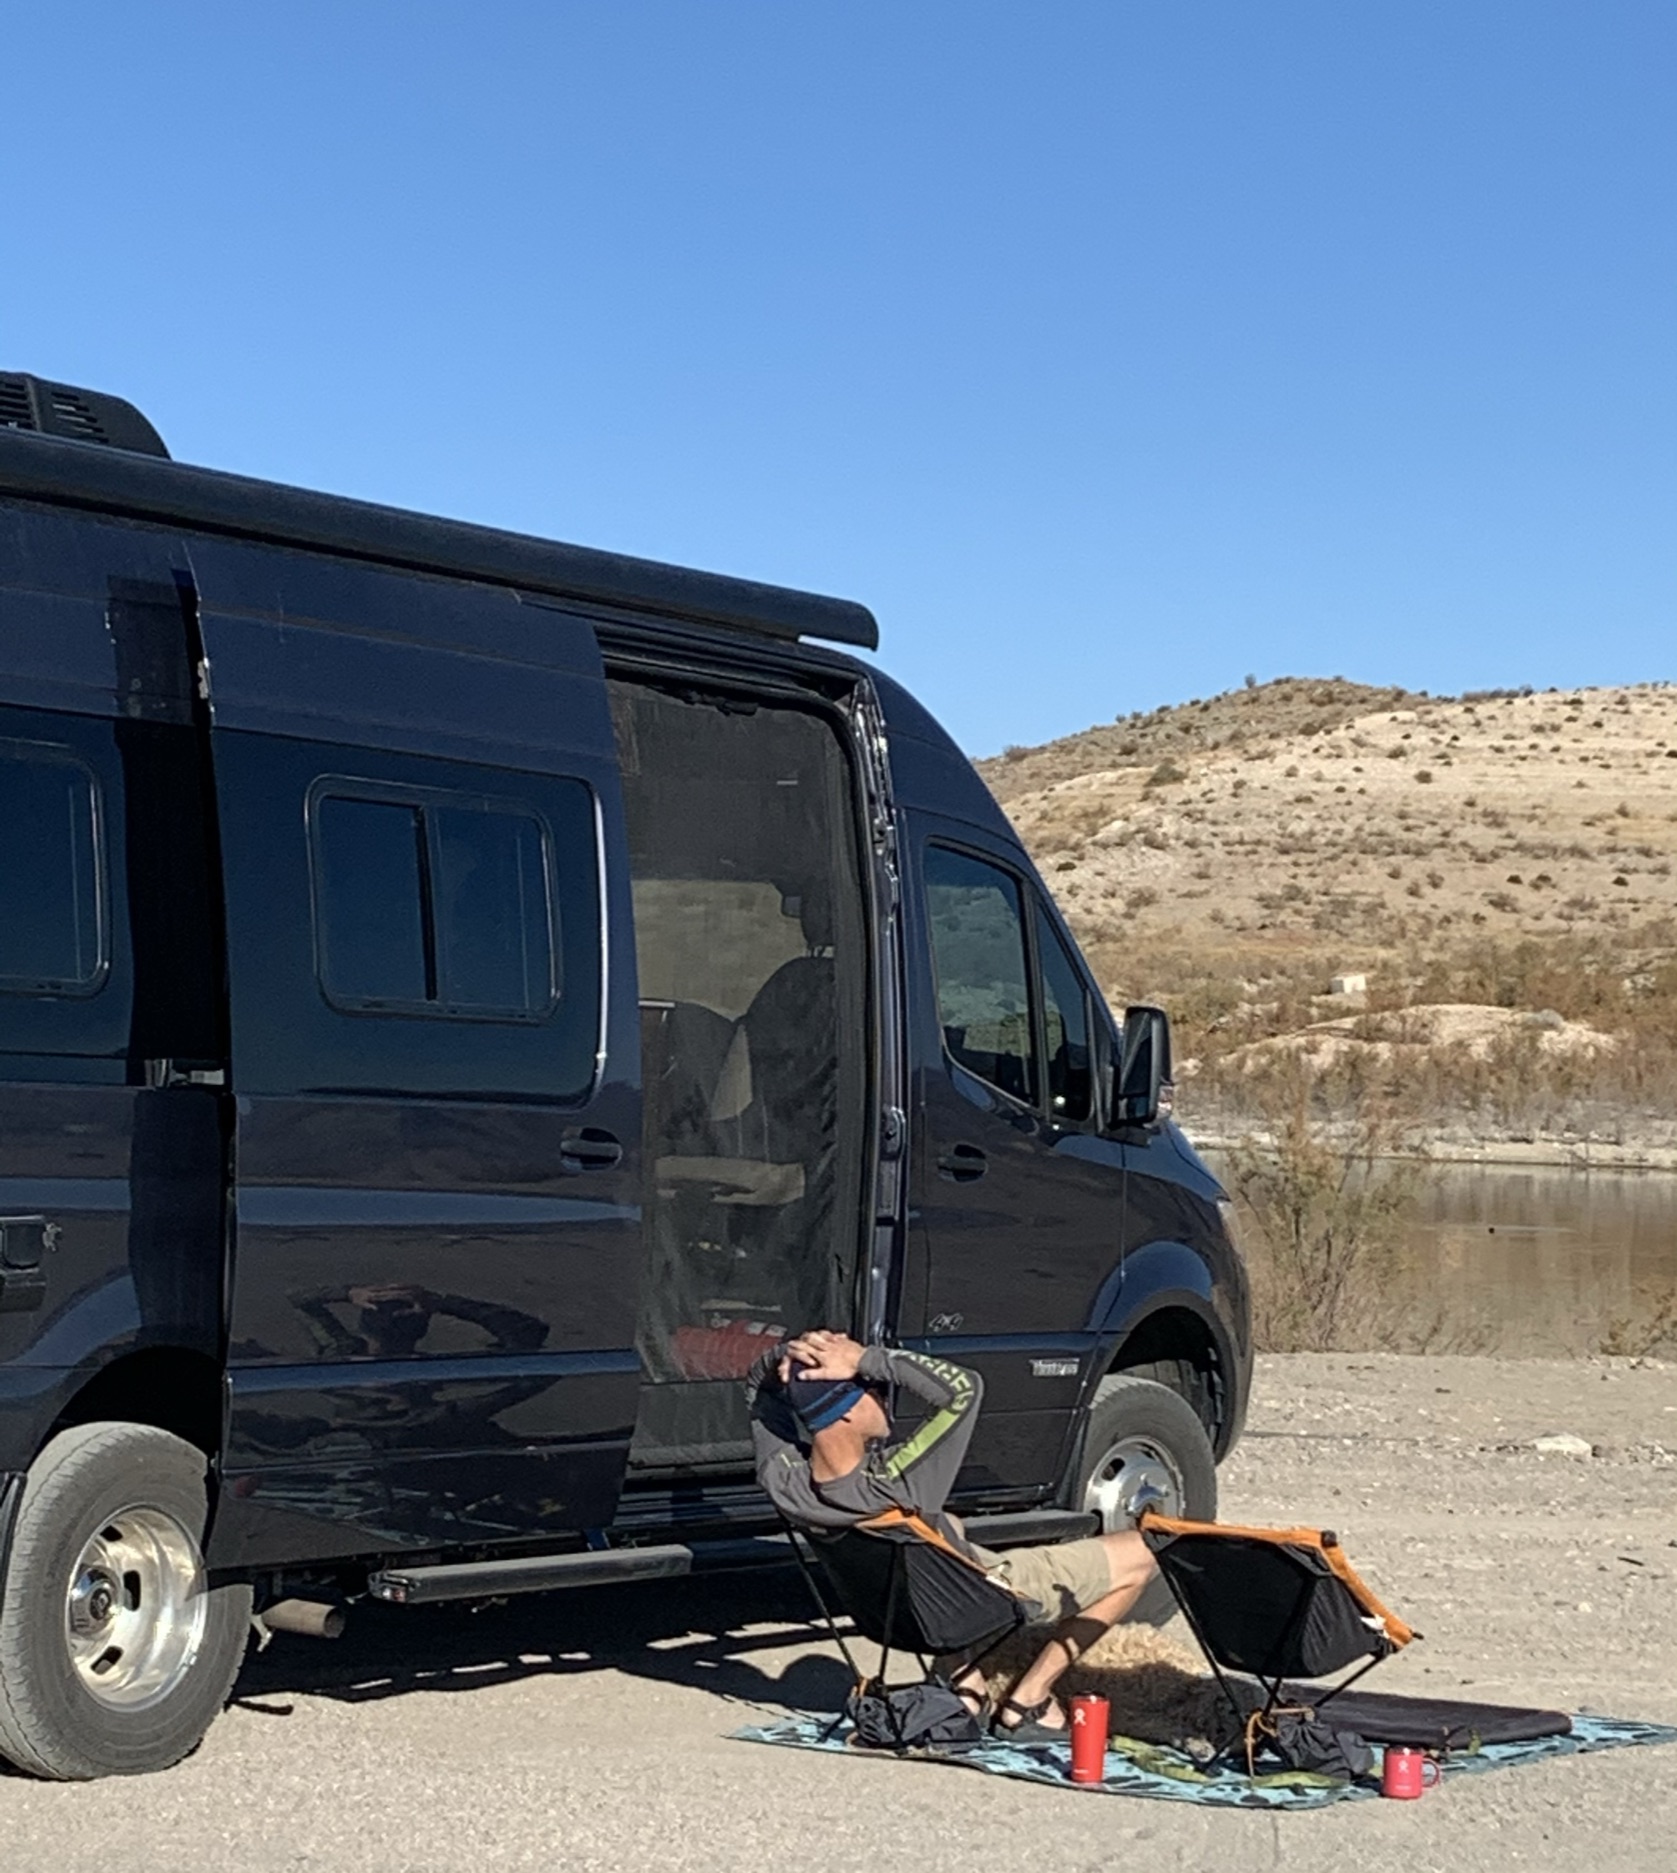
Bye Bye Boldt we are not going to miss you!
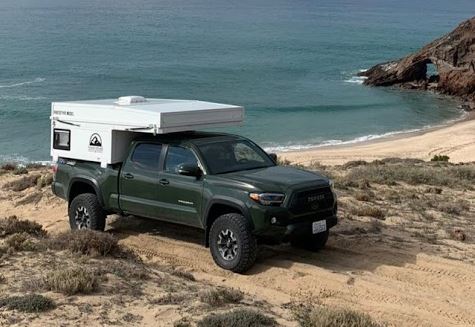
We loved our Boldt but even though it is 4X4 it is a very heavy vehicle, making it difficult to venture into sand or roads that are super rutted with lots of big rocks. What we loved the most this last year was exploring BLM and Forest Service roads that are off the beaten path and staying in places where there was no one around but coyotes, eagles and owls. Per our many stories, we were disappointed with the Mercedes Chasis, it just isn’t the quality you are paying for and after having it at the Mercedes dealer 8 times and unable to use our vehicle for about 2 months while living full-time (very inconvenient). We placed Our Boldt on Vanviewer, Facebook Marketplace, and a reached out to a few dealers. At the same time, Greg loves his YouTube Research and we spent a few days watching the most reliable off-roading vehicles and truck toppers that are durable, 4-season and as light as possible but with enough amenities we could live full-time (since we no longer have a full time home). So we then took the next 5 days to sell our Boldt! We bought a Toyota Tacoma Double Cab 6′ bed. Note to those who may want to copy us, the Tacoma is in high demand and we spent 6 hours talking to 8 dealerships across Oregon, Washington, Idaho and Montana to find one. It will take time, many dealerships told us we would have a month wait or longer! So we decided on the Overland Explorer Camp-M truck topper! It was a close back in forth between the Four Wheel Camper Fleet Model (most people have heard of the Hawk but its made for full size trucks and not mid-size) and the Scout Yoho, Kimbo and Carbou Lite 6.5 all not available until January 2022. Since we no longer have a home we were hoping for a truck topper we could get right away, we were surprised it was pretty impossible to find a used one from one of these companies available anywhere in this country. So we decided to go back old school tent camp until end of June when we could get at 2021 Camp M from Big Sky RV in Montana. Note, I have no idea how they sell tent so cheap and make any money but Costco sells a huge 6 person tent with a sunscreen room (great to avoid the mosquitoes this time of year) for only $129.00!
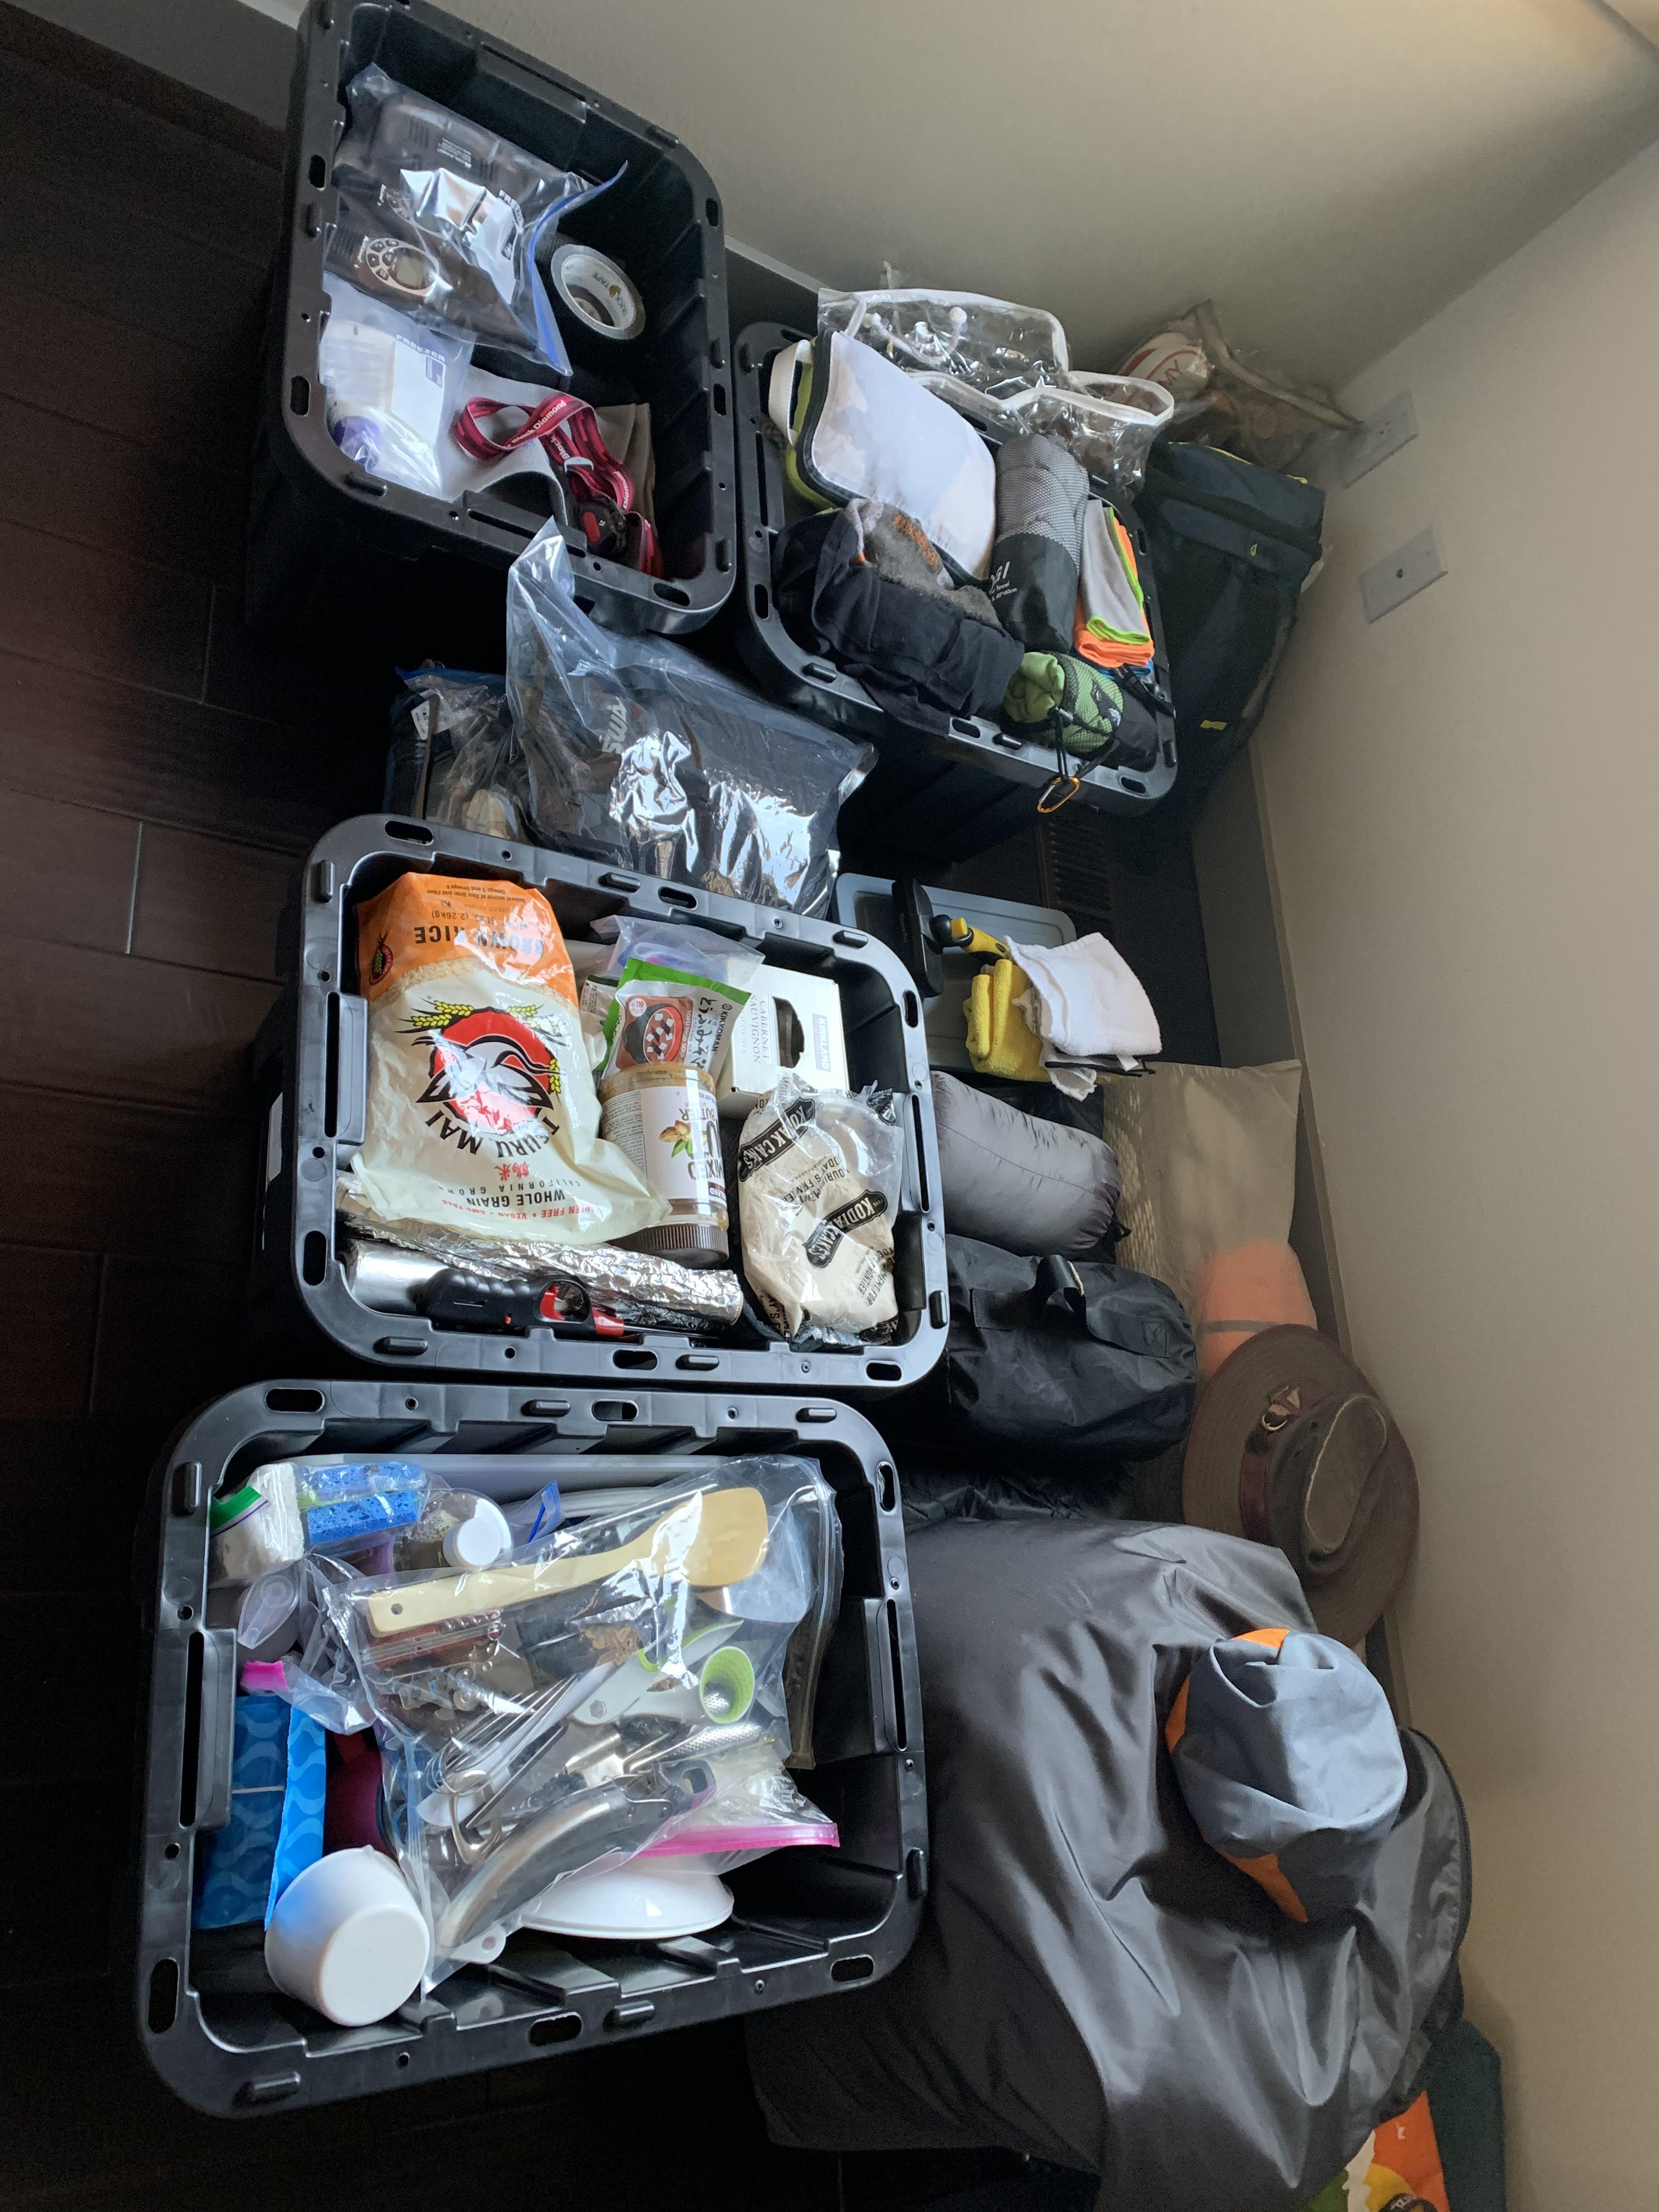
All our possessions for the next year
Our new truck loving the sunroof on a truck!
Images below of what our new set-up will look like in a few months and us at our campground as we wait for Greg’s second Covid19 shot. So I took all of our Van life possession and cut them in half to fit in our new truck topper setup. It is amazing how little we really need to live very comfortably! I was able to get everything into 4- 14 gallon bins that will be stored in the double cab once we have the topper. We are going to toughen up and no longer enjoy a wet bath but an outdoor shower and our little 2.5 gallon Thetford Porta Potty. Now I will know how Bode feels! Good thing Greg and I have gotten into the Wim Hof Method! It is a breathing technique and cold showers that change your body’s biochemistry and help strength your immune system, better your energy and sleep.
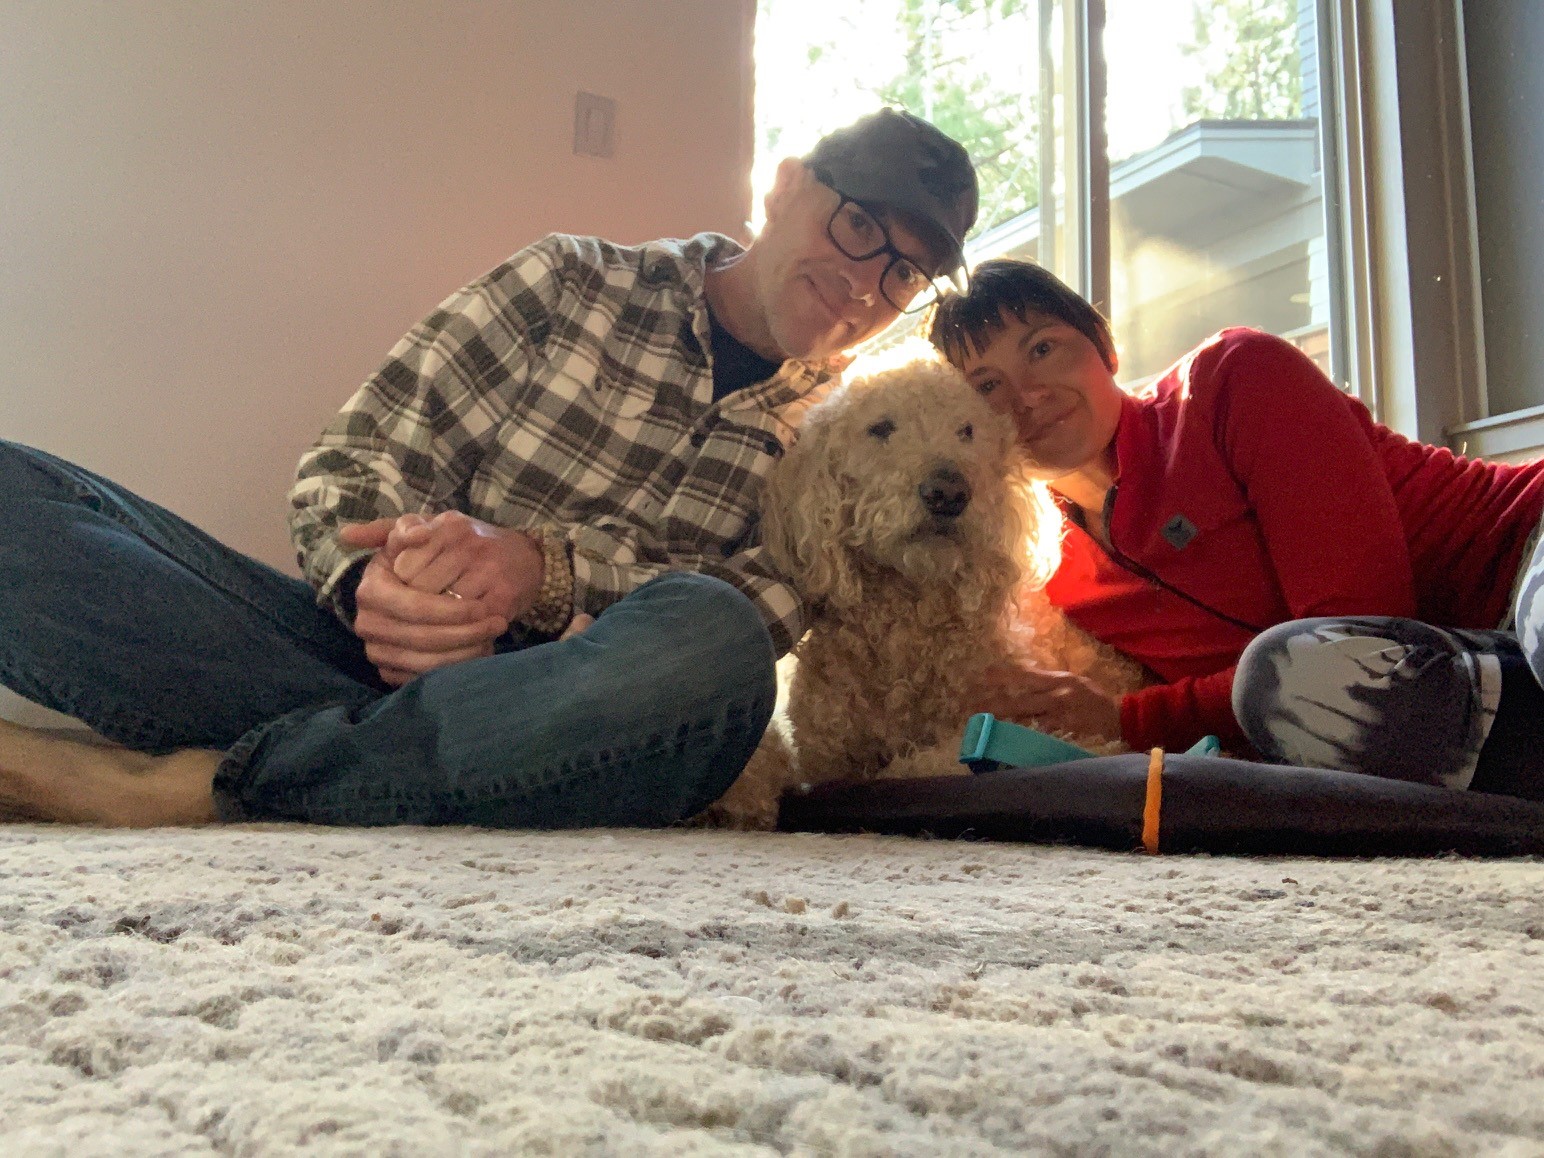
So of course nothing goes as planned. As we were selling our home and preparing to hit the road again, our little buddy Bode started deteriating at a rapid pace. After 12 fun and crazy years we had to let Bode go.
Our new Camp M and Tacoma set-up.
The outside of the new Camp M
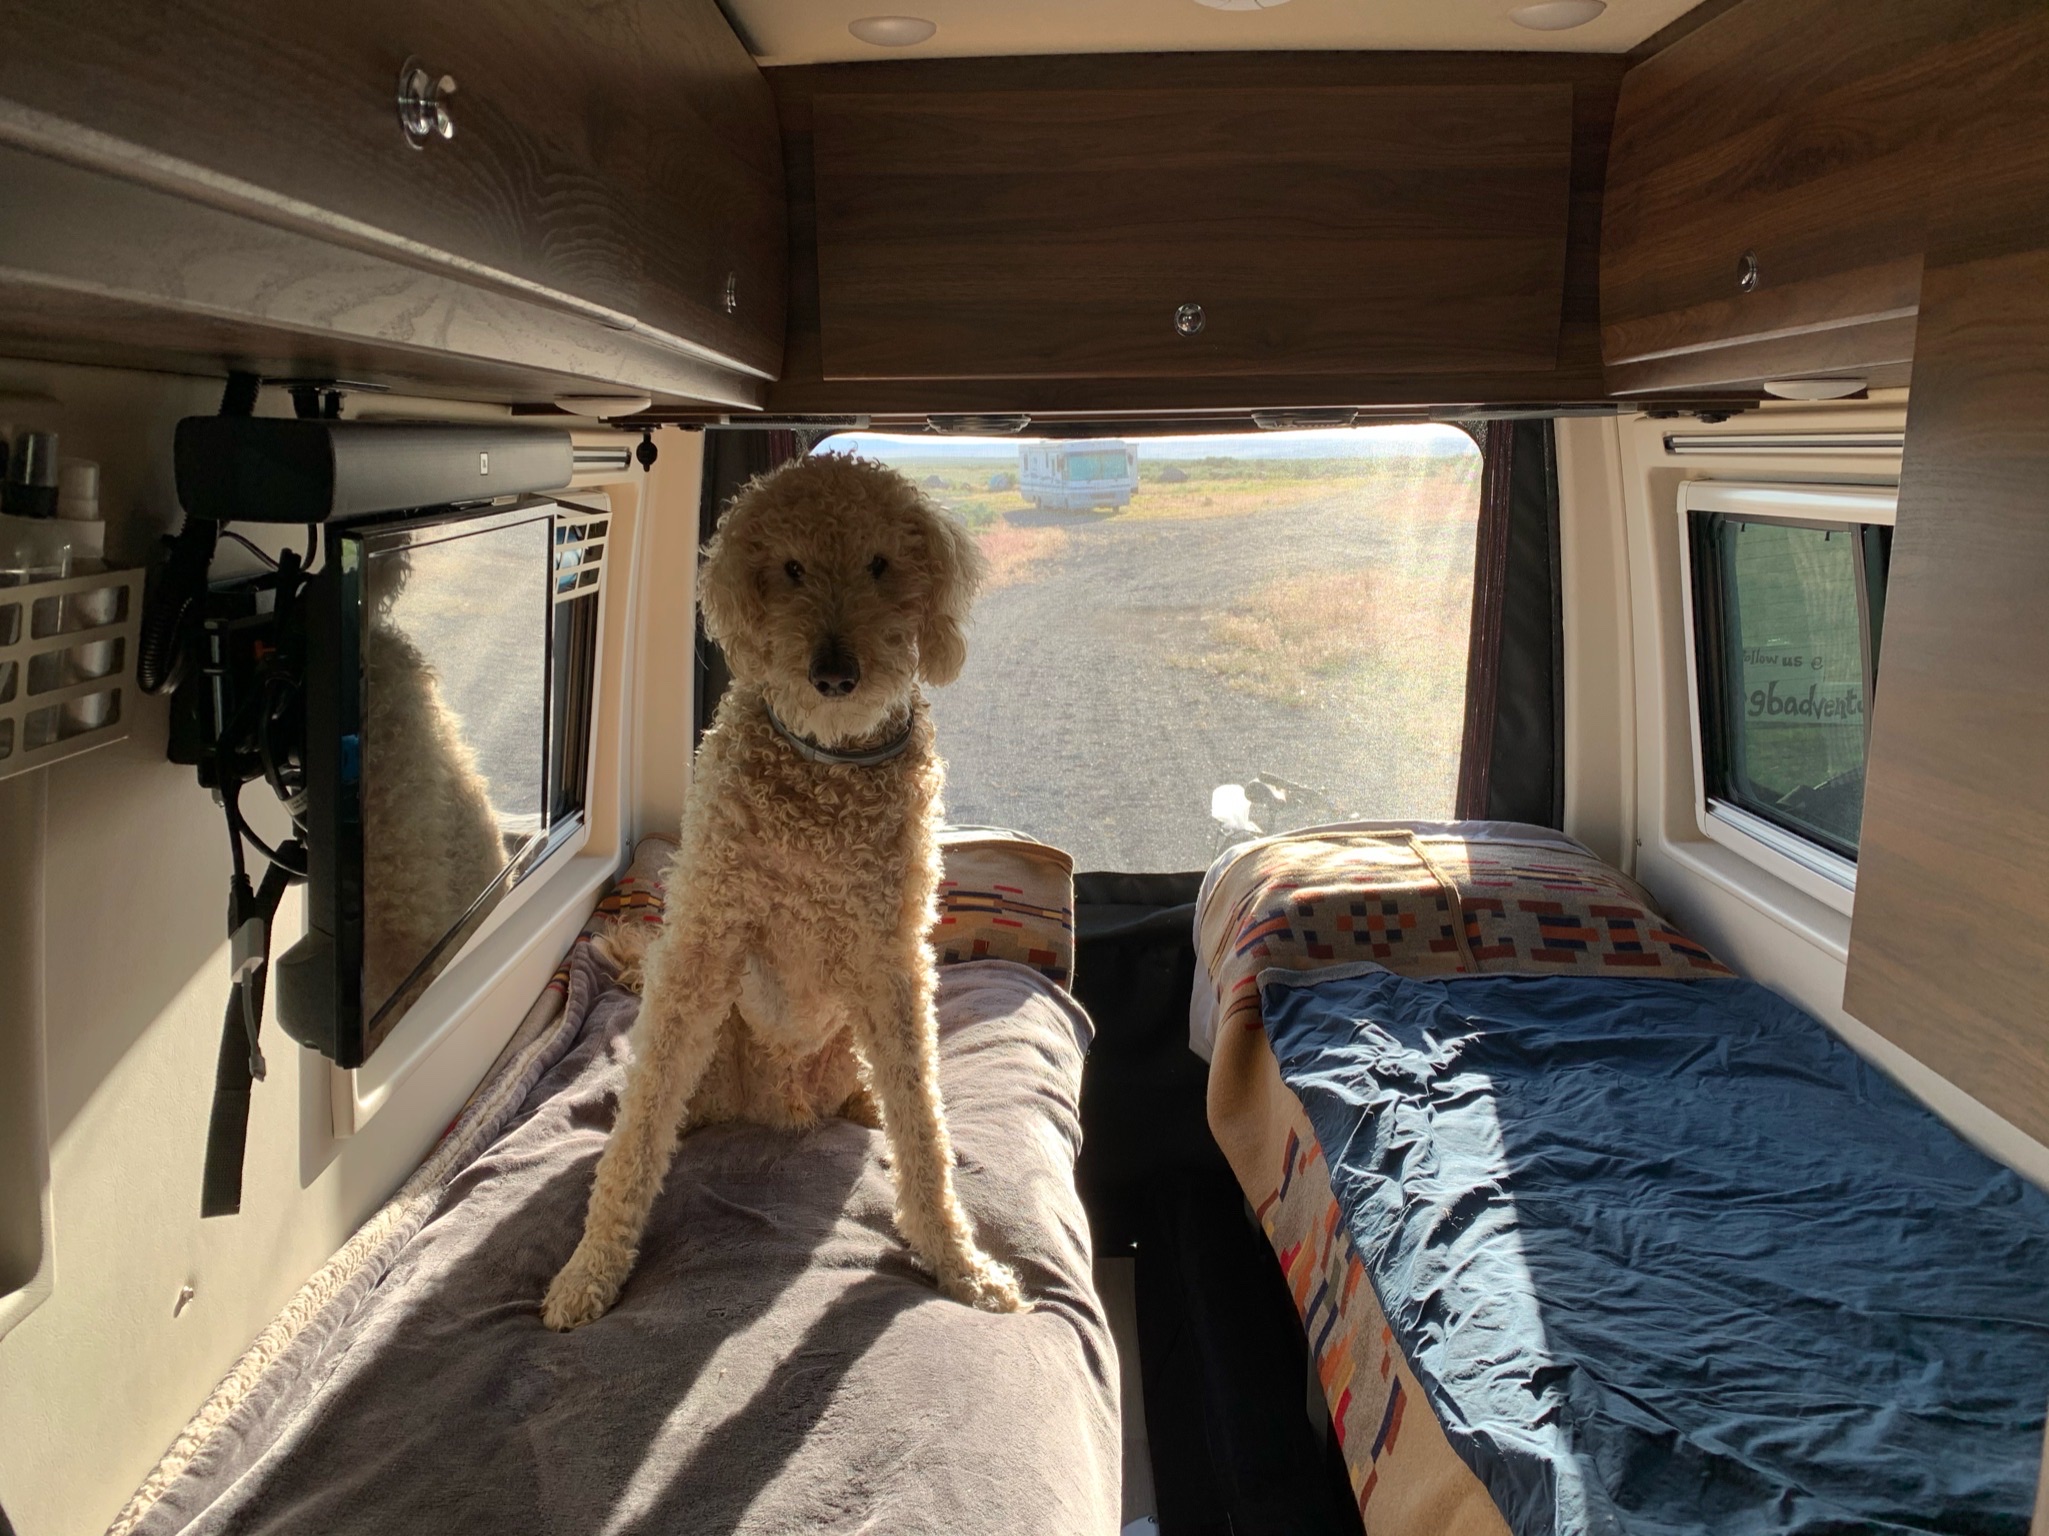
Bode trying the new truck setup
Bode saying good-bye to the Boldt.
So our next post will be about our old school camping on the Oregon Coast, Sunriver then on to Arizona and San Diego. Then if all goes well we will report on our new Overlanding adventures across the USA, and why we purchased which overlanding stove, awning and cooler/refrigerator and all the cool gear to choose from. All I can say I love the Tacoma Crawl feature and the smooth ride is so much quieter and nicer than the Mercedes. Come back for more crazy adventures. We will end this post with our last shot with our crazy doodle Bode.
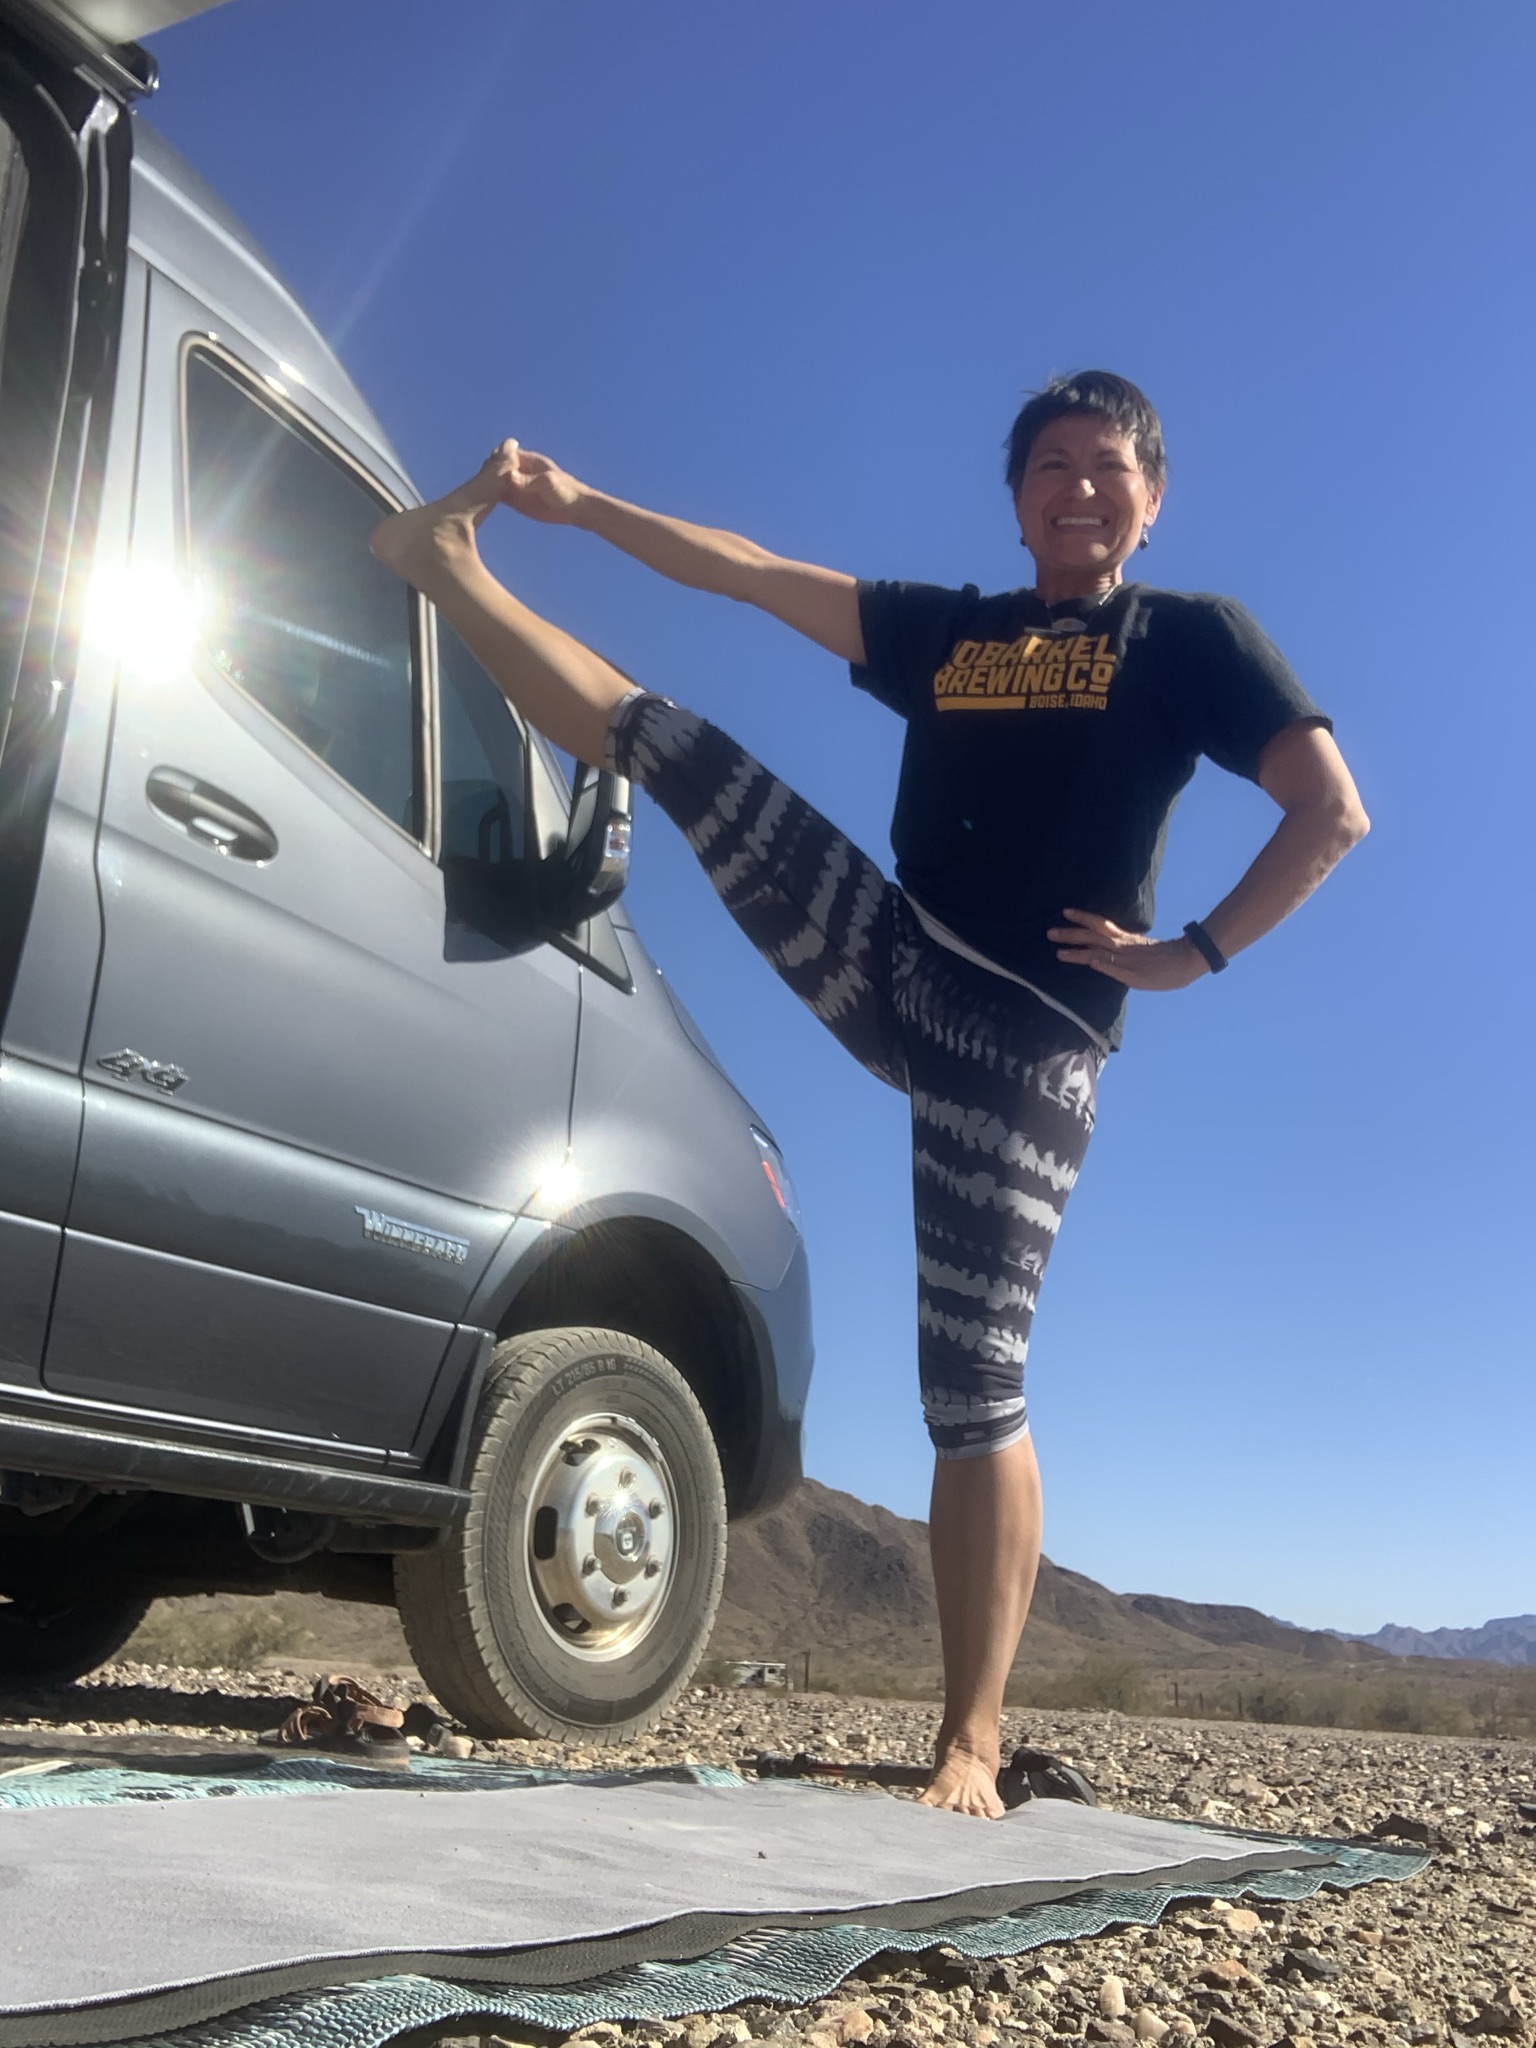
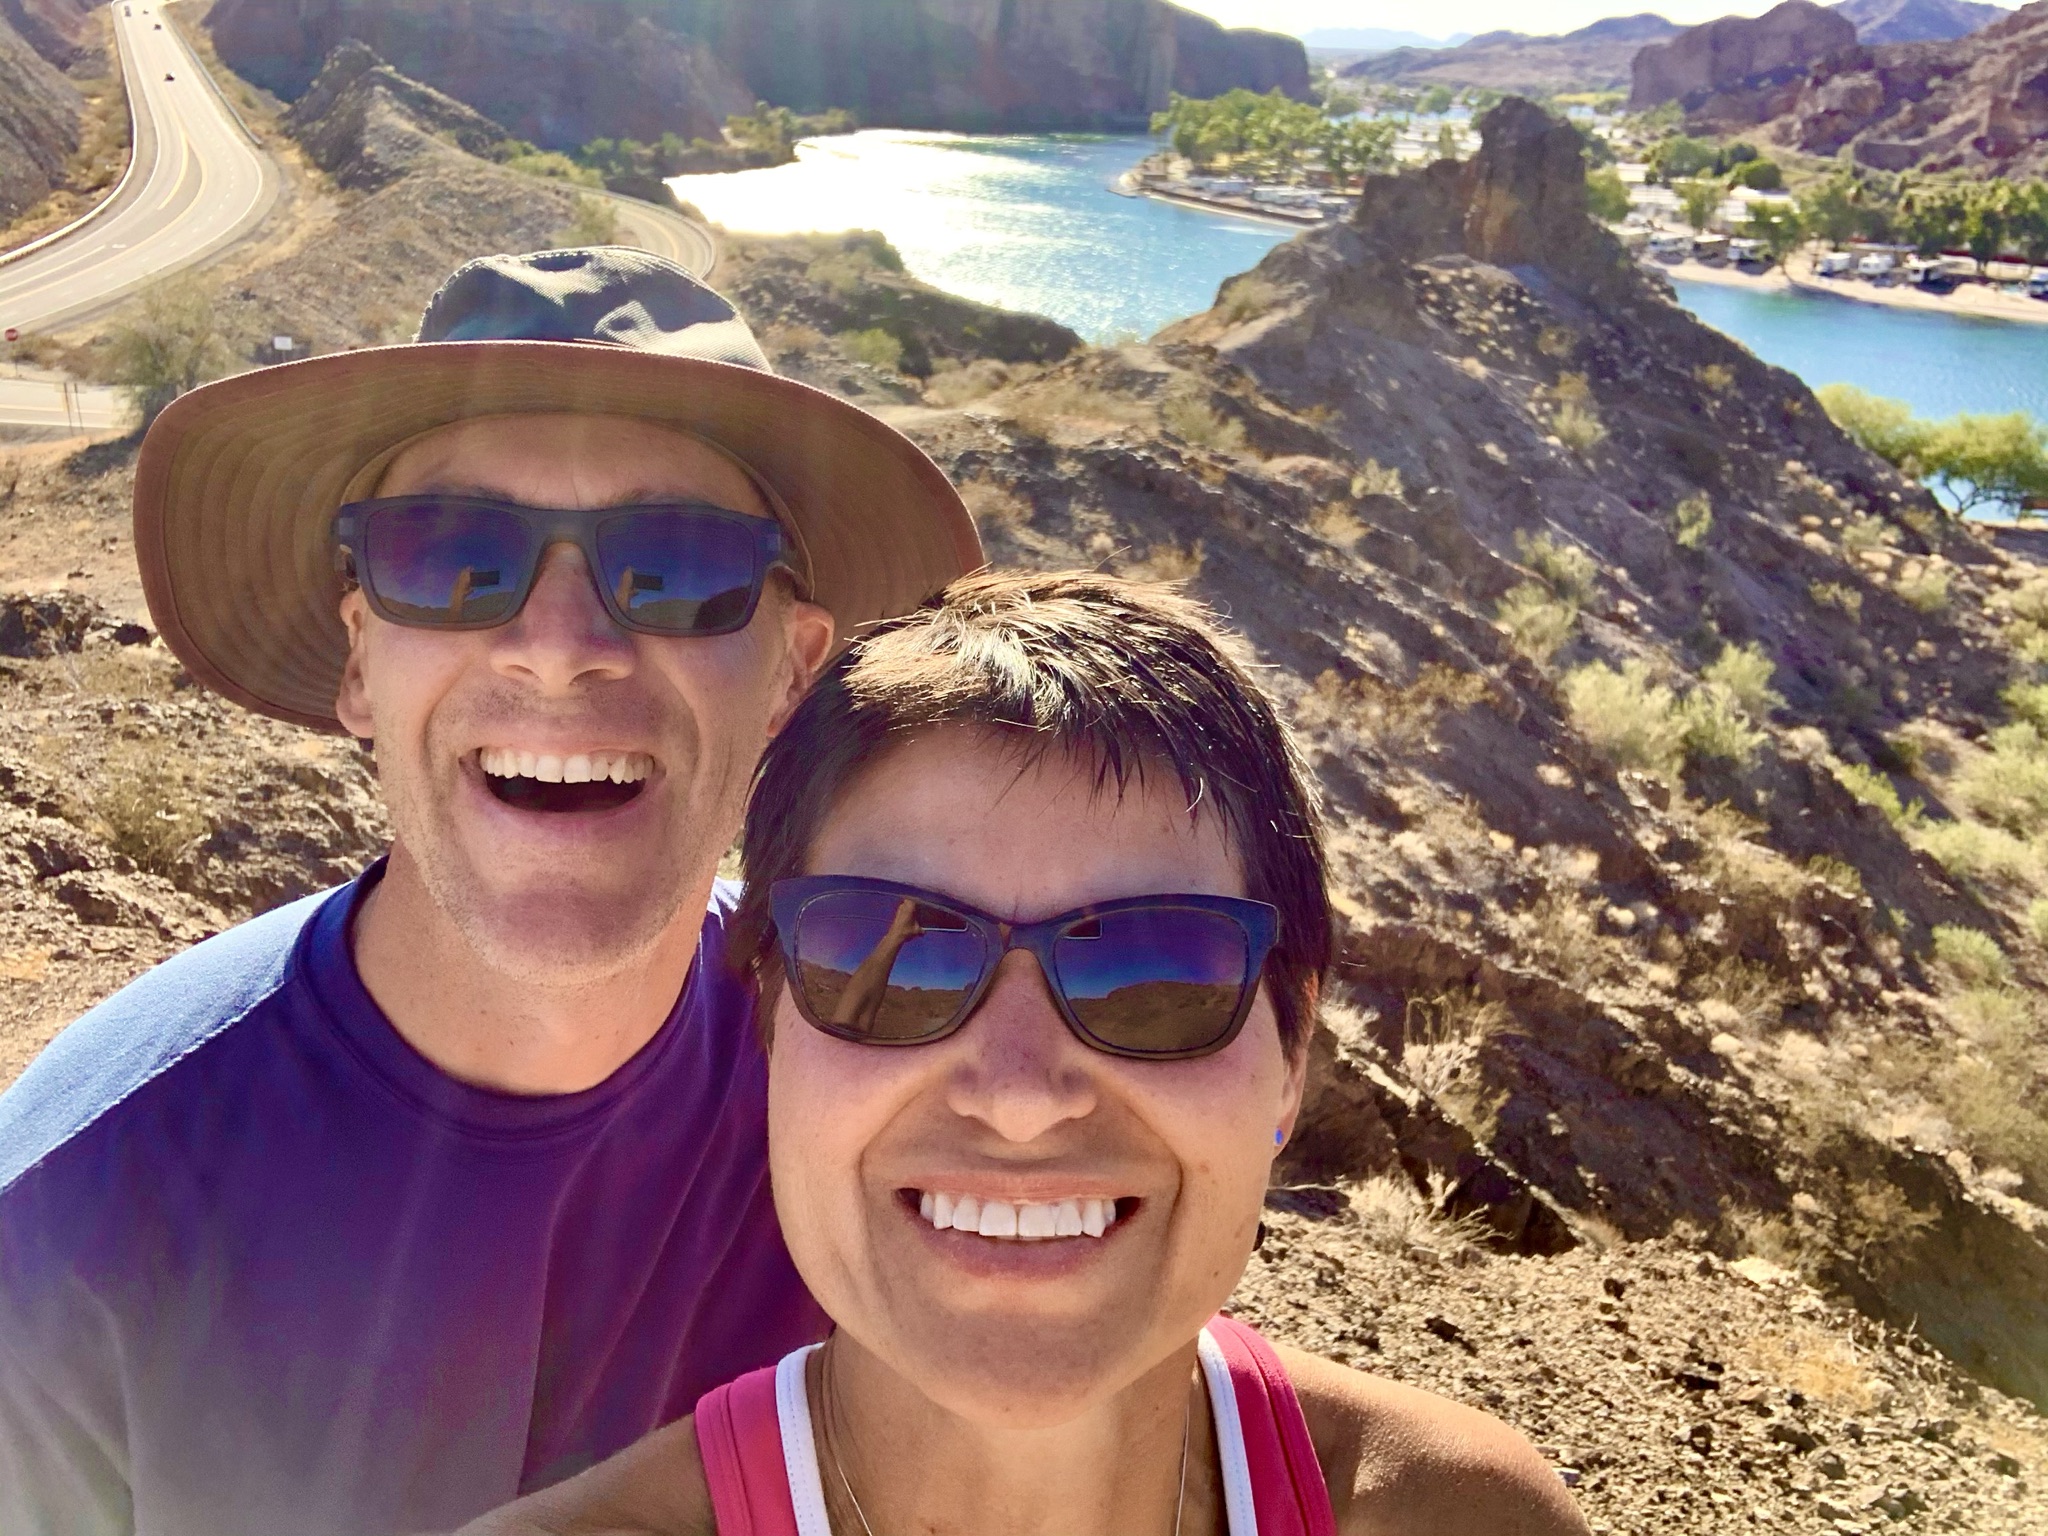
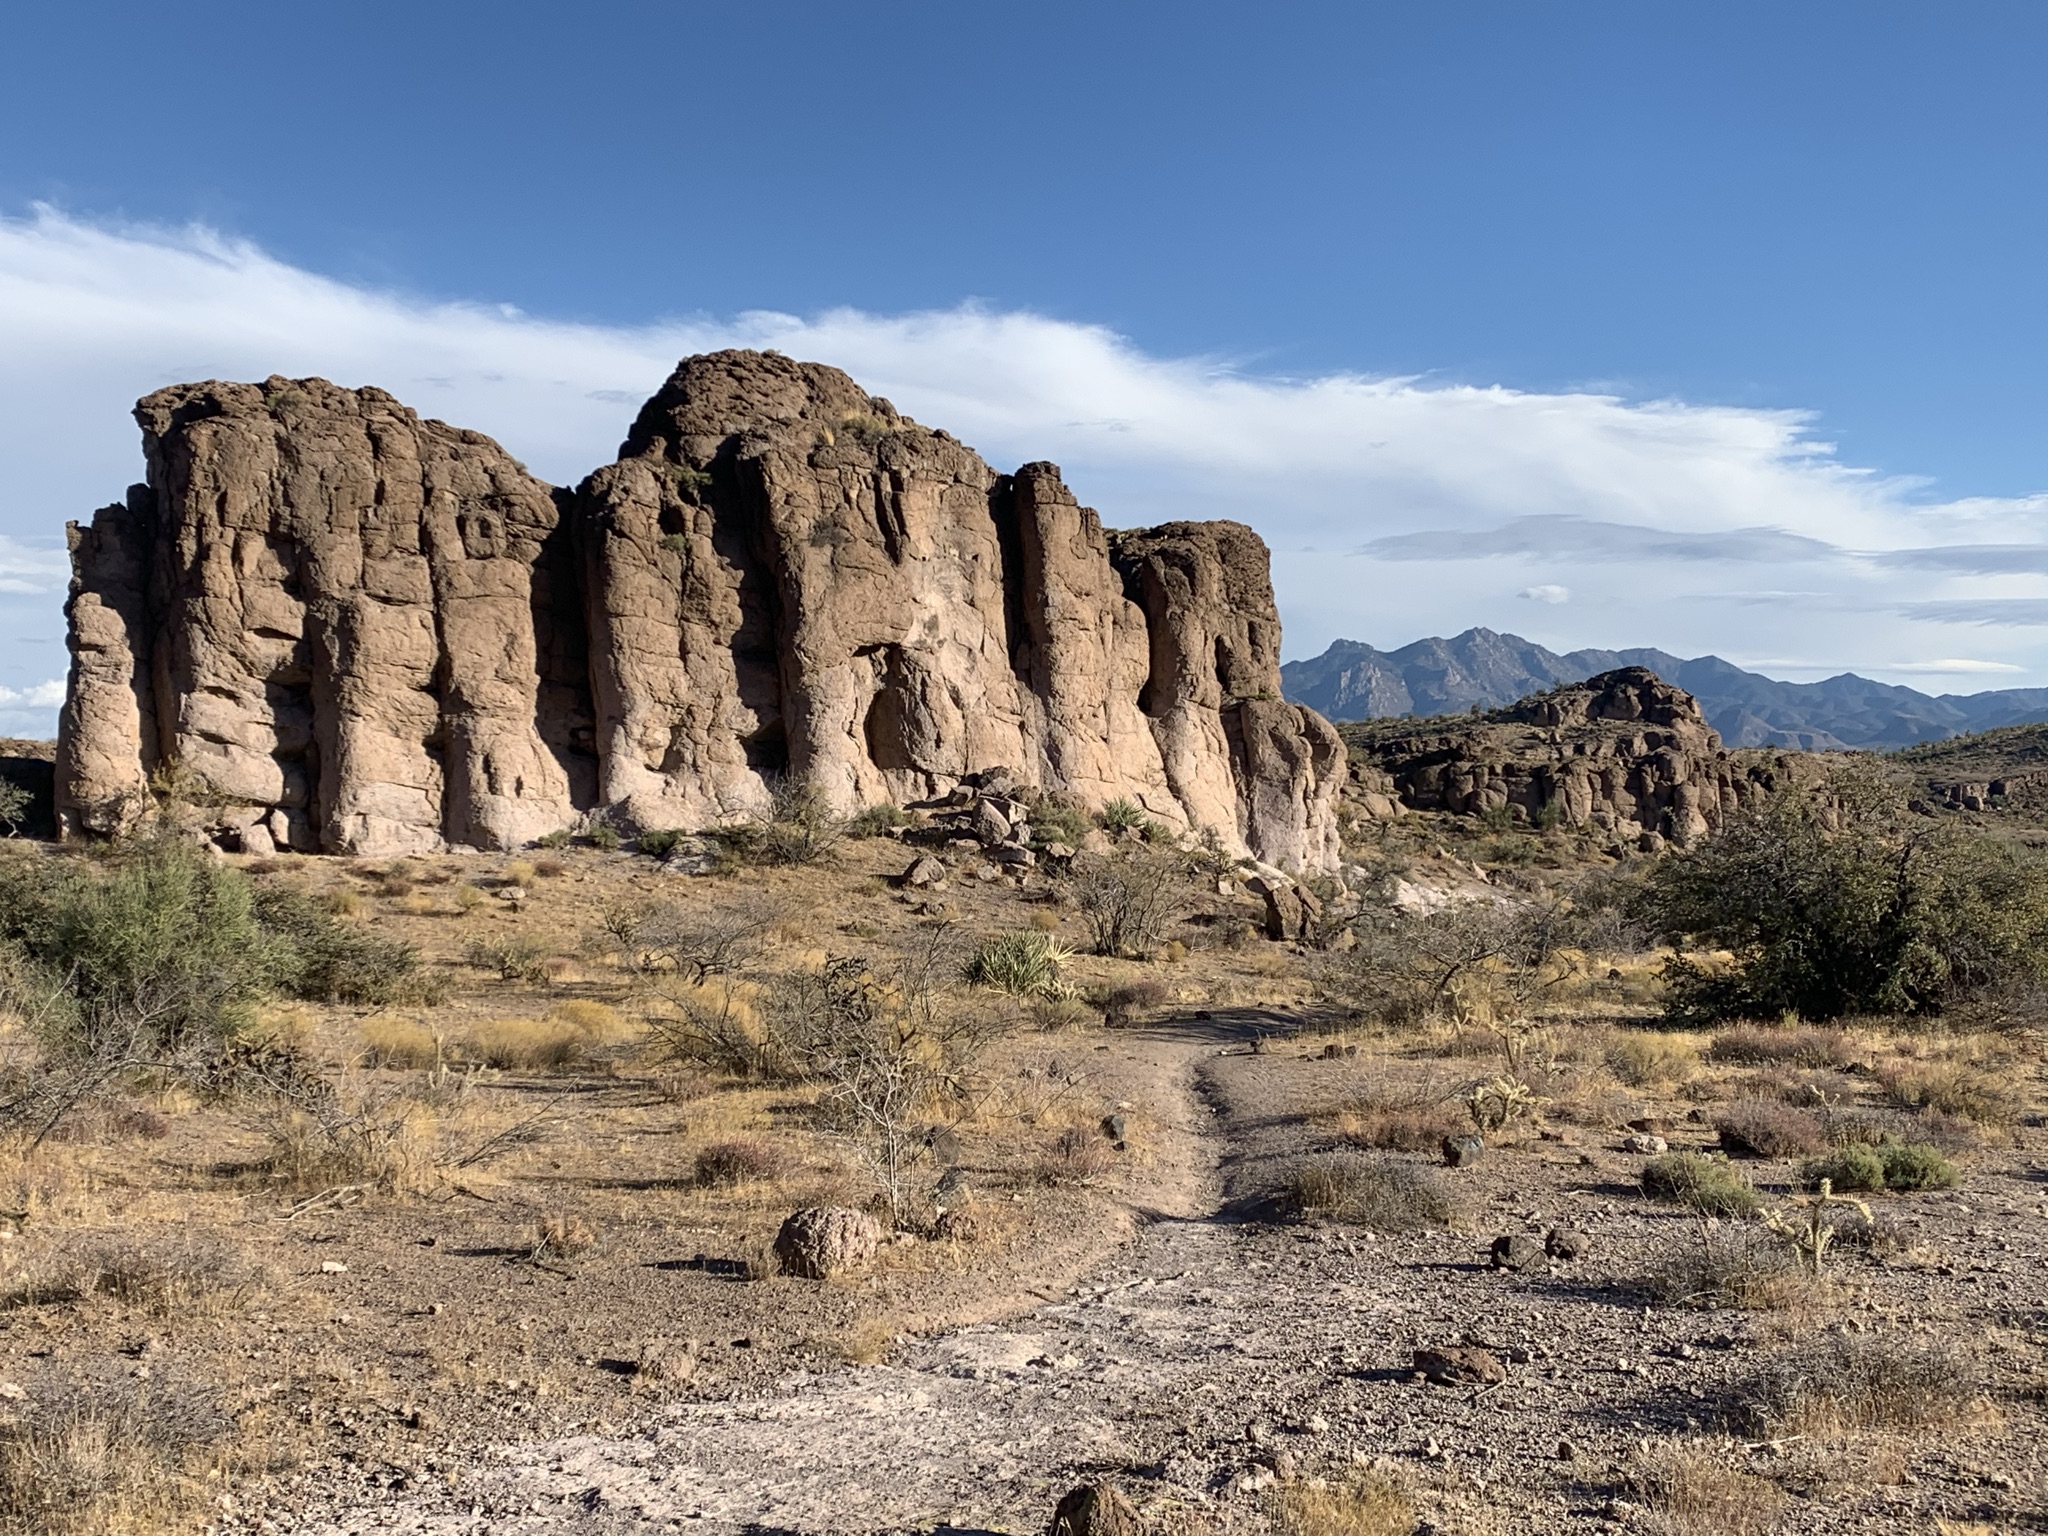
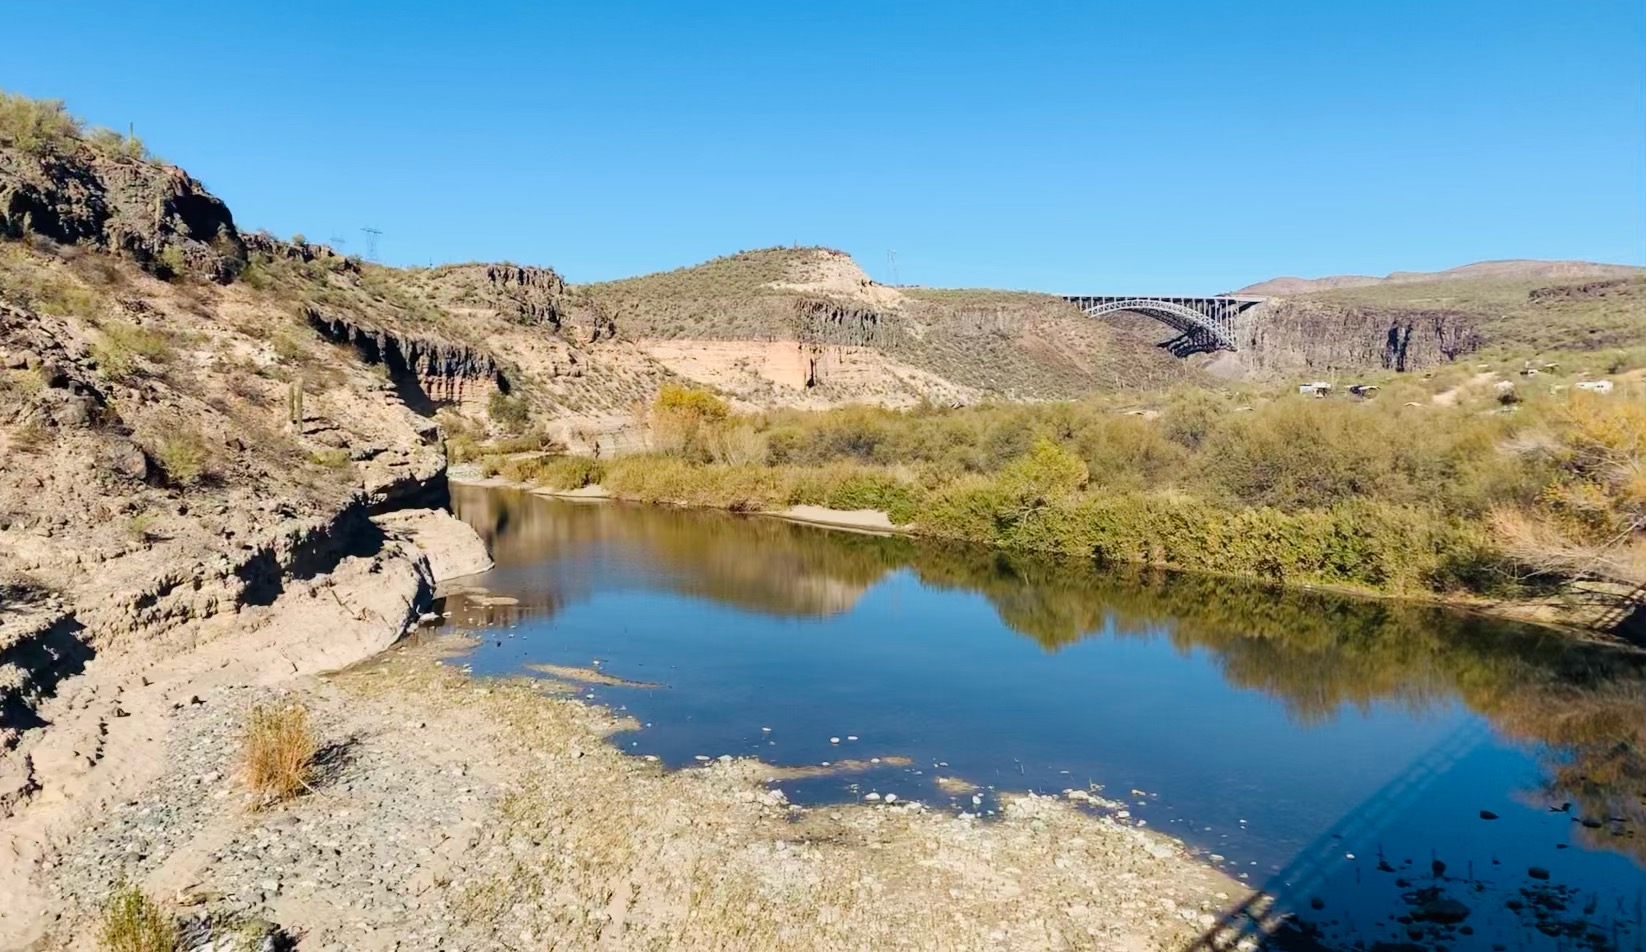
For the month of November, we explored Arizona and had several amazing trips! This week I am going to share our Western Arizona Route and great places to boondock or camp that are affordable and fun!
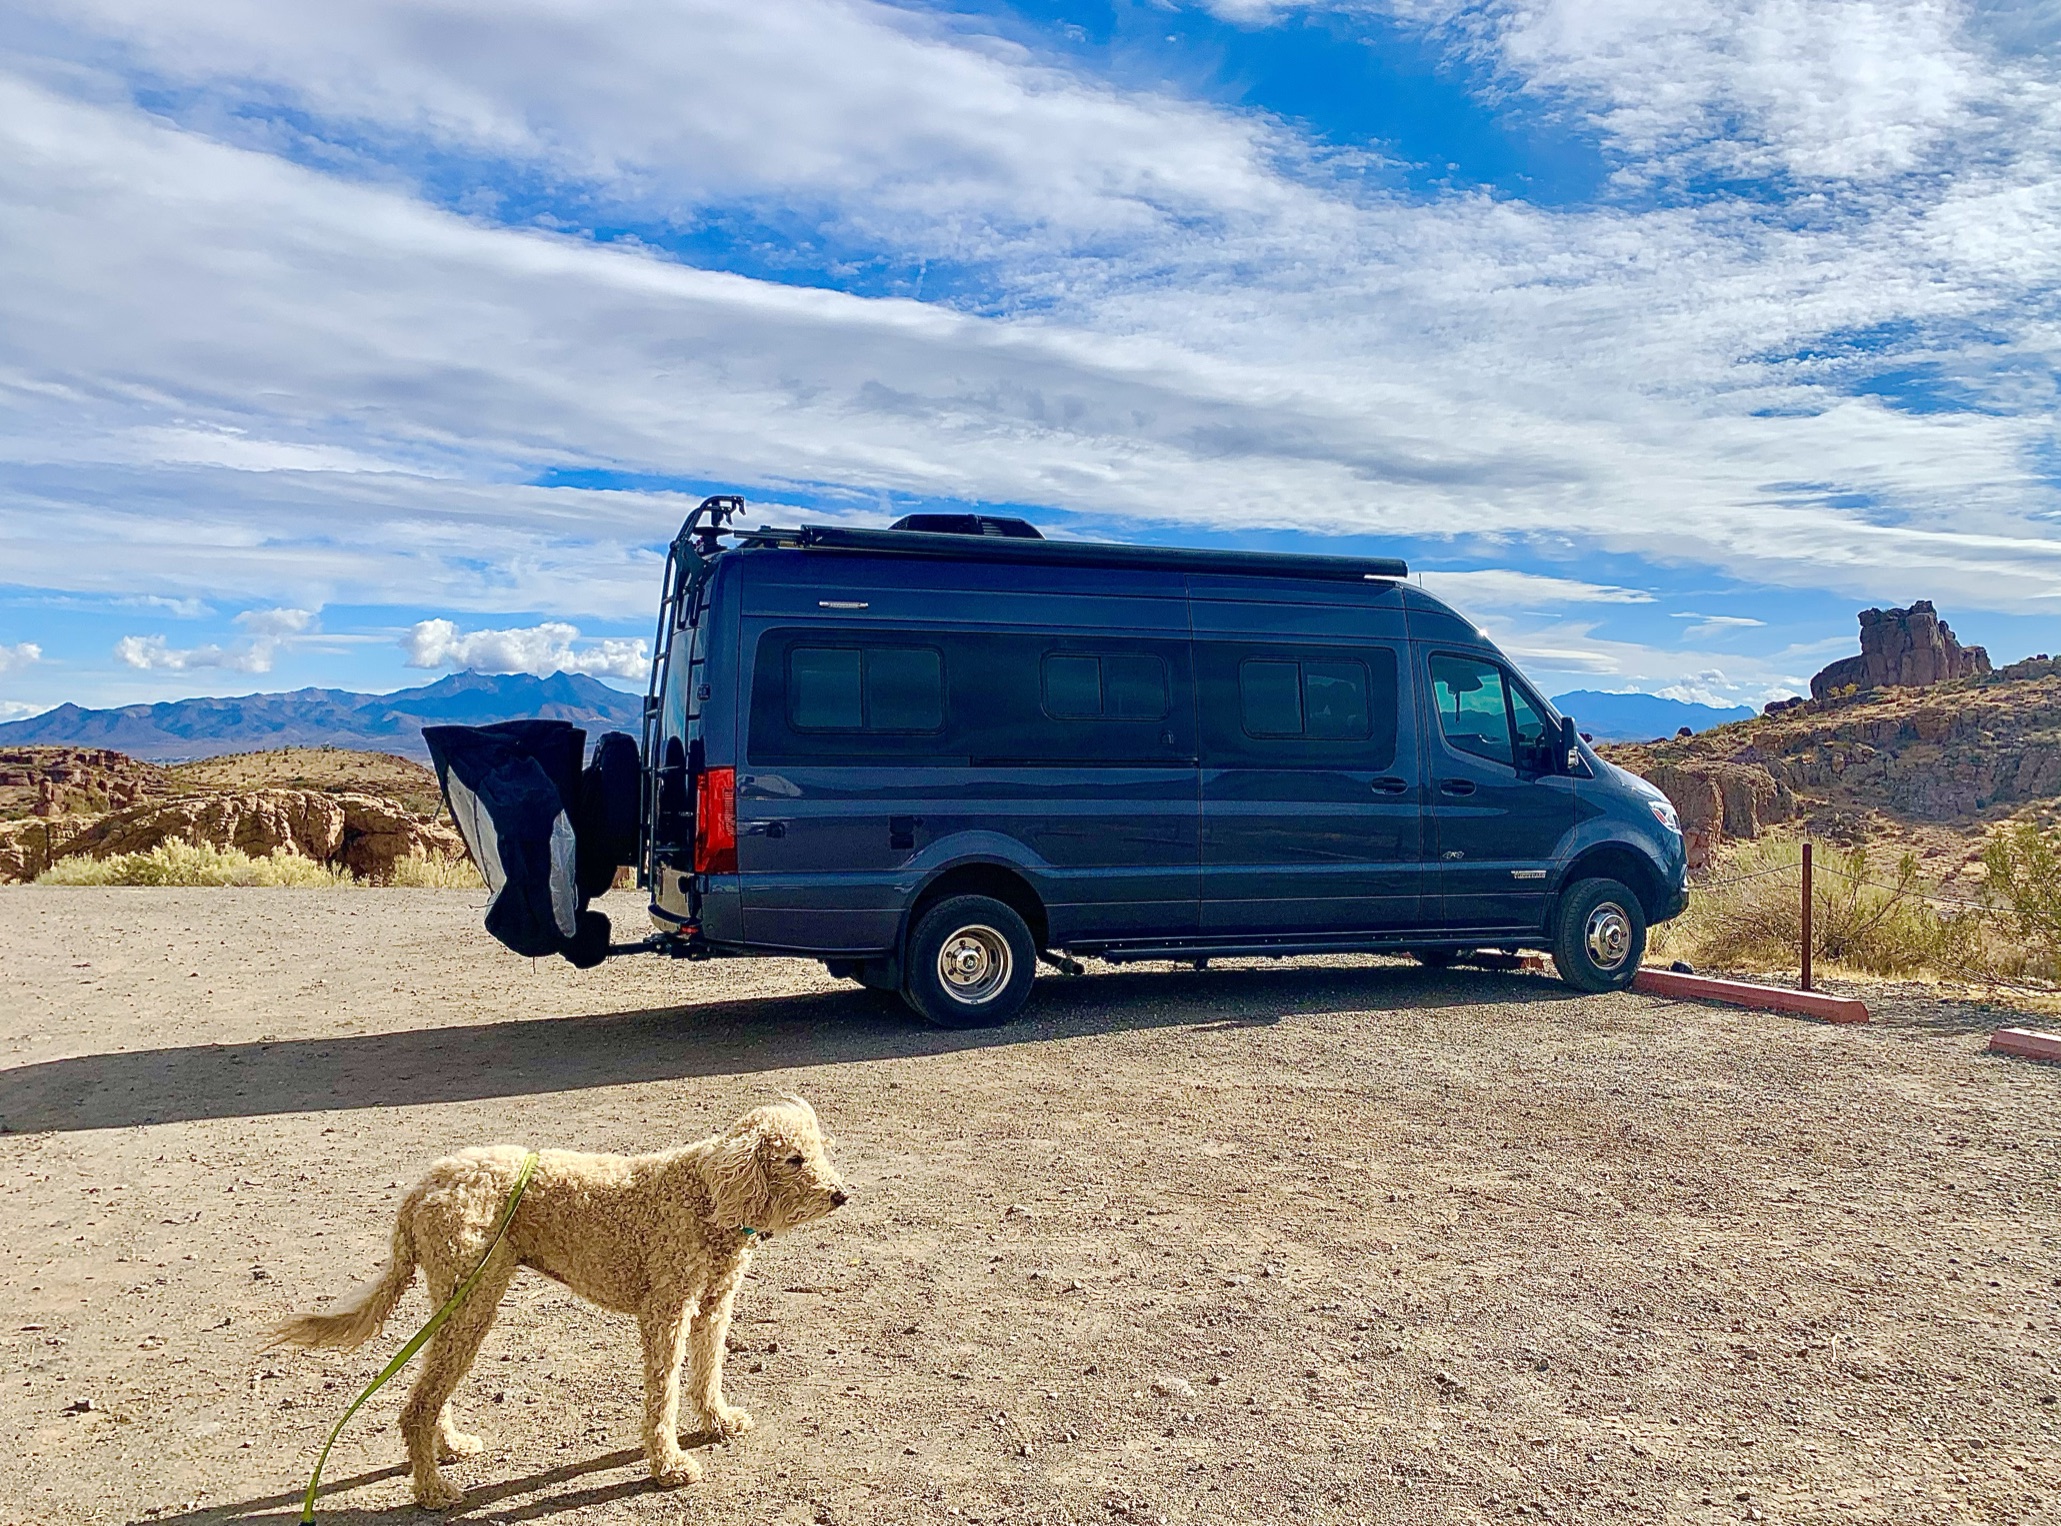
One question we get is living in a van how do you manage all your toys of all the different seasons? We purchased a 6×12 cargo trailer that we leave in Tucson, AZ (Greg’s parents live in Tucson so we can visit them while we drop off or pick-up items). The name of the RV Park that we store it at is Diamond J’s, its very affordable and located next to some great hiking and mountain biking at the Tucson Mountain Park. We store all of our gear so we can transition from Summer and Fall activities to Winter and Spring.
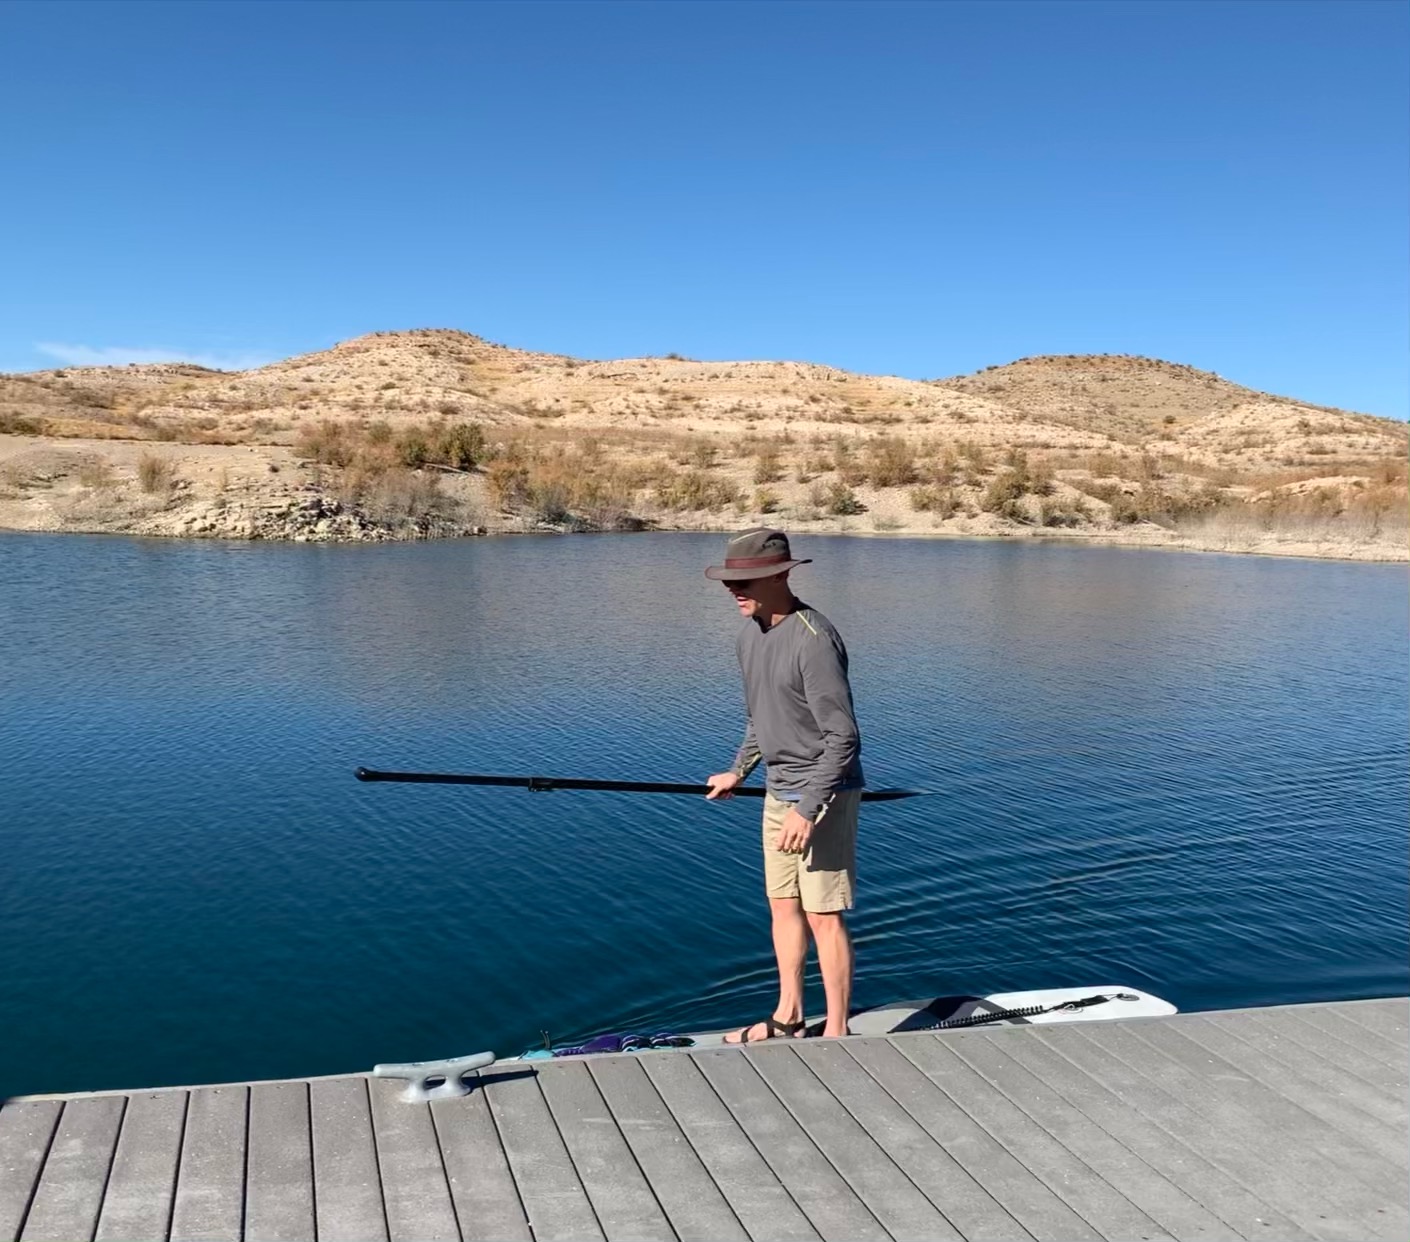
For our Western Arizona trip, we wanted to paddleboard, bike, hike and run as we adventured to different areas. November was a very pleasant temperature, with lows in the 50s and highs in the 80s. We like to travel about 100-175 miles a day or every few days. Here is our last trip- the good and bad of each location and if we would go back.
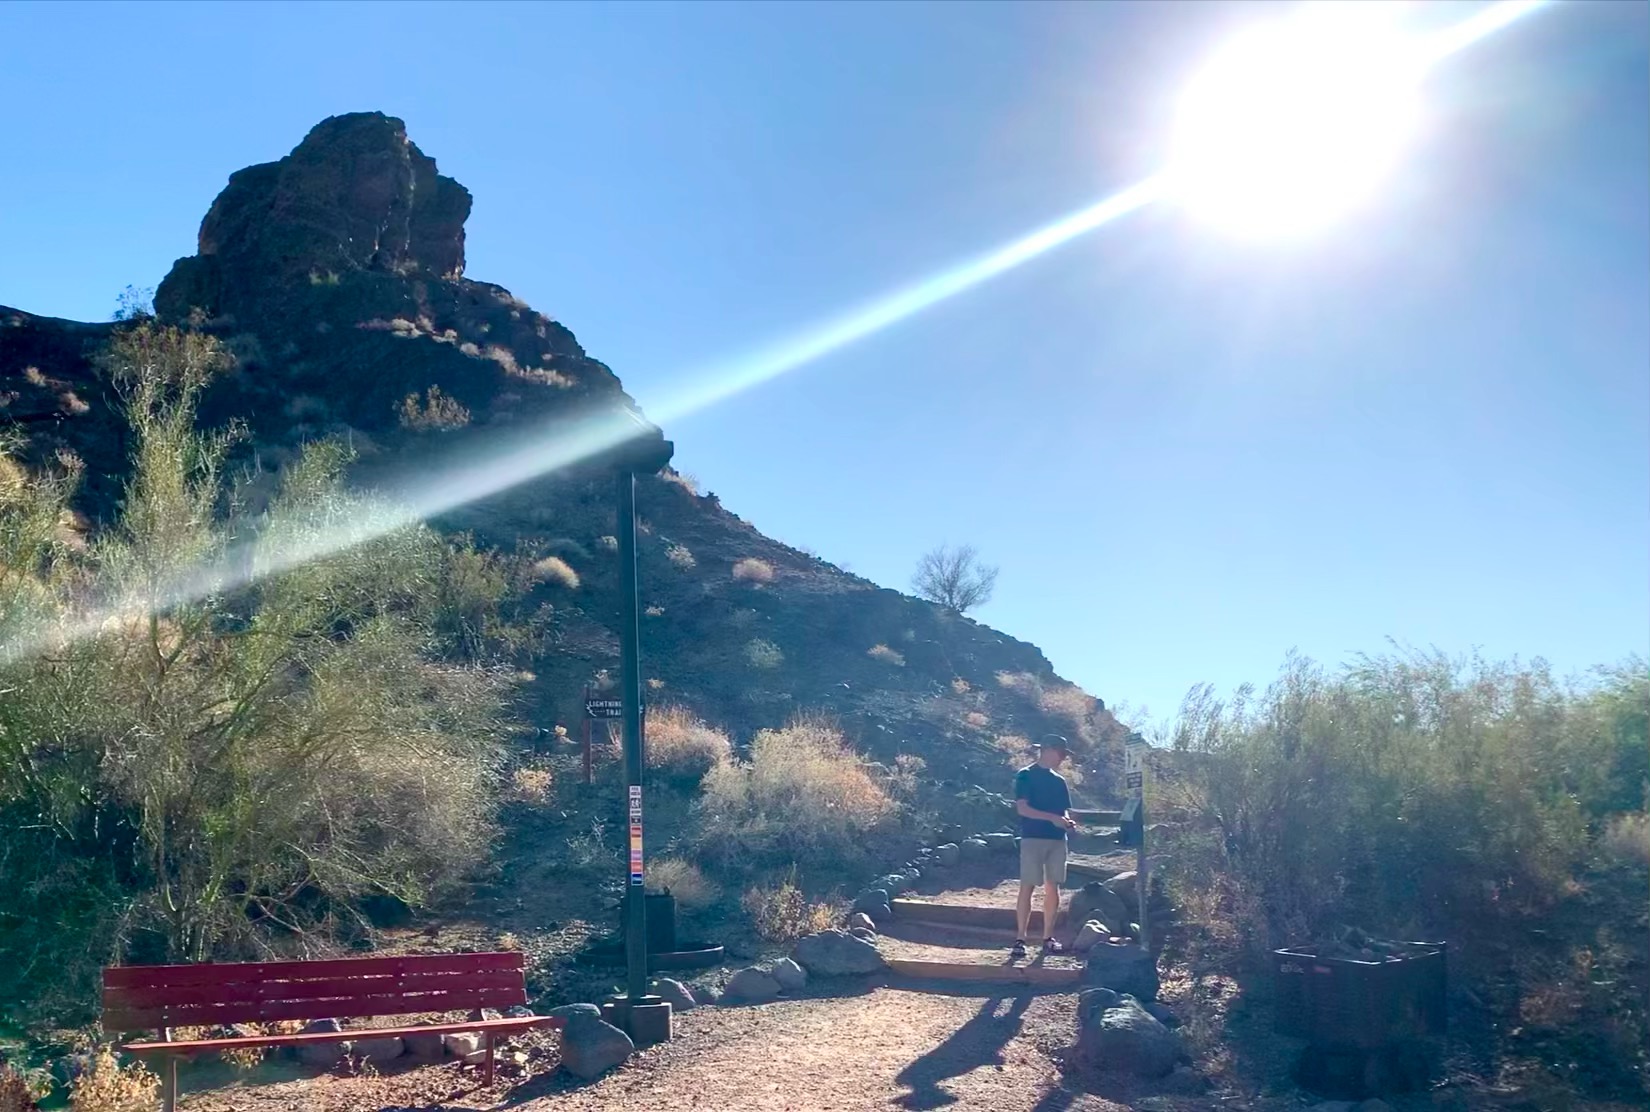
Picacho Peak Campground ($30- no water)
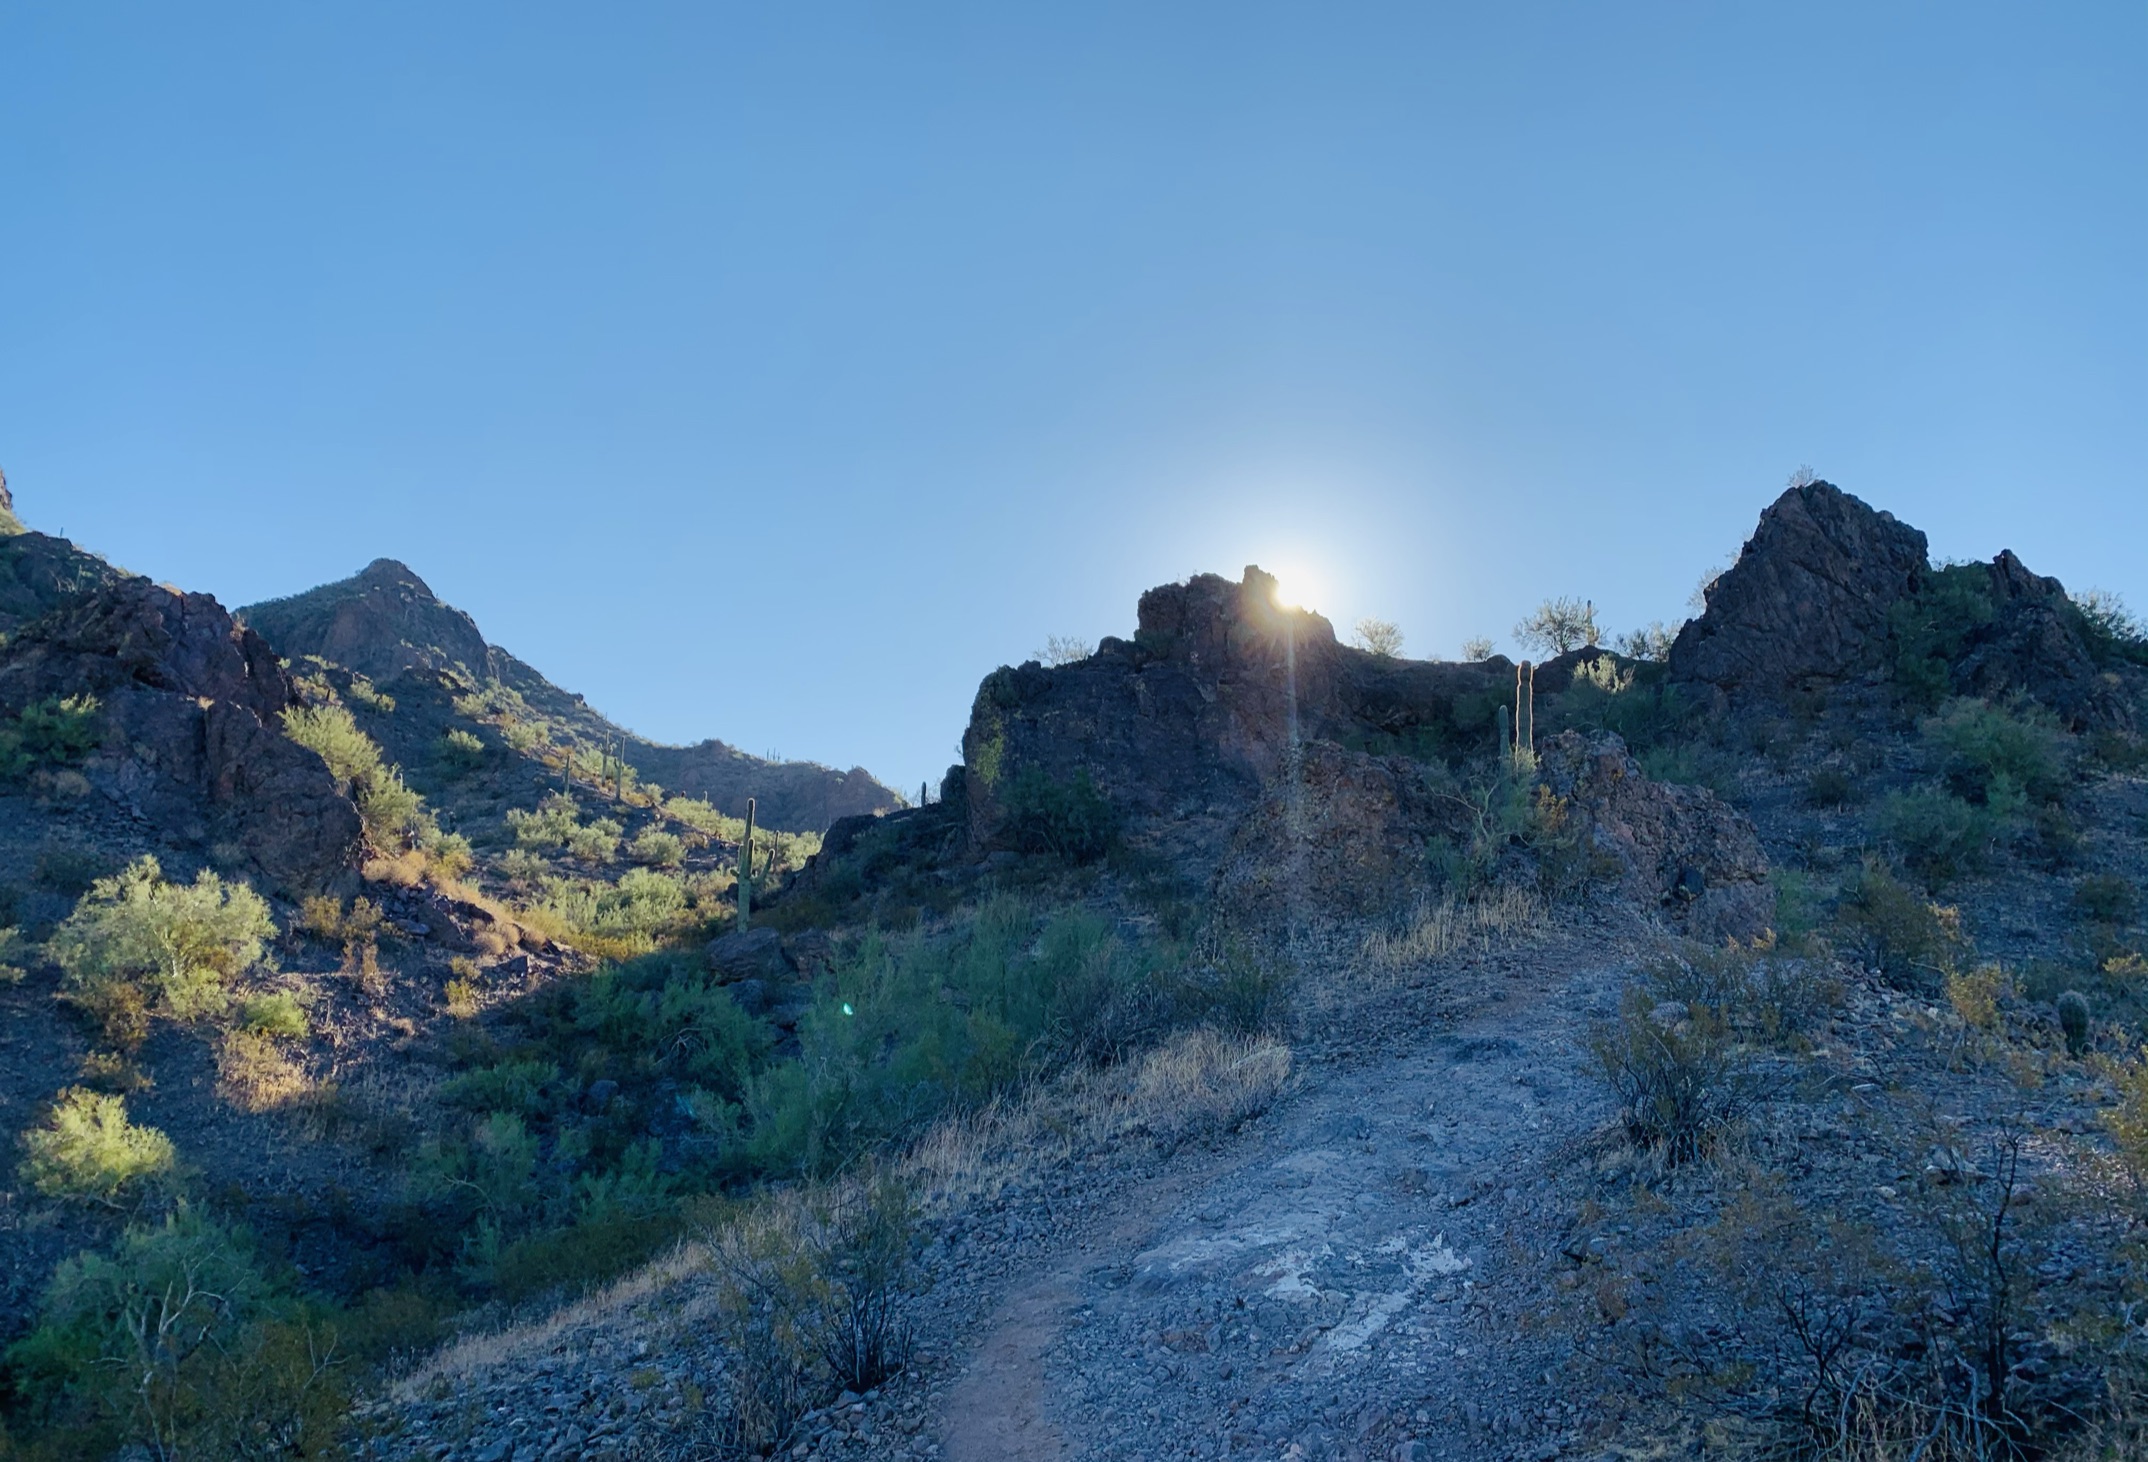
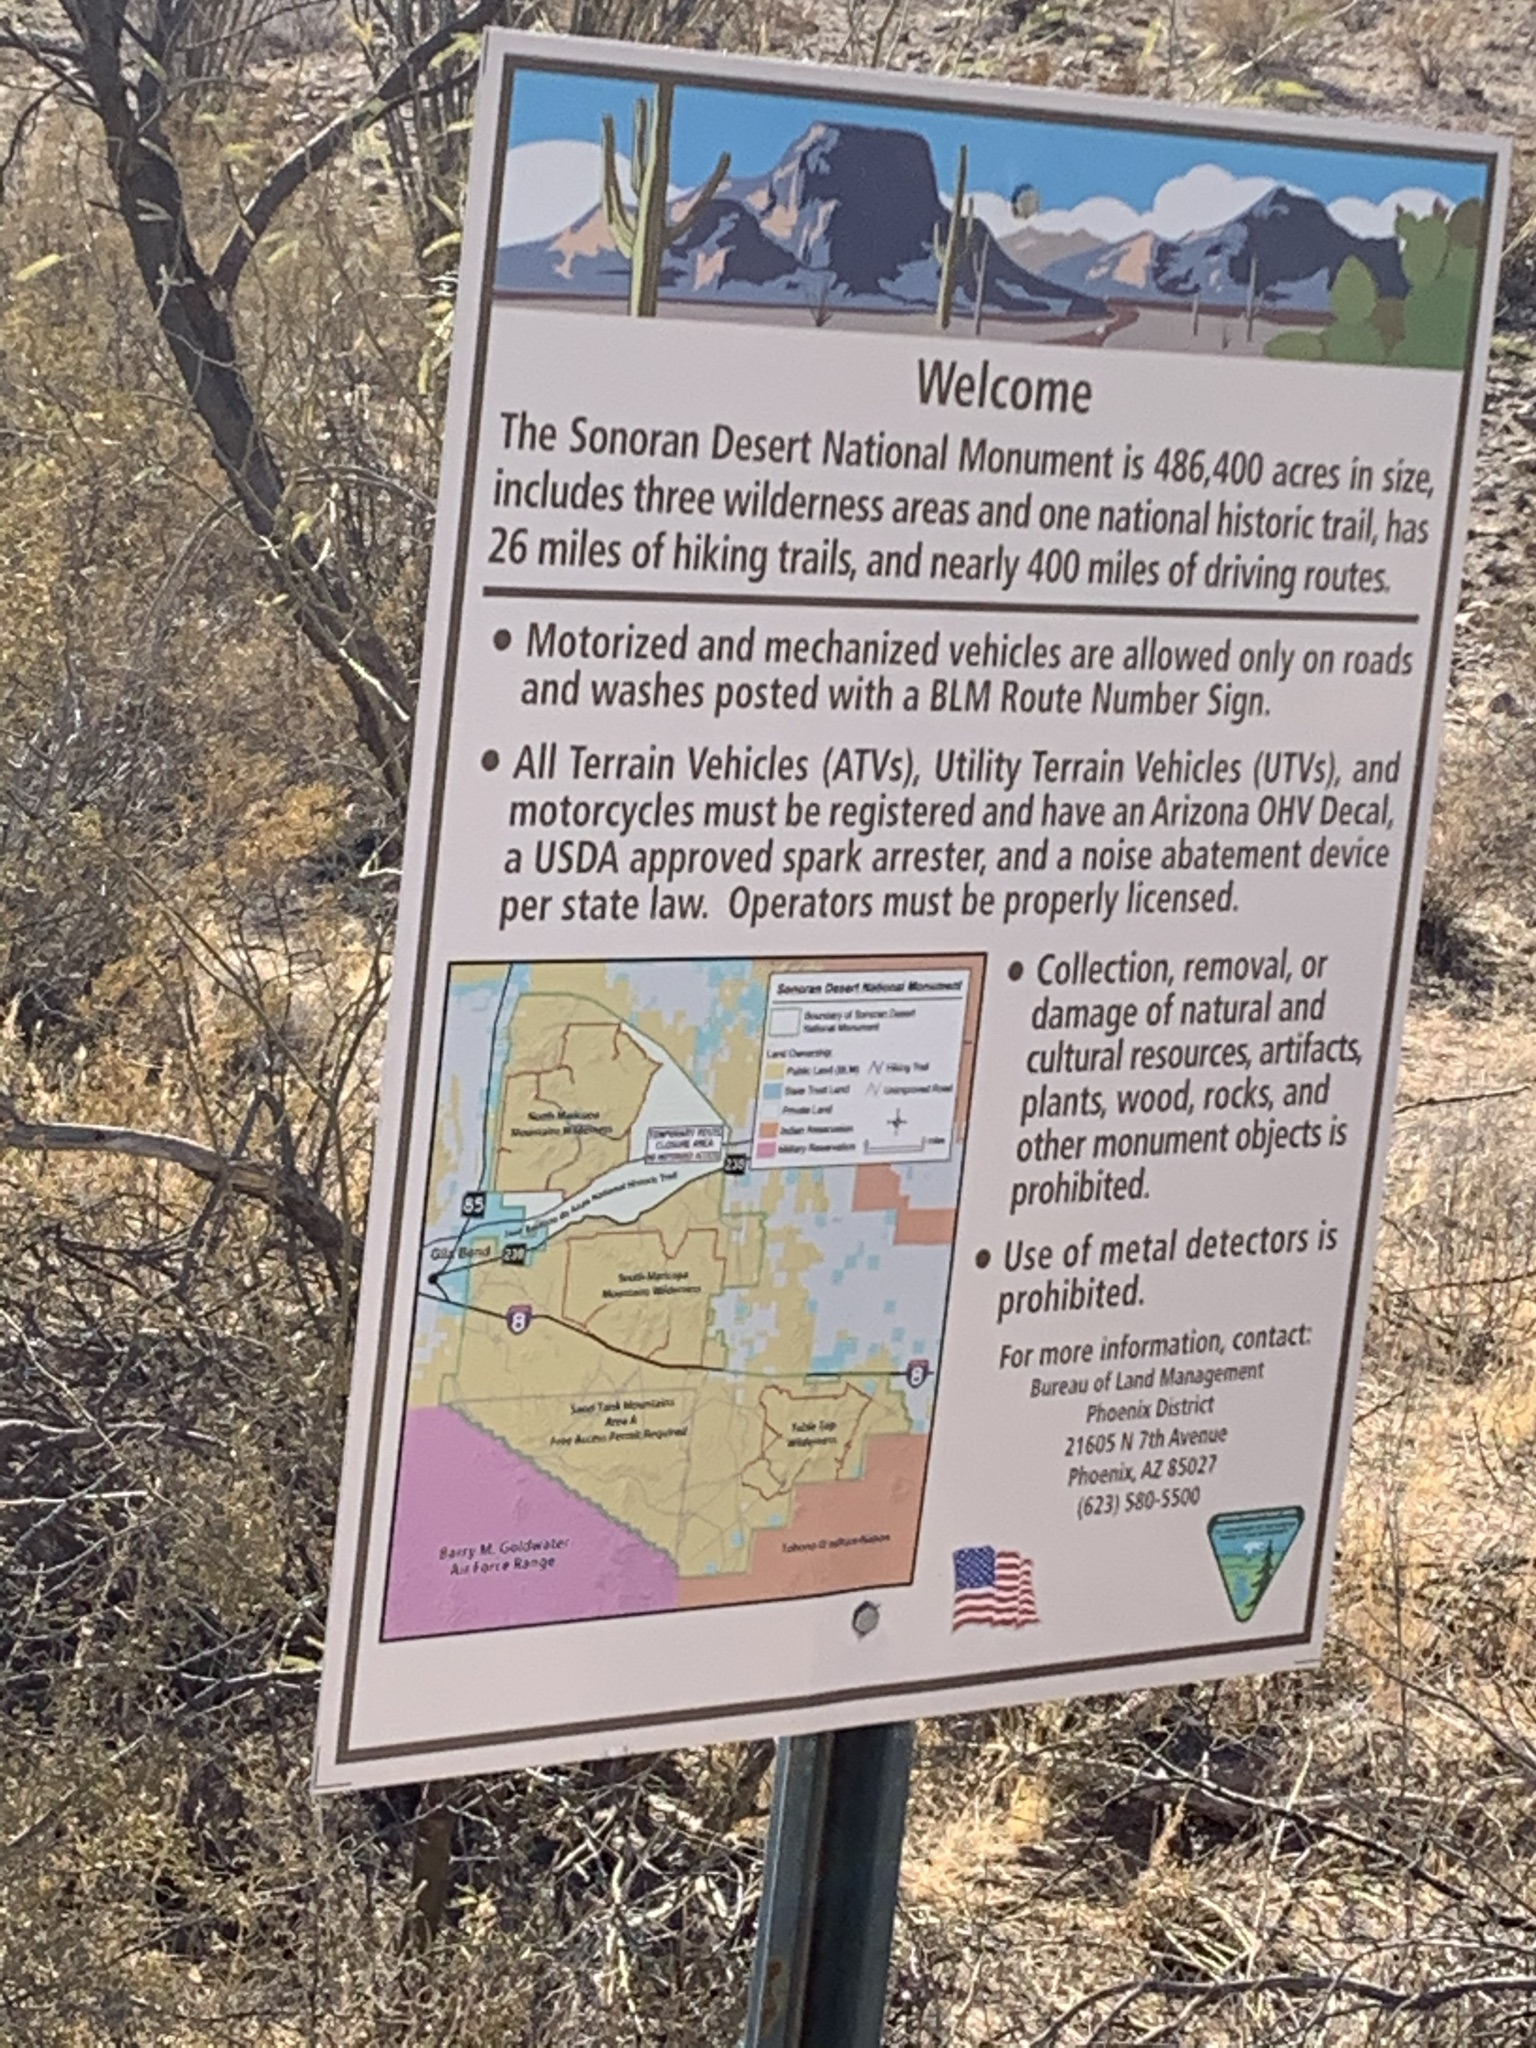
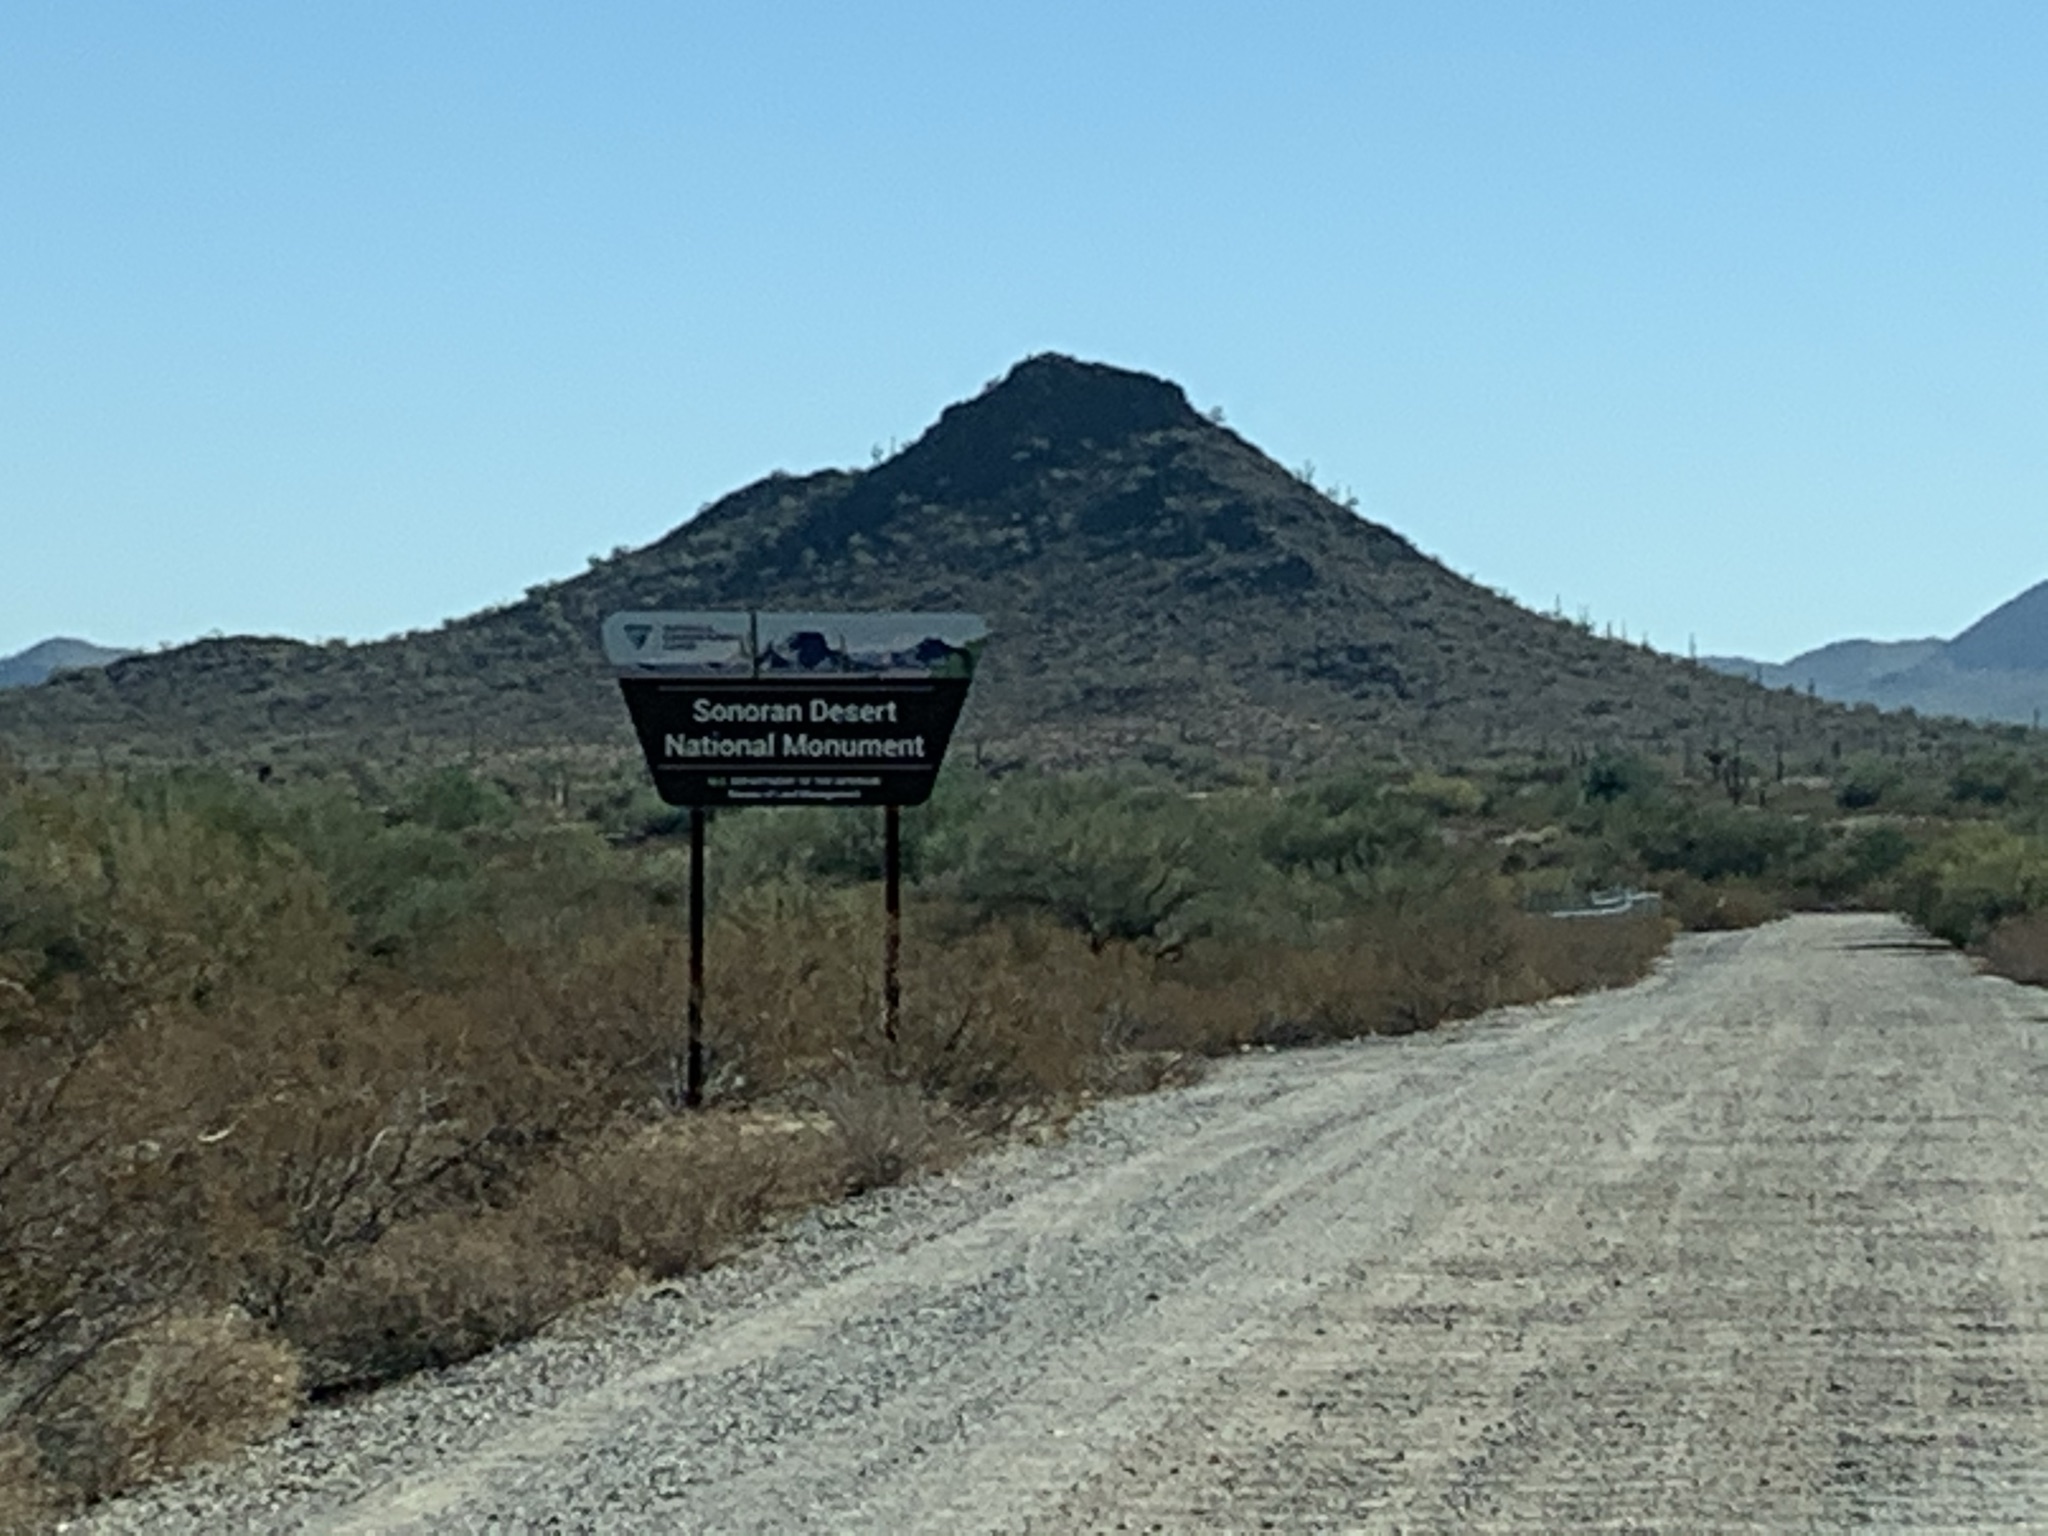
Lost Horse Tank BLM Sonoran Desert National Monument (free 14 days)
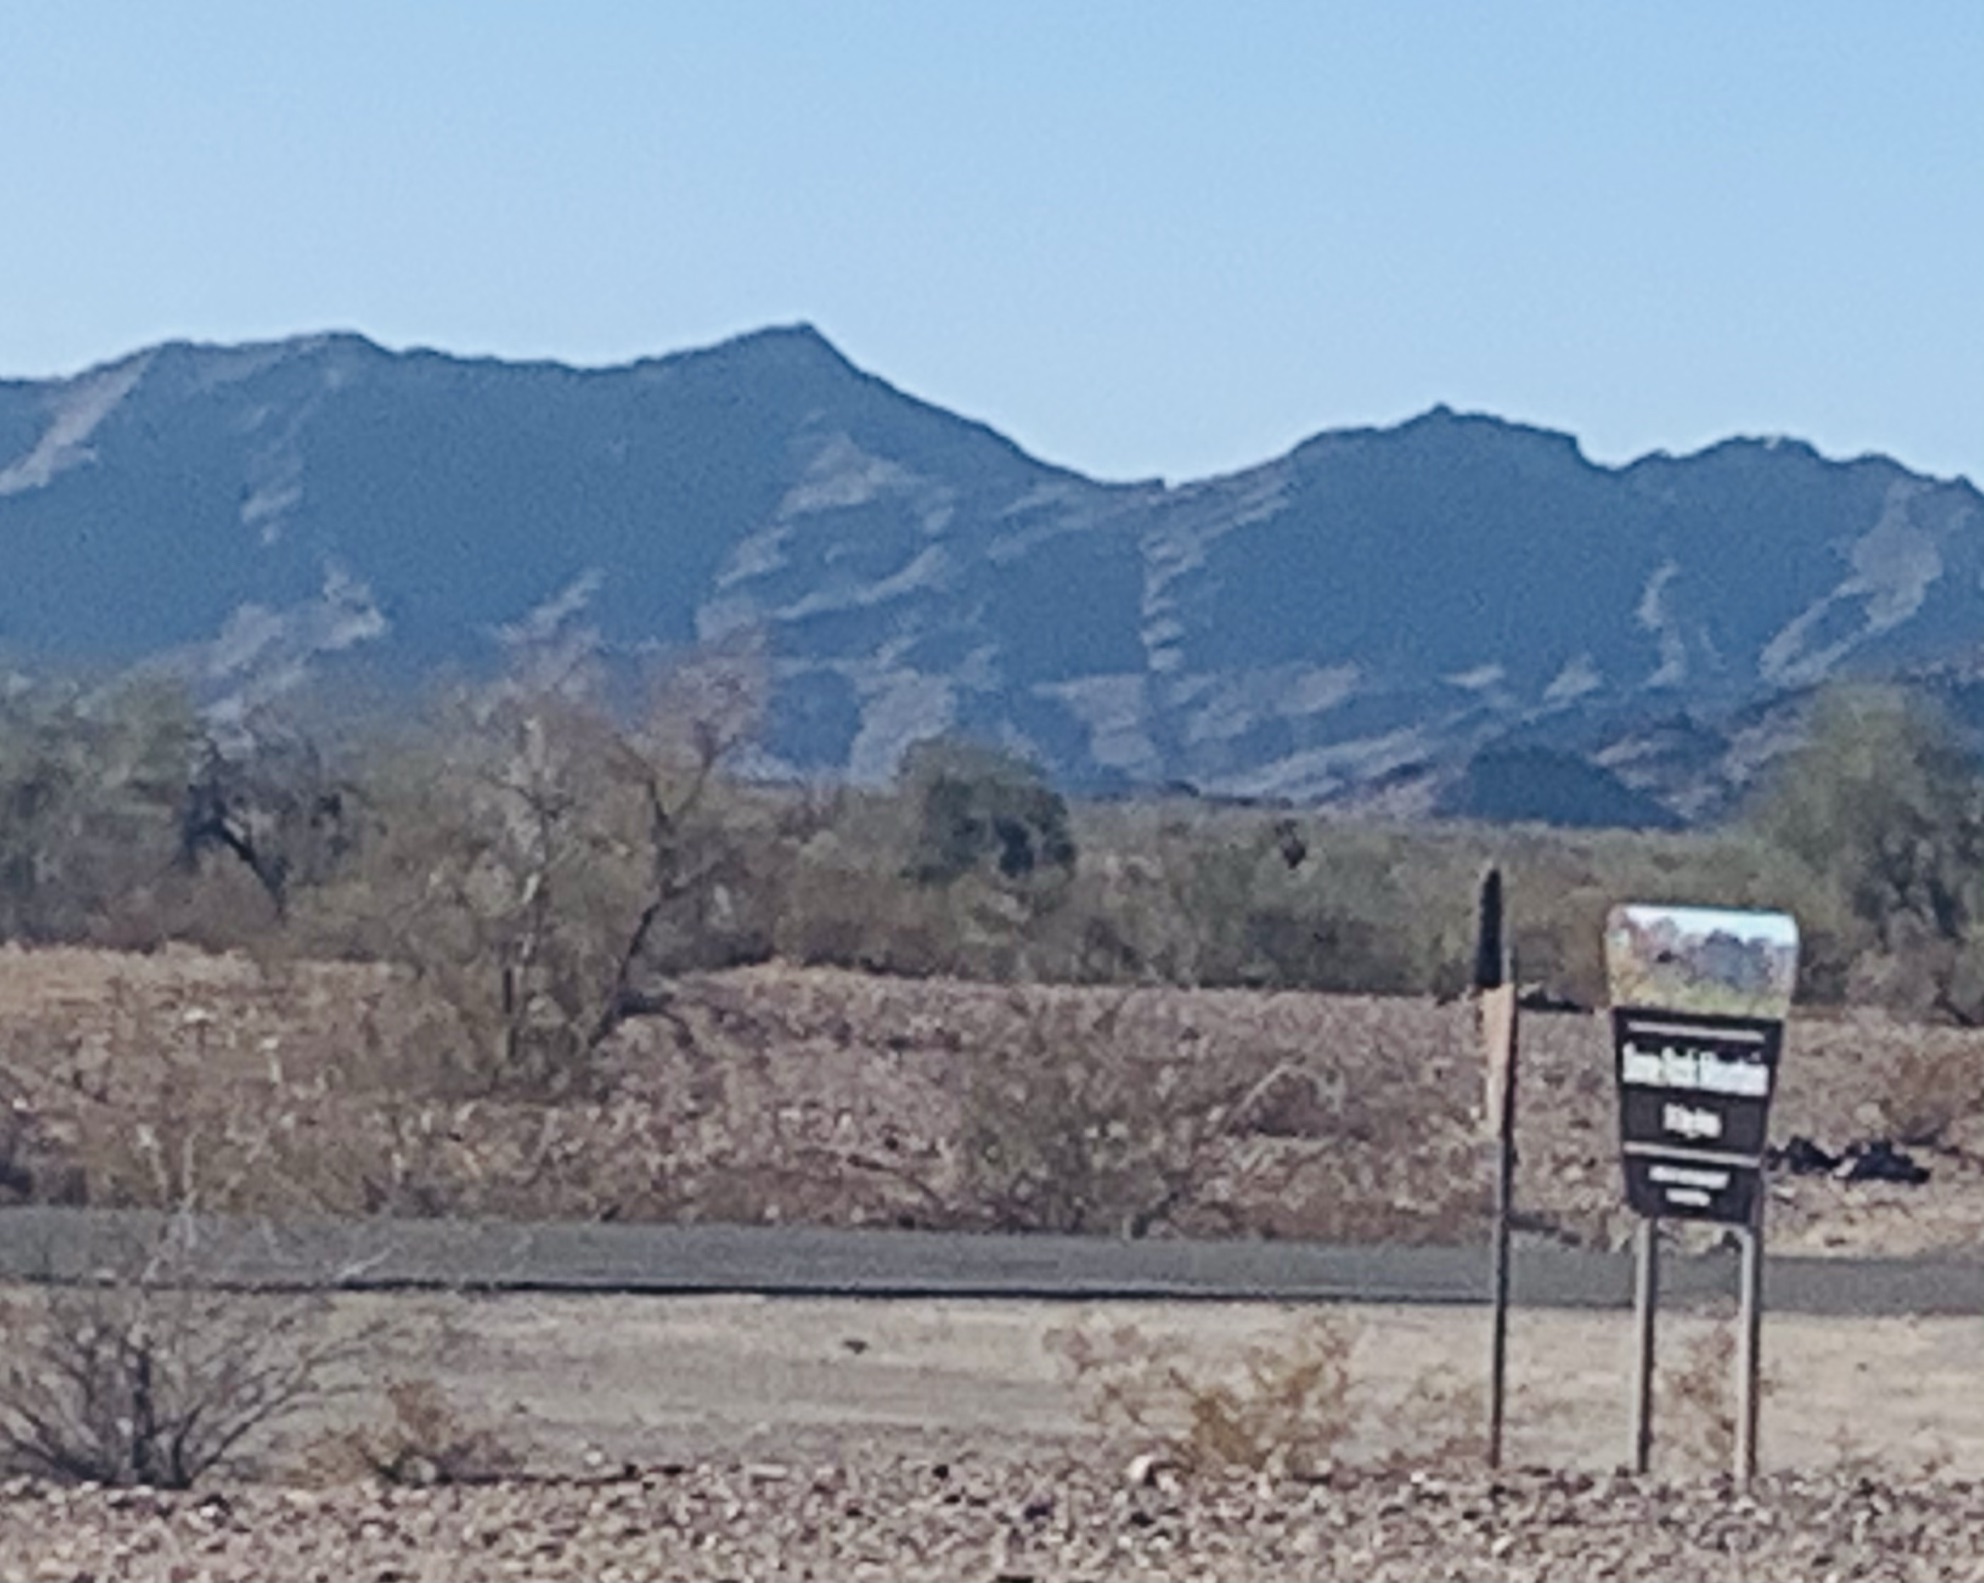
Dome Rock Mountain, Quartzsite (free 14 days) recommend Cholla Road instead
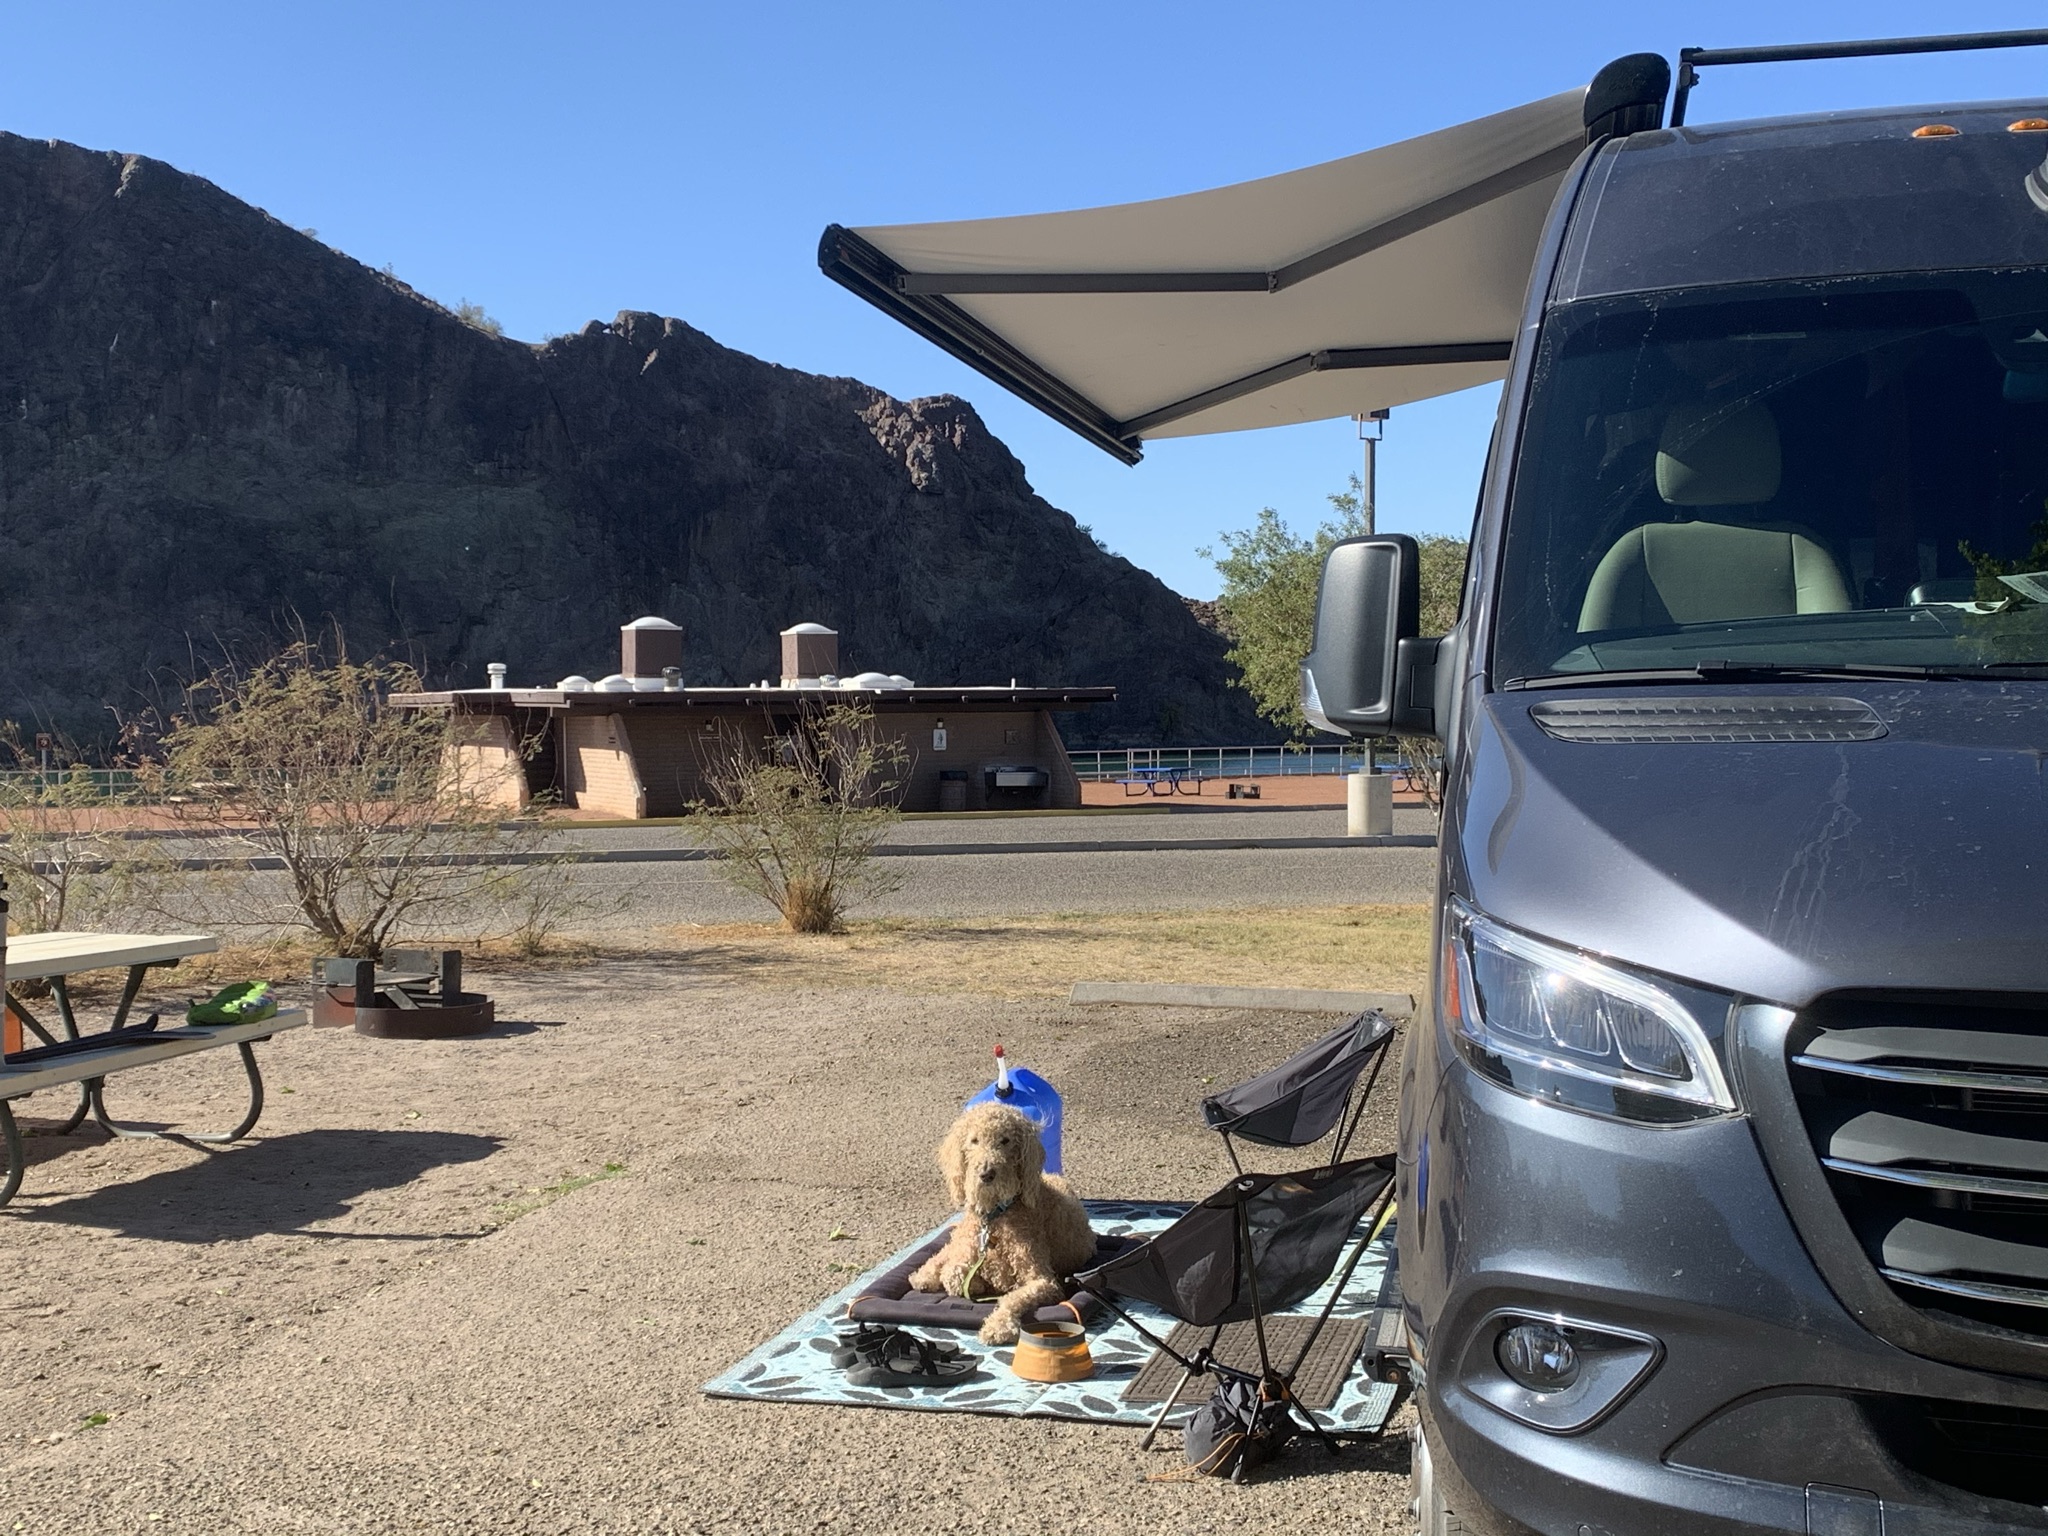
Buckskin Mountain Campground ($35 electrical)
Craggy Wash Lake Havasu (free 14 days)
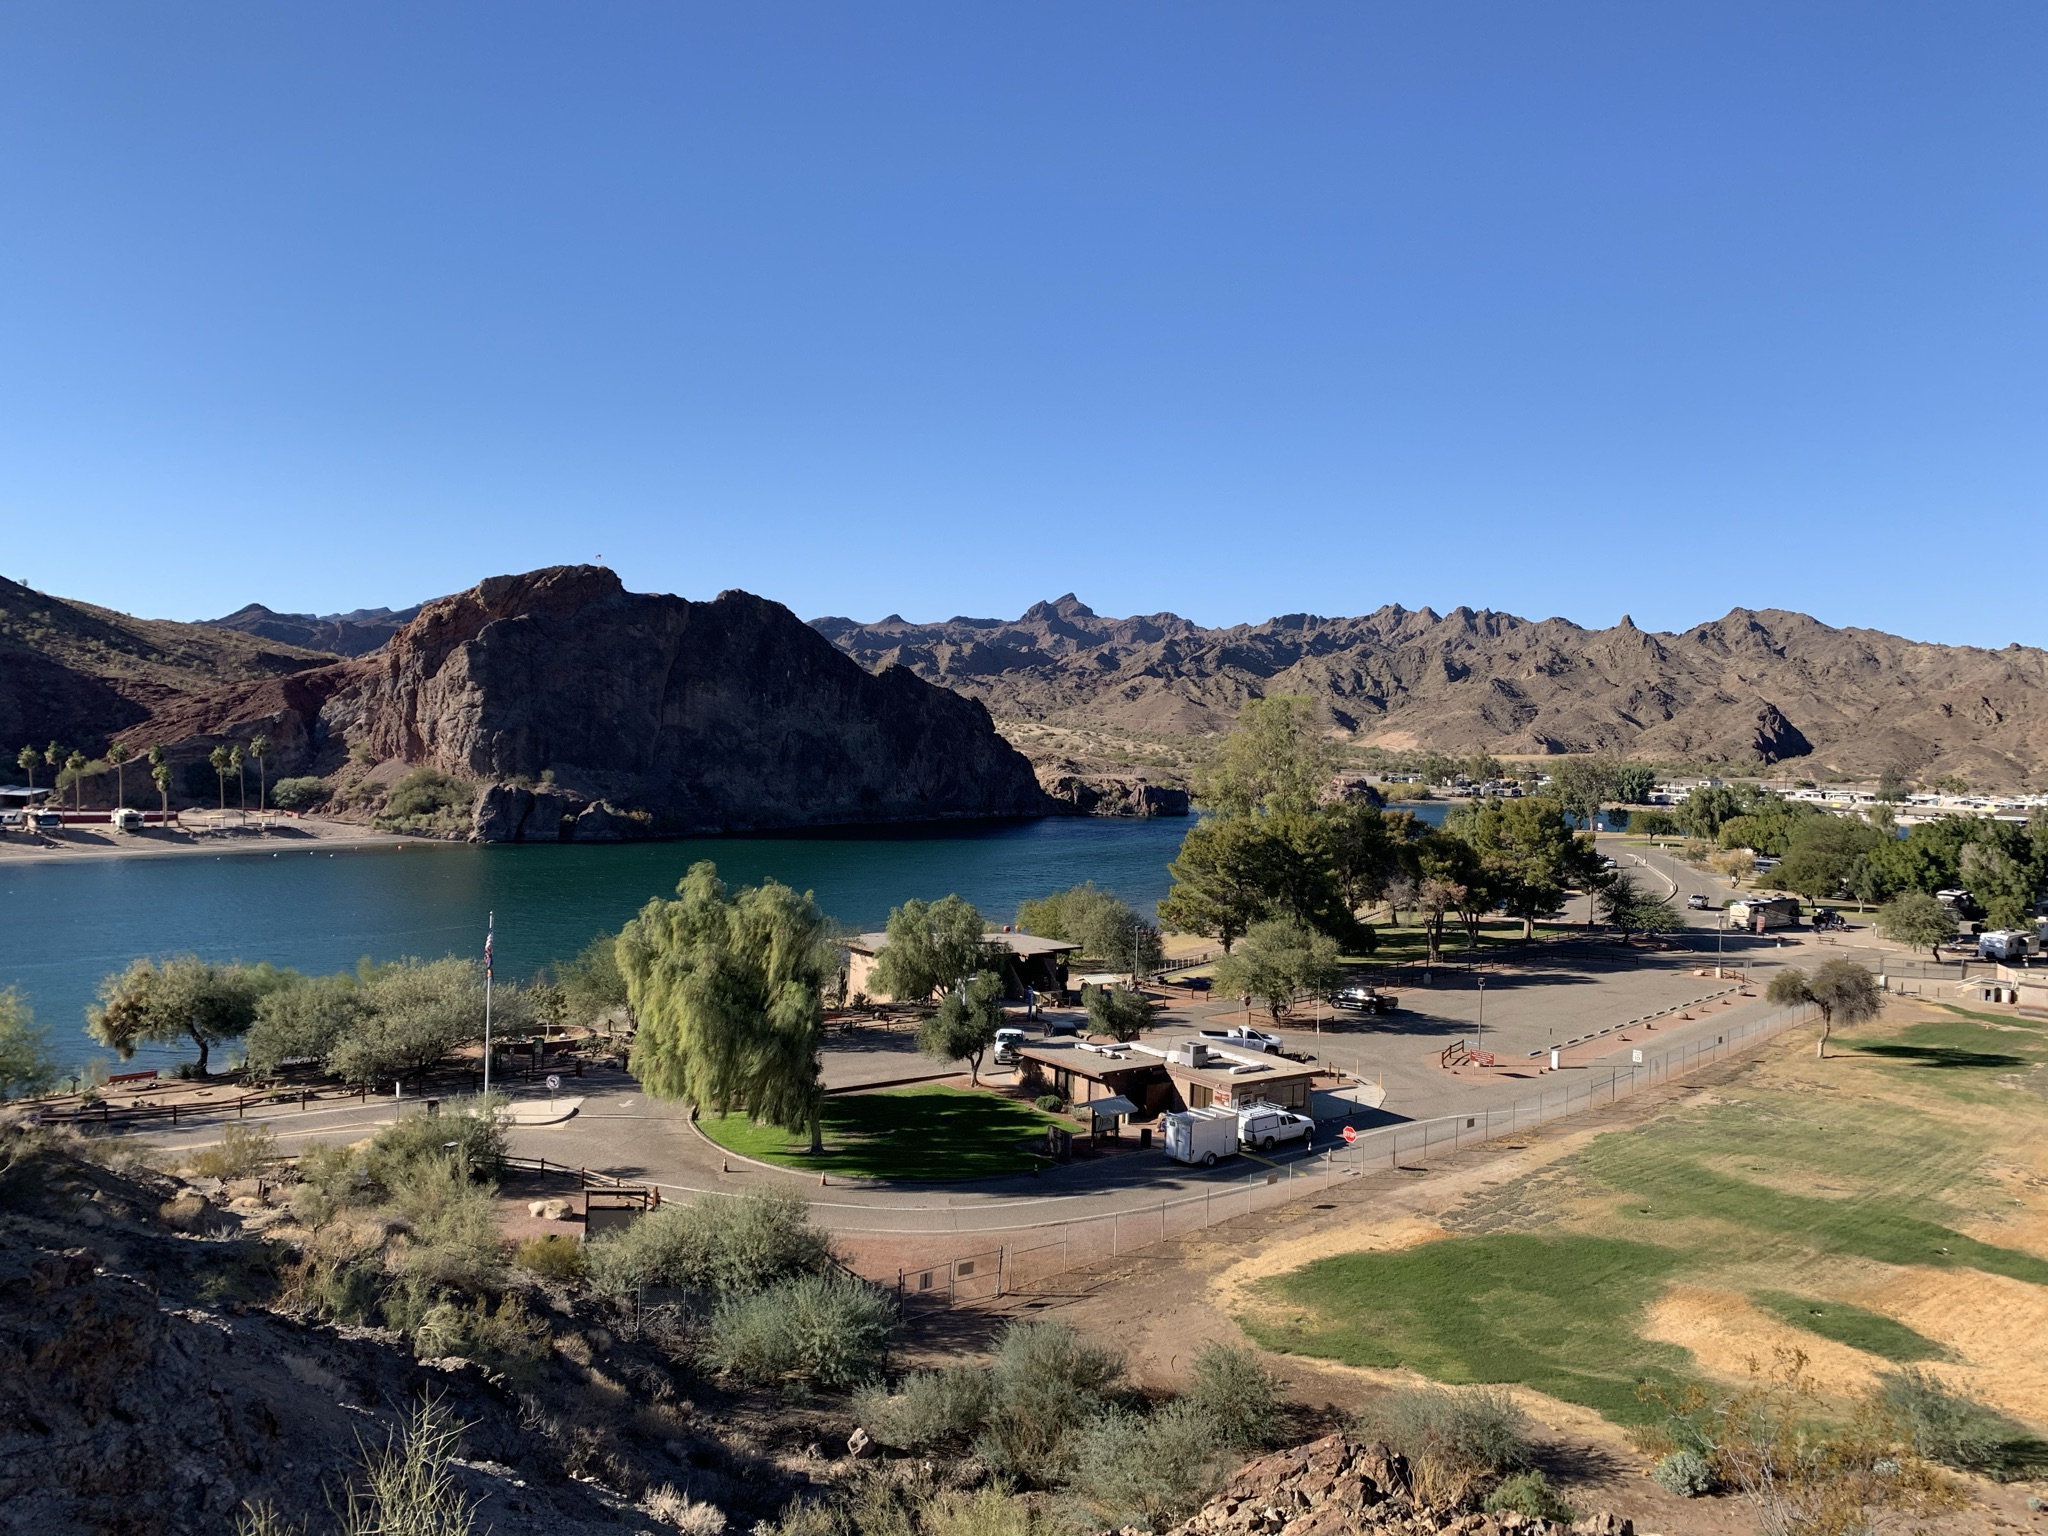
Katherine Landing ($20/$10)
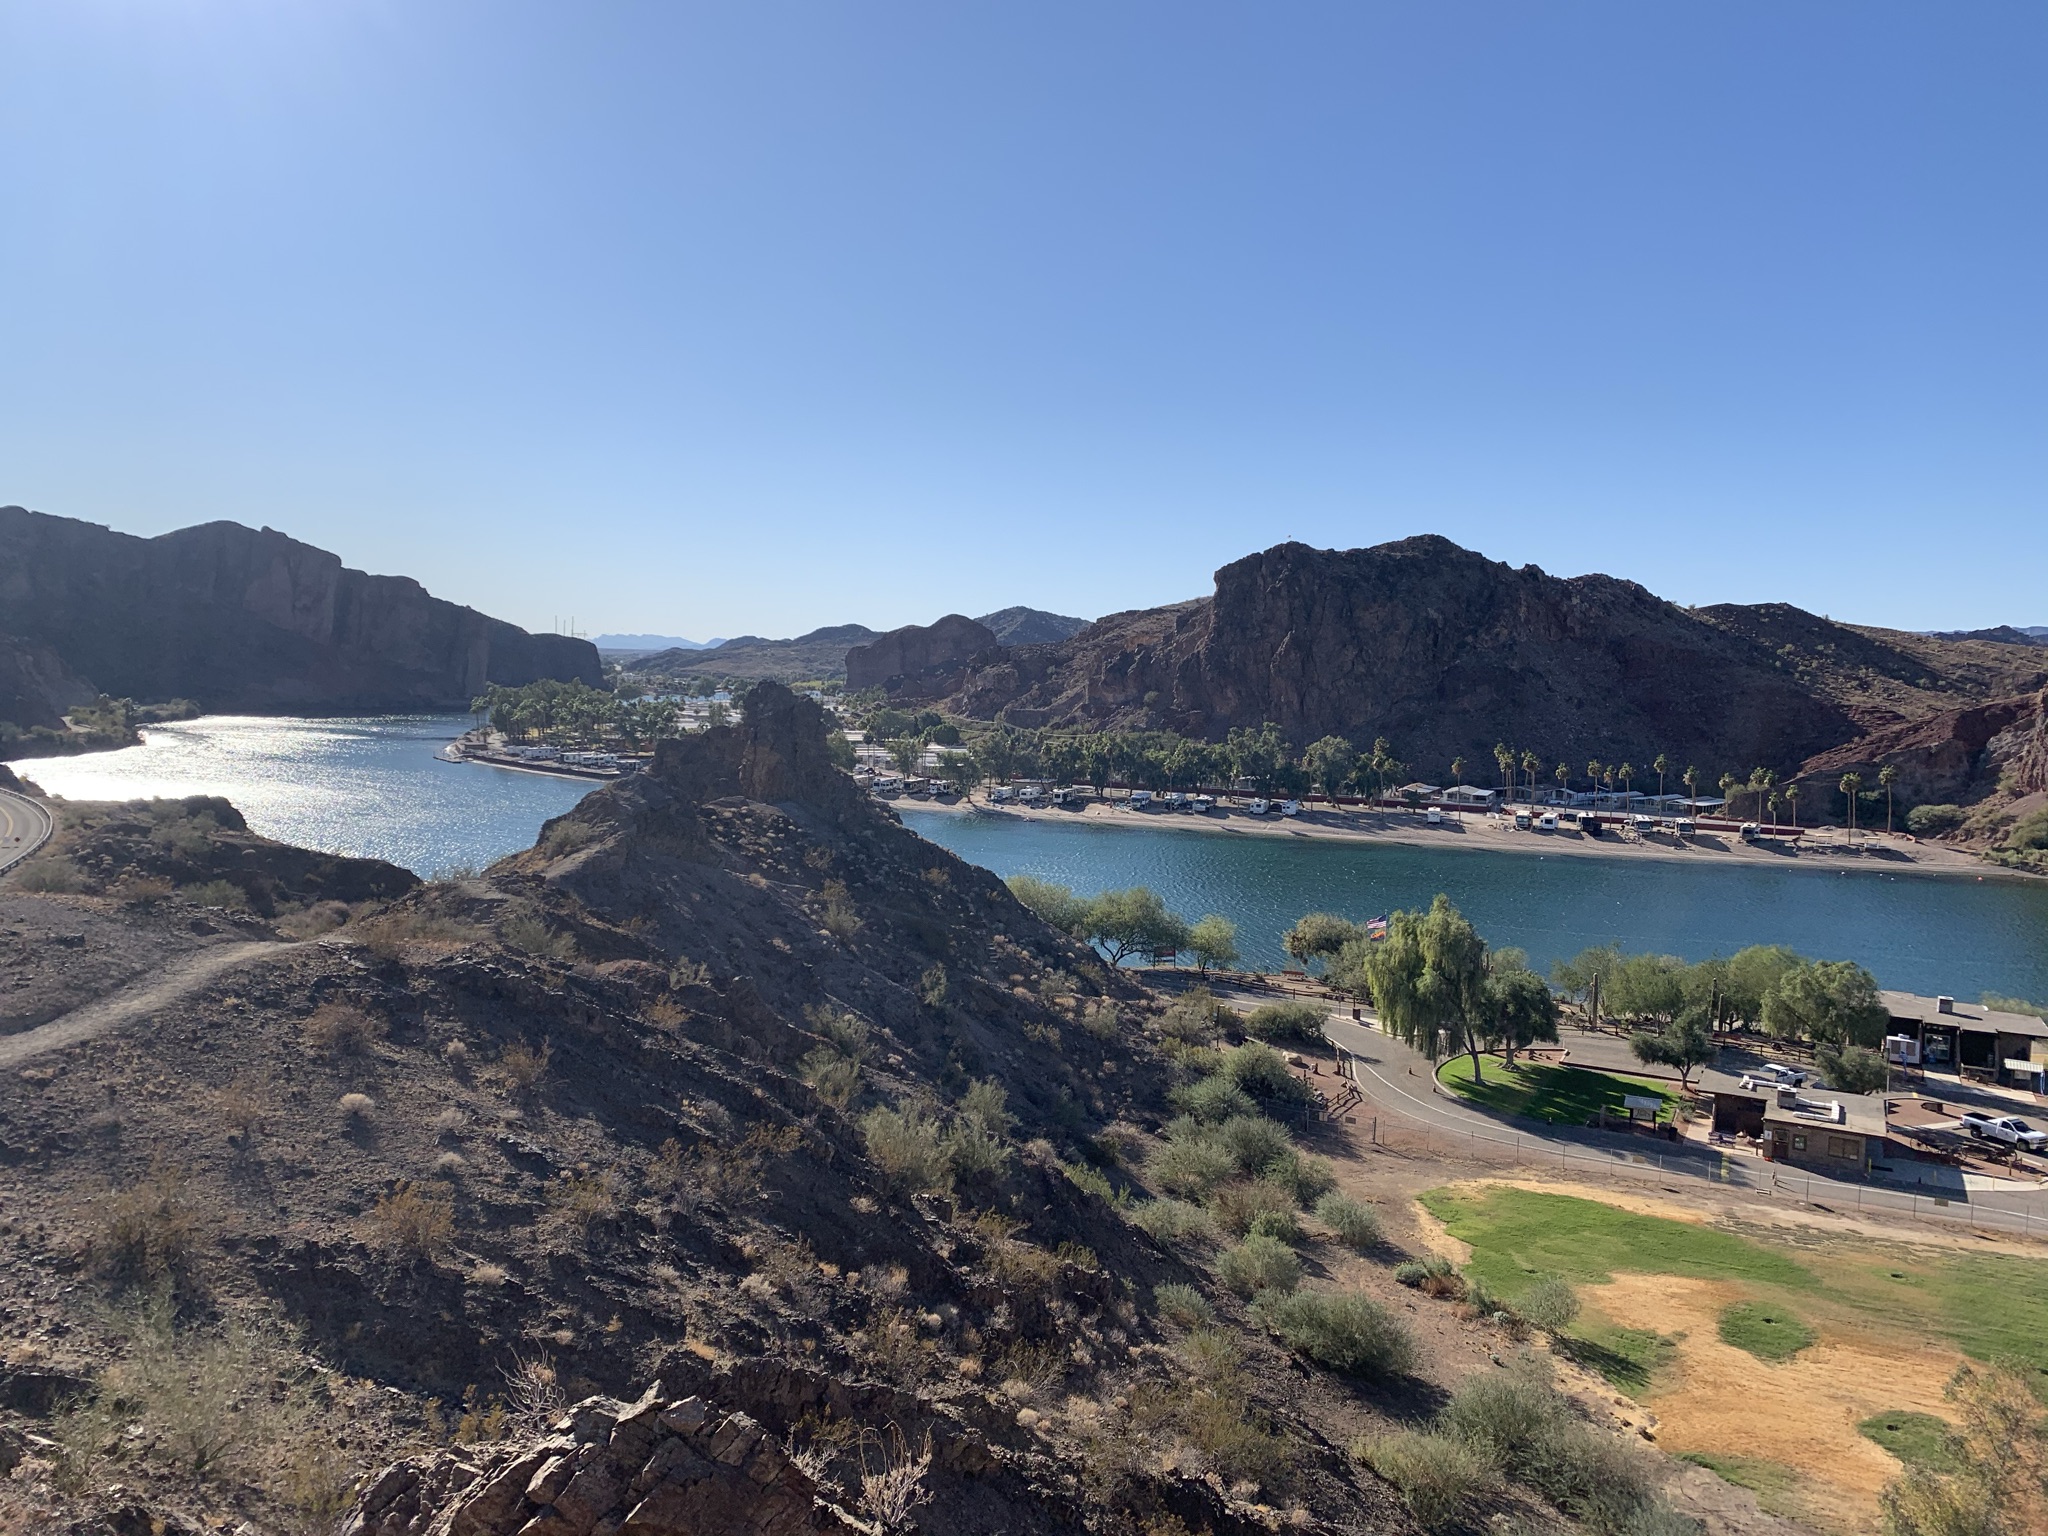
Temple Bar ($20/$10)
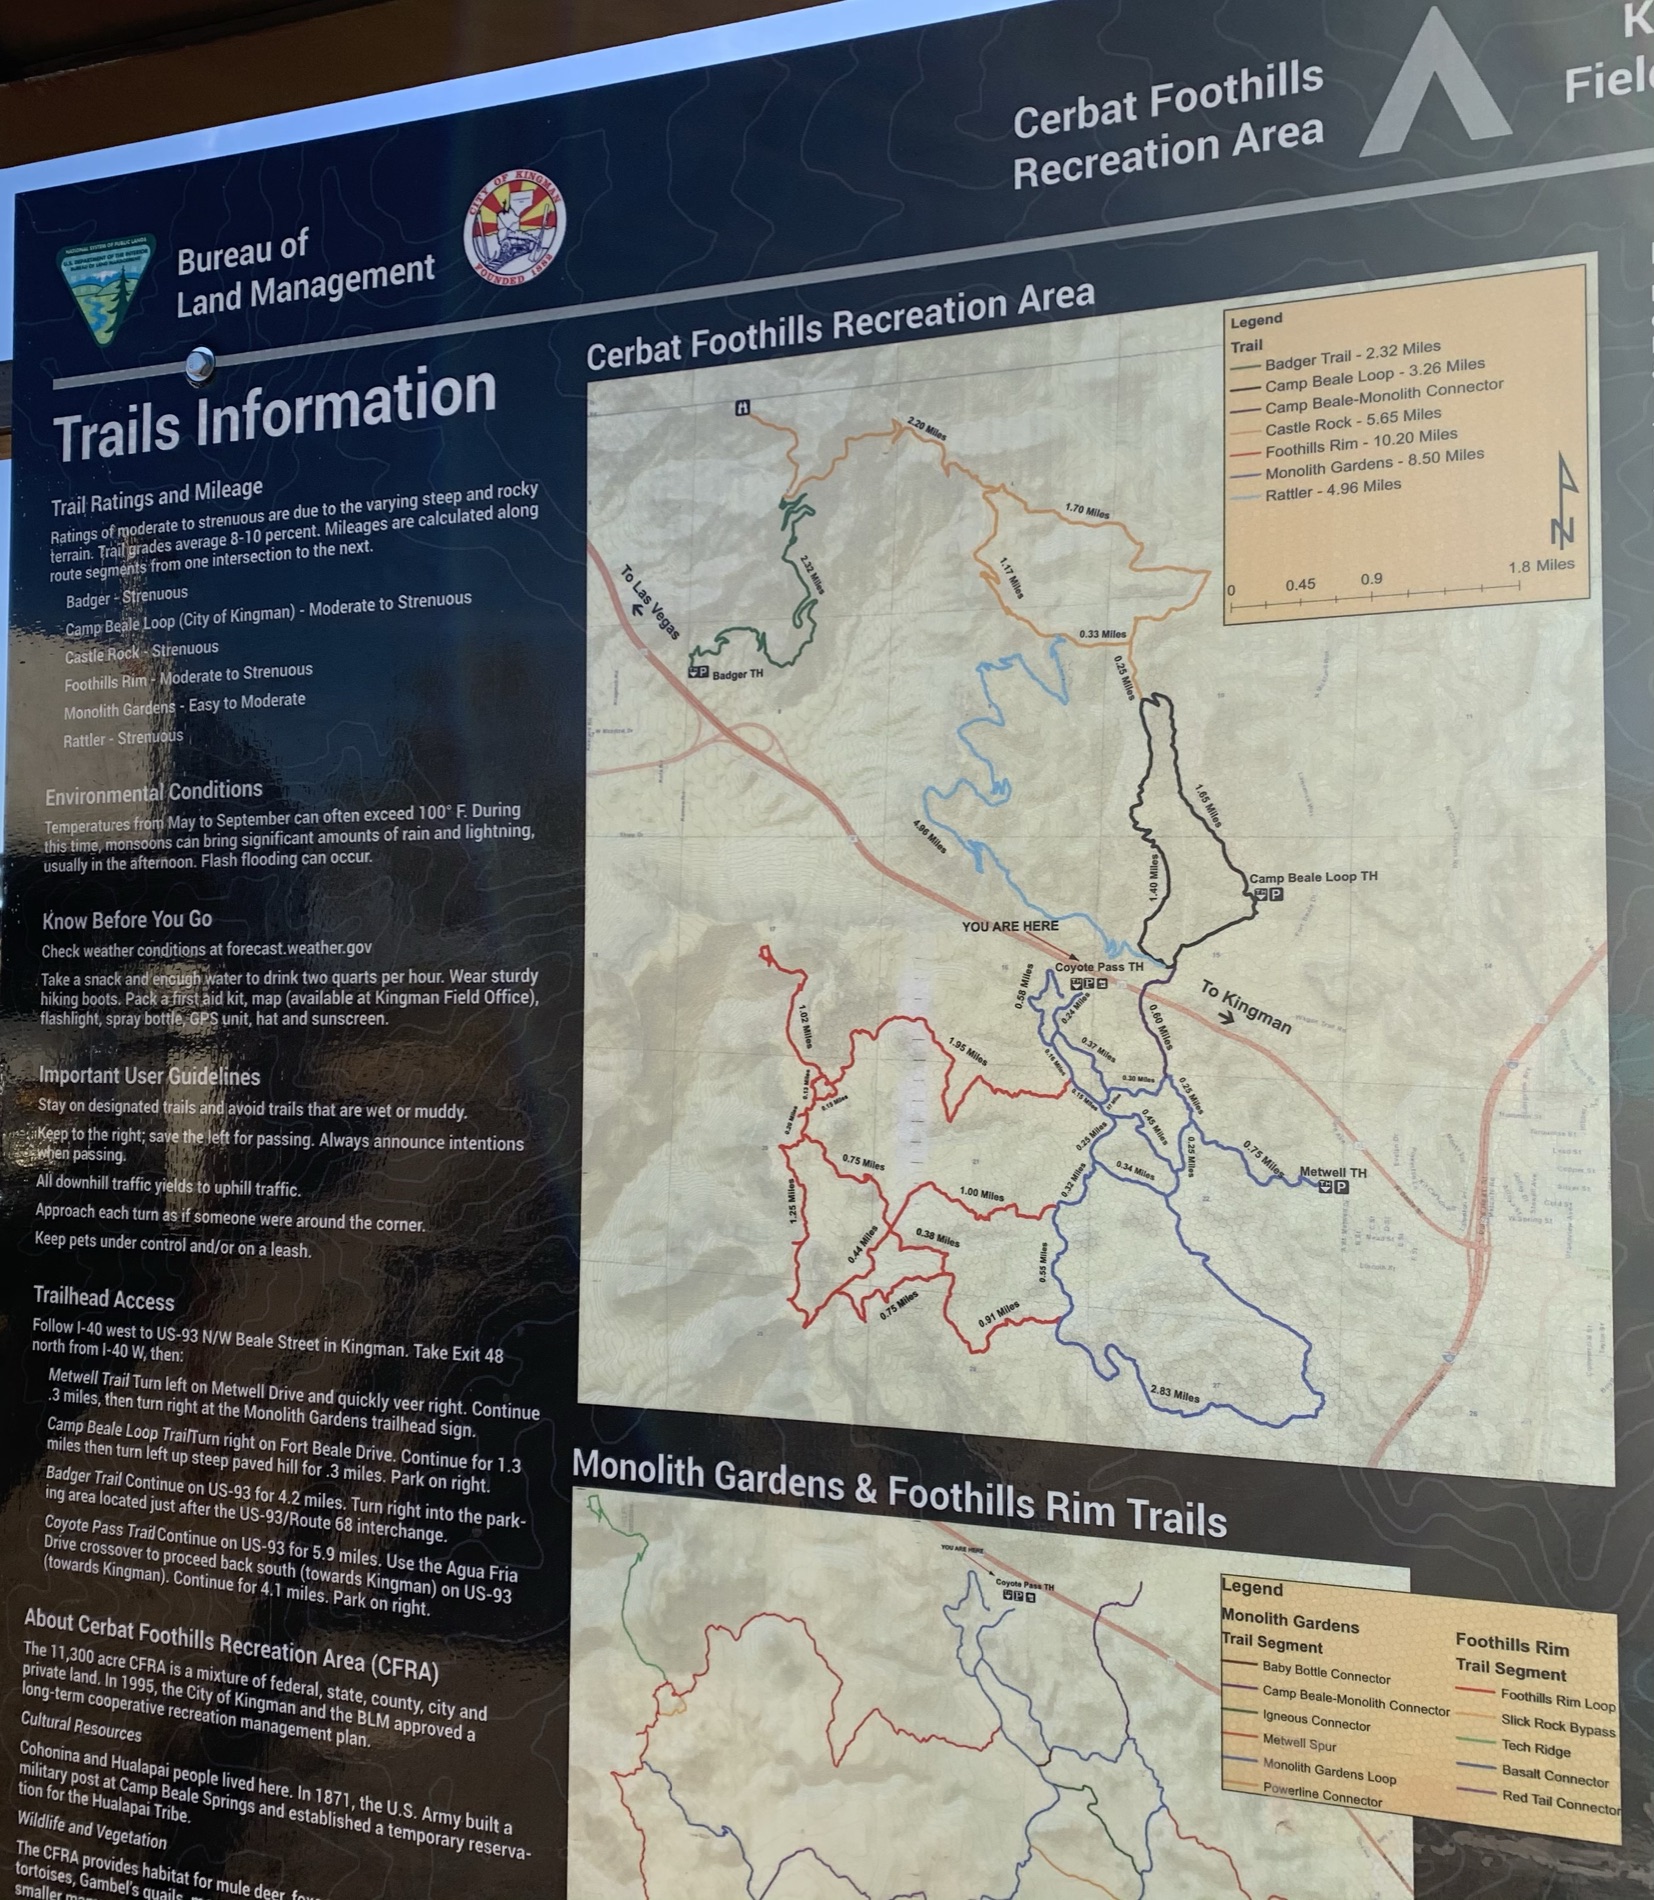
Cerbat Foothillls Recreational Area (free 14 days)
Burro Creek Campground ($14/$7)
Chandler Cracker Barrel (free)
Gilbert Ray Campground Tucson Mountain Park, Tucson, AZ ($20)
Picacho Peak State Park is about 49 miles west of Tucson. Be aware there is no water in the park even though there is electrical spots and water for showers. You need to bring your water or fill your 5-gallon water jug with a 64 oz water bottle in the ‘wash your dishes sink’ and do gravity fill. For $30 a night, we feel it’s a little over priced and suggest just do a day trip to do Sunset Vista and Hunter Trails. I really enjoyed the hikes make sure you bring walking sticks, gloves and wear hiking shoes as it gets rocky and steep and you will use a steel cable to climb up a rocky steep area. There is an RV dump here, no potable water. We were under whelmed and won’t be coming back for the price.
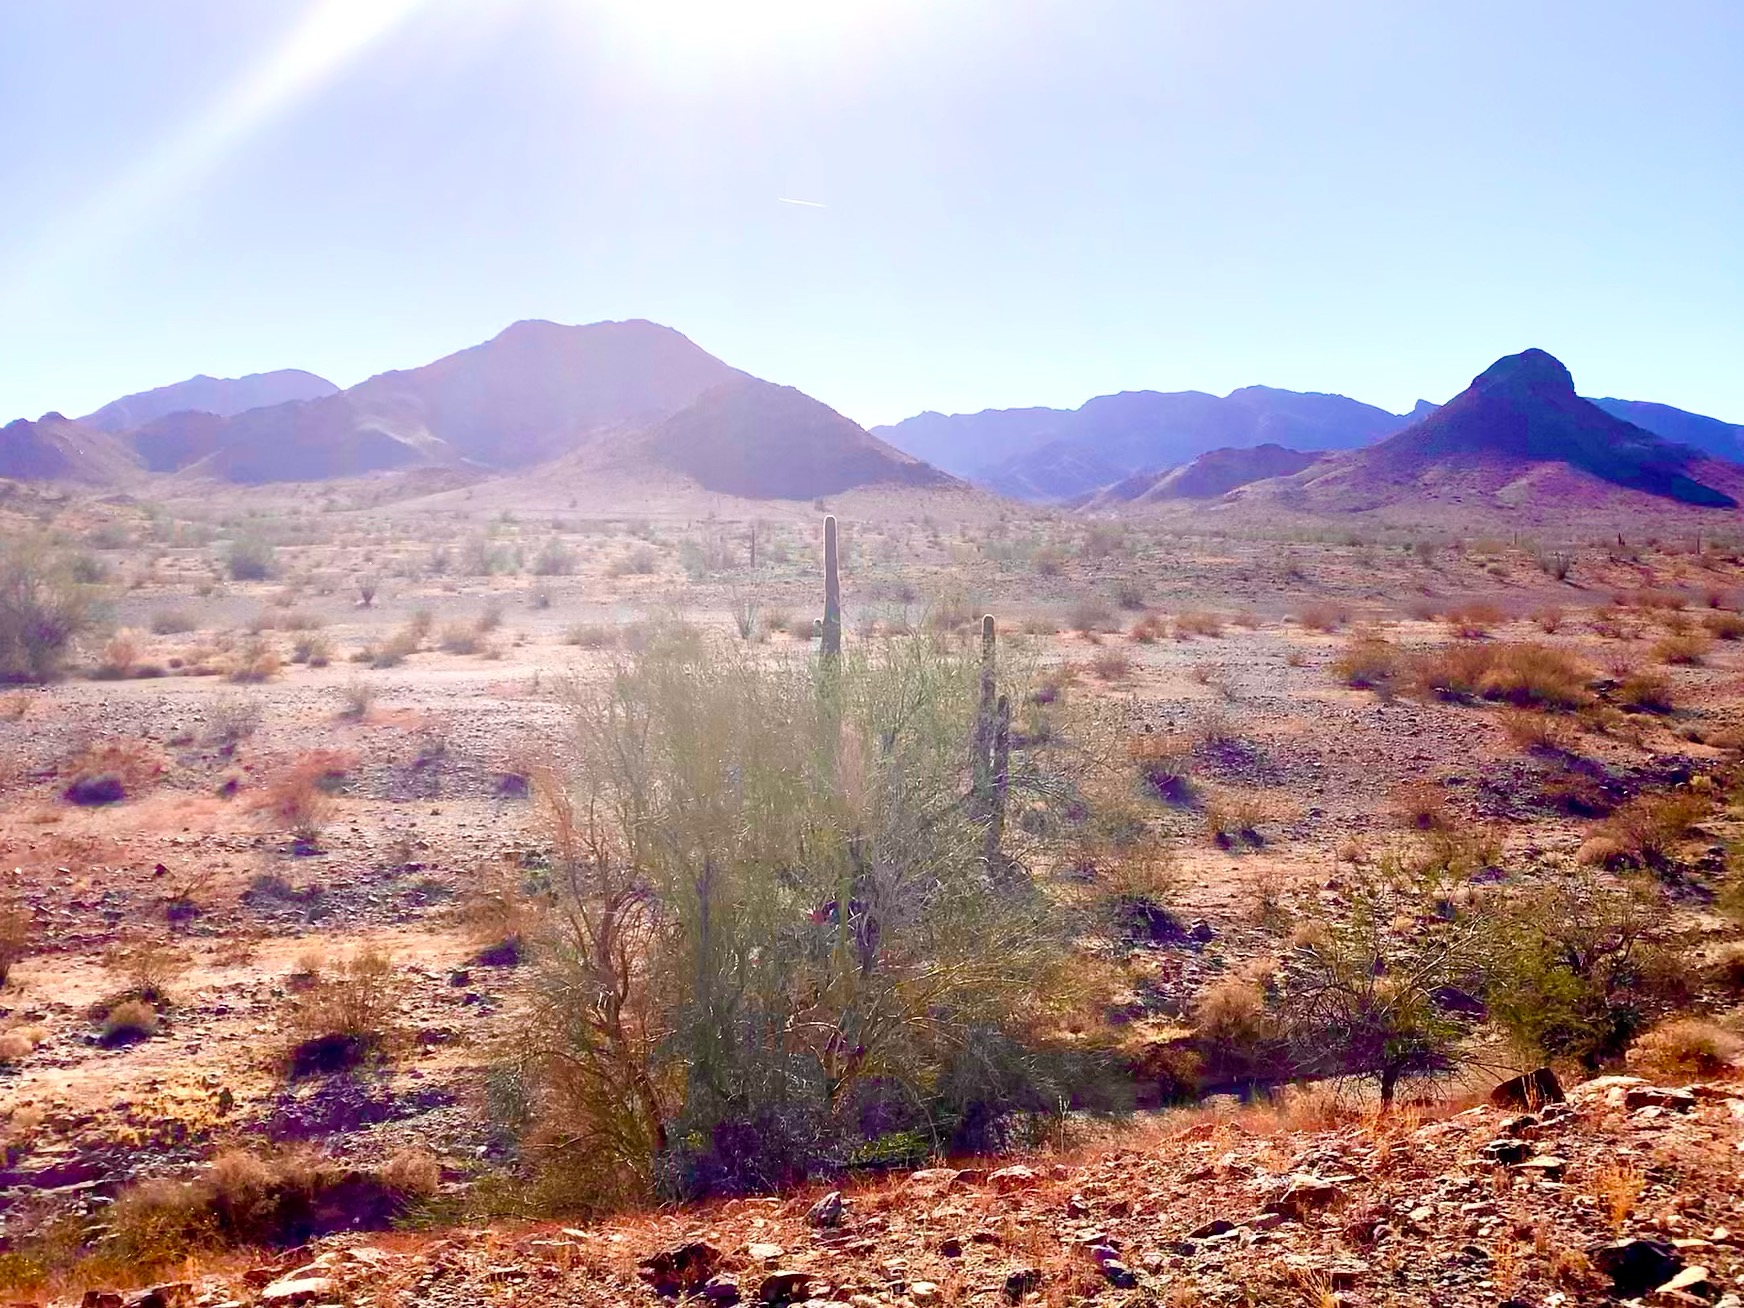
Our next stop off old Highway 84, about 60 miles from Picacho, is Lost Horse Tank BLM area (GPS 32.8411, -112.3244) that is in the Sonoran Desert National Monument. There is decent Verizon cell coverage between 2 to 3 bars. You need to be careful where you camp if you go too far South you are in the drug and human trafficking route. Don’t stay right at the entrance of the area as several people came there to shoot guns, we recommend going down the road and to the right. We found a great spot away from the freeway and away from the trafficking route with no nearby neighbors. You can stay here for free for 14 days, were stayed here two days and did a few bike rides and runs through the desert.
From here, you have 51 miles to Painted Rock Petroglyphs (GPS 33.02437, -113.04543). Since I have an Access pass this is an awesome stop for $4. They have fire rings, picnic tables, trash cans and ancient petroglyphs. There are good trails for mountain biking and trail running. No water, no hook-ups, no RV dump but it’s a great spot. We love this spot, so few people its like having a campground to yourself. We have returned to this spot 4 times now.
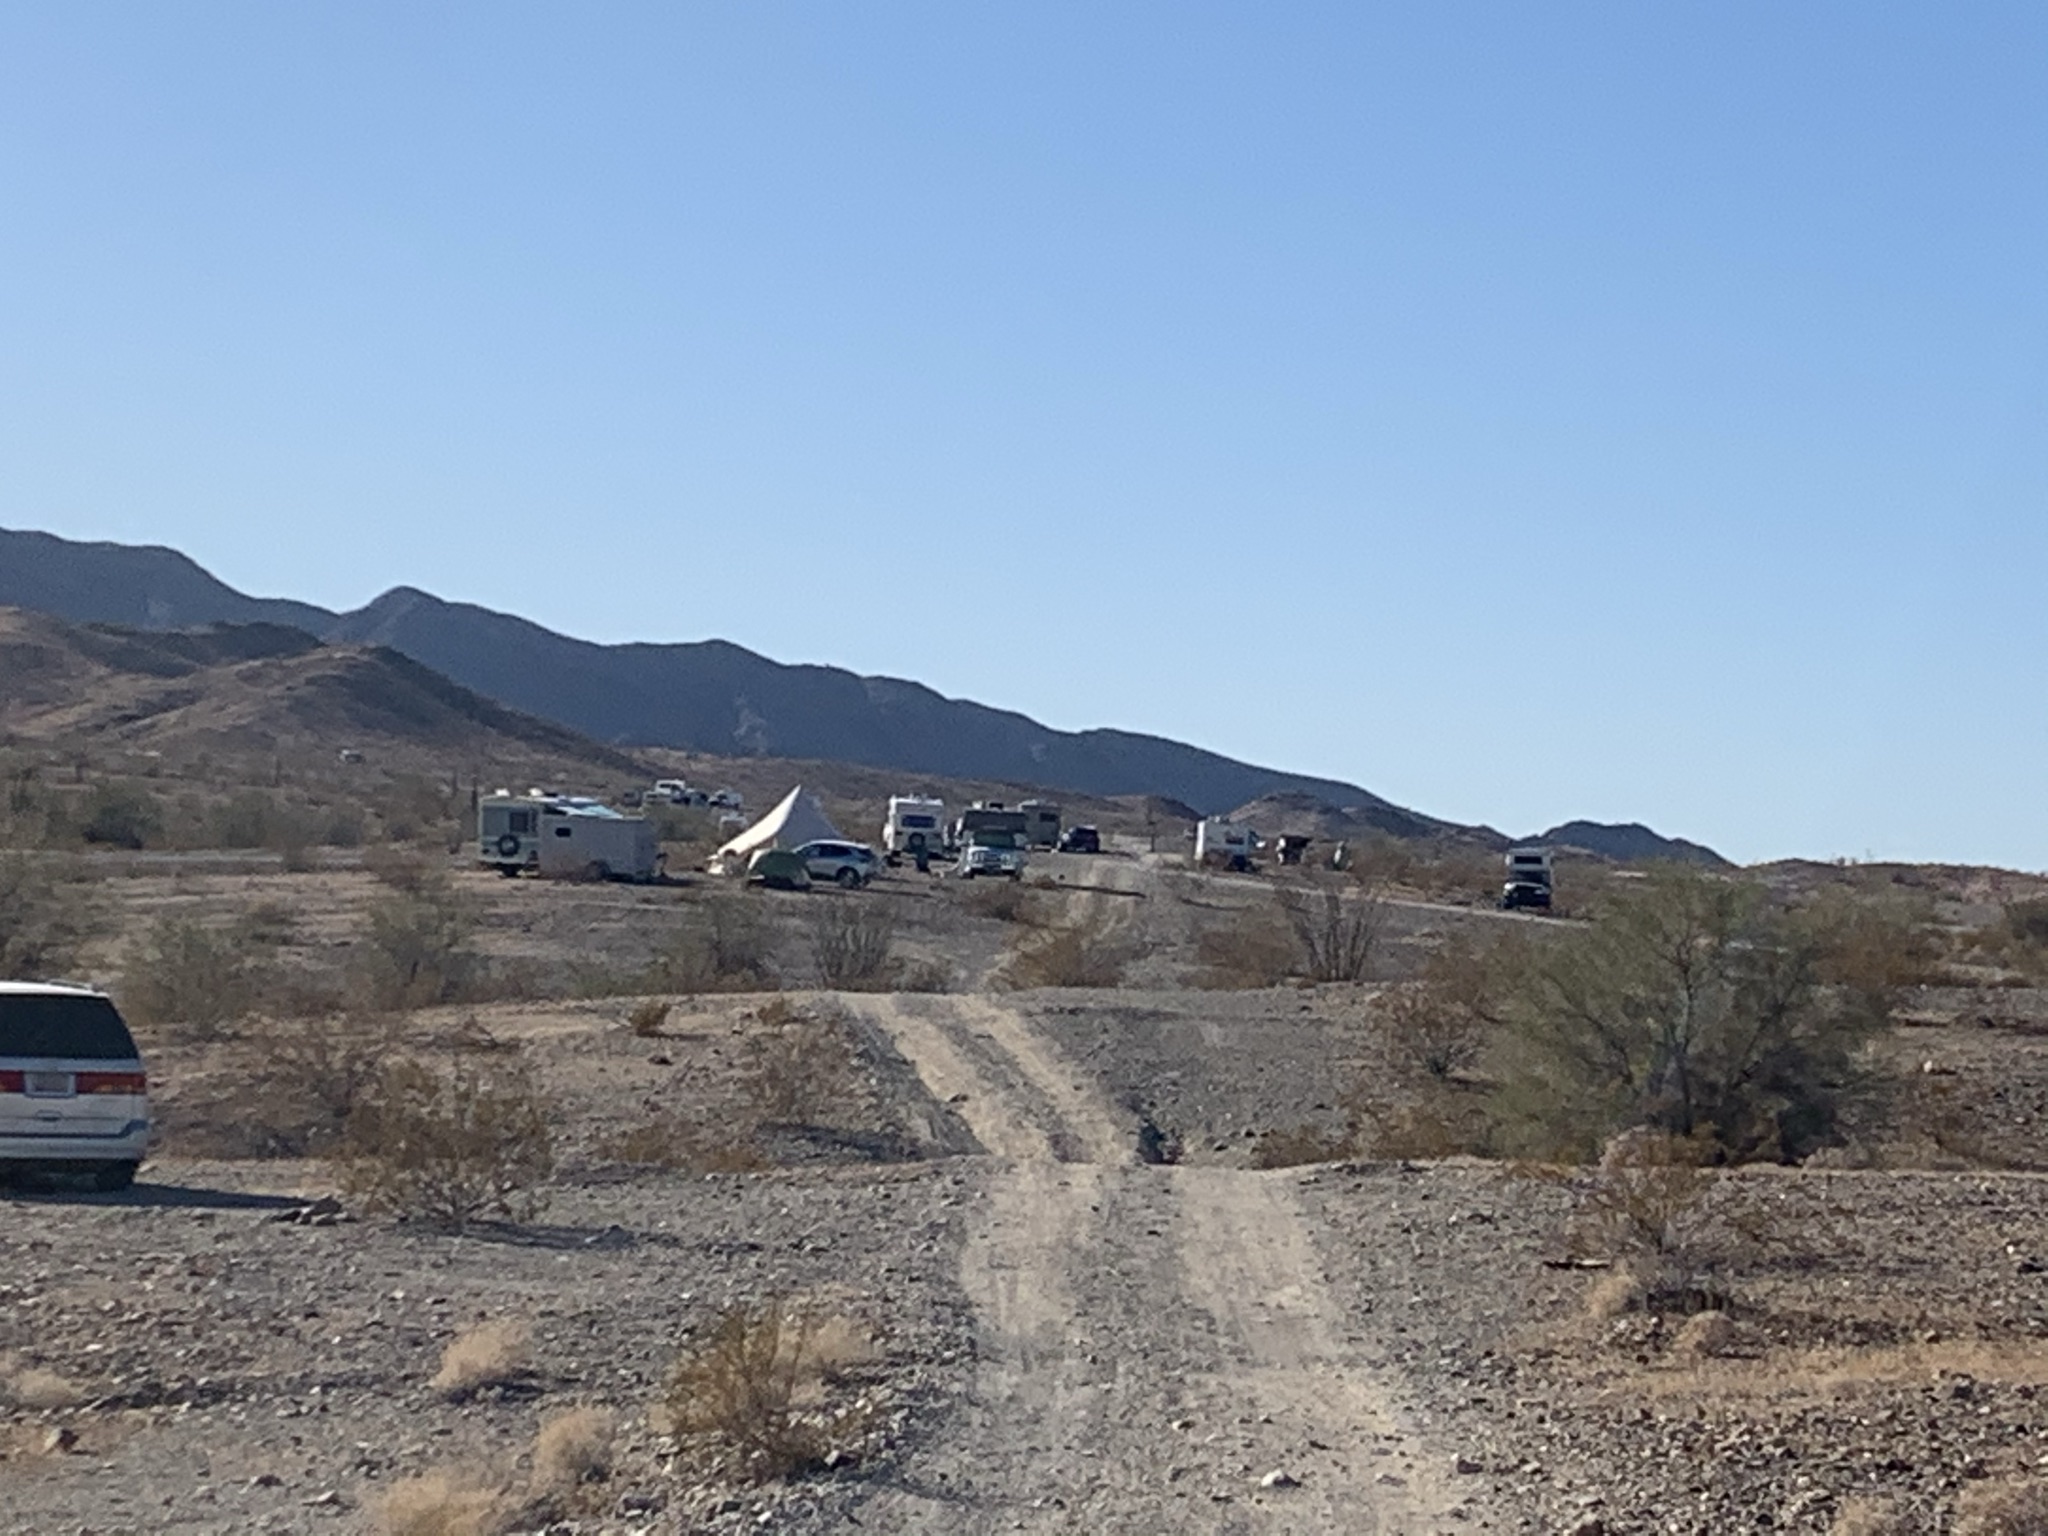
Next, we headed about 158 miles to the famous Quartzsite. You need to check in with the Dome Rock Campground host at the entrance to get your 14-day free permit on Dome Rock Road, then head to Cholla Road GPS: 33.6493, -114.28, there are a lot less people staying off Cholla Road. You head around the bend and you will see dirt road to the right. I suggest staying away from the wash area so you don’t get stuck. It was great in November, there were very few people the camp host said they get busy in January. We did several mountain bike rides, and trail runs, there are so many trails everywhere. There is Verizon 3 bars on Dome Rock but the cell coverage is pretty limited on Cholla Road. For us it was worth it to get away from people and generators and we just biked or ran to more cell coverage couple times during the day. If you want to stay longer than 14 days you can head over to RoadRunner and stay there for a few days then head back to Dome Mountain (we haven’t stayed here but drove by it. It didn’t look bad and we would consider staying there. We stayed here for 3 days. We will be back in off-season.
From Quartszite, we headed fifty miles to Lake Havasu and stopped at Buckskin Mountain Campground to fill up with water and to dump. There is free WiFi and good cell coverage here. It’s a beautiful location and great stop for paddle boarding and great hikes and trail runs right from the campground. There are 68 campsites, 30 with electric, all with picnic tables and fire pit/grills and you must reserve online ahead of time. We really liked this spot and will come back, it is spendy at $35 but coming from Quartzsite you need to dump and refill water and it is a good middle point before Lake Havasu and less people than the state park in Lake Havasu. You will also find since there is a drought there are no free water fill areas in Lake Havasu, many of the grocery stores have the water fill stations you pay for potable filtered water but will need to fill 5–6-gallon containers and do gravity fill. We stayed here one night and would be willing to come back here. Since we prefer non-campgrounds that is why we only stayed 1 night.
Next, we traveled 36 miles to Craggy Wash (GPS: 34.5863, -114.364586) in Lake Havasu. There are several areas you can boondock for 14 days. Craggy Wash used to be one of our favorite free spots but it has become over run with homeless and people pretty down and out. Depending on the time of year there is great trail running and mountain biking but in November it is pretty deep sand making mountain biking difficult. Also, with a lot of the homeless, mentally ill, not the most-friendly dogs off leash and folks sporting side arms on their hips as a woman I did not feel too comfortable running by myself. We used to love this spot but I don’t think we will be back, we only stayed 2 days.
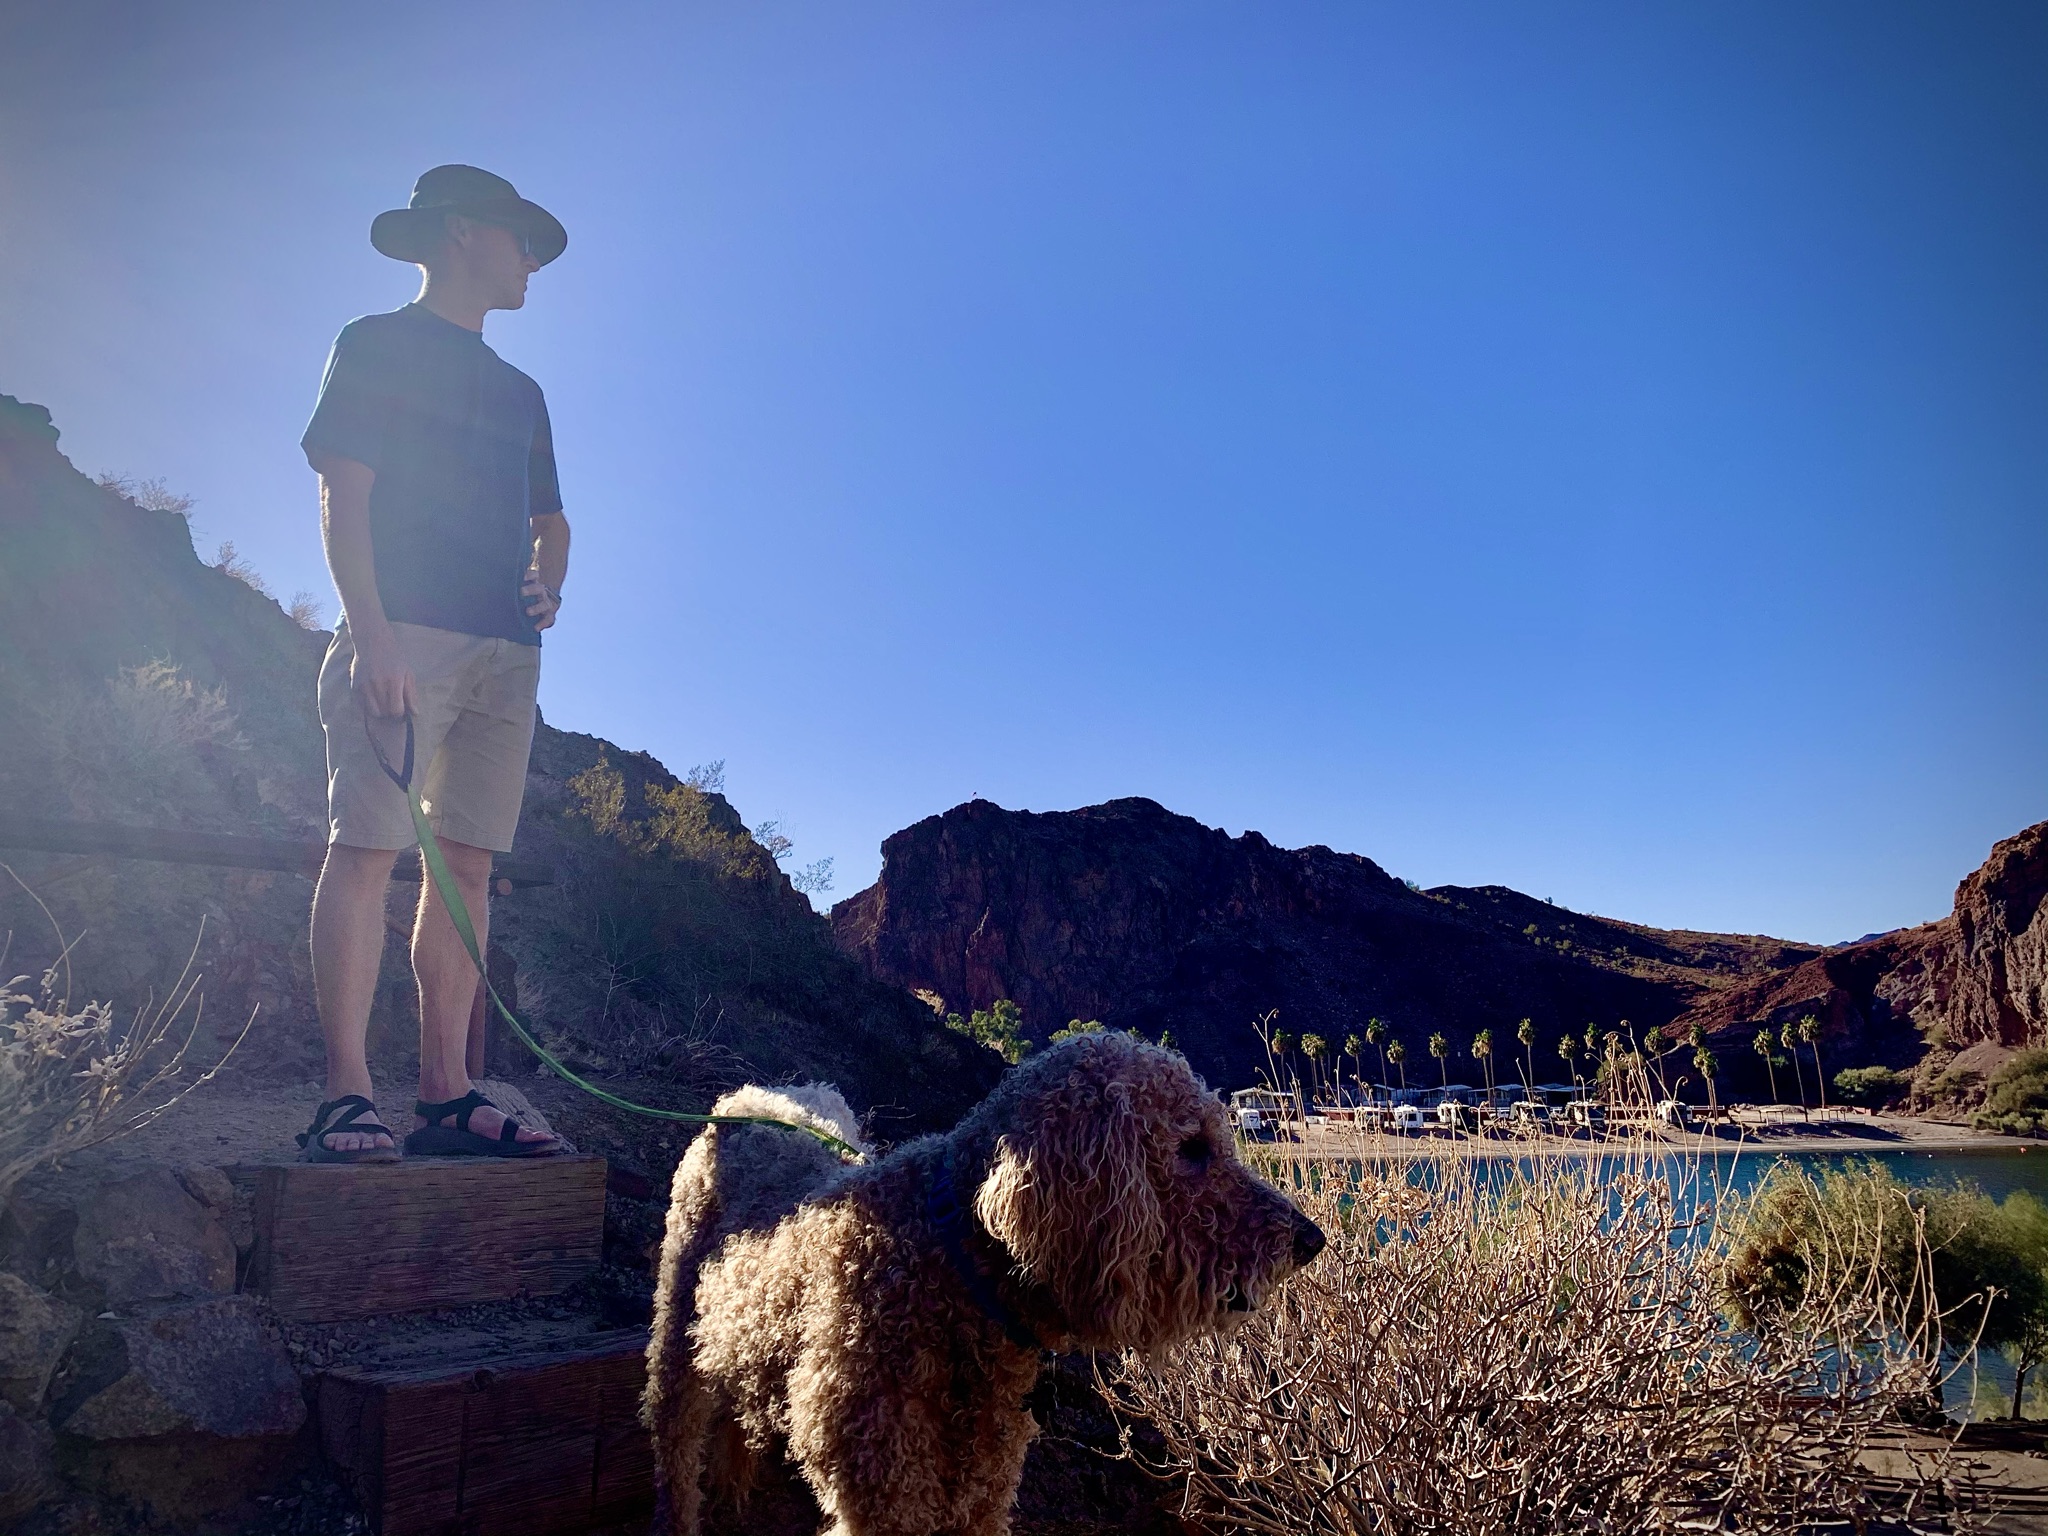
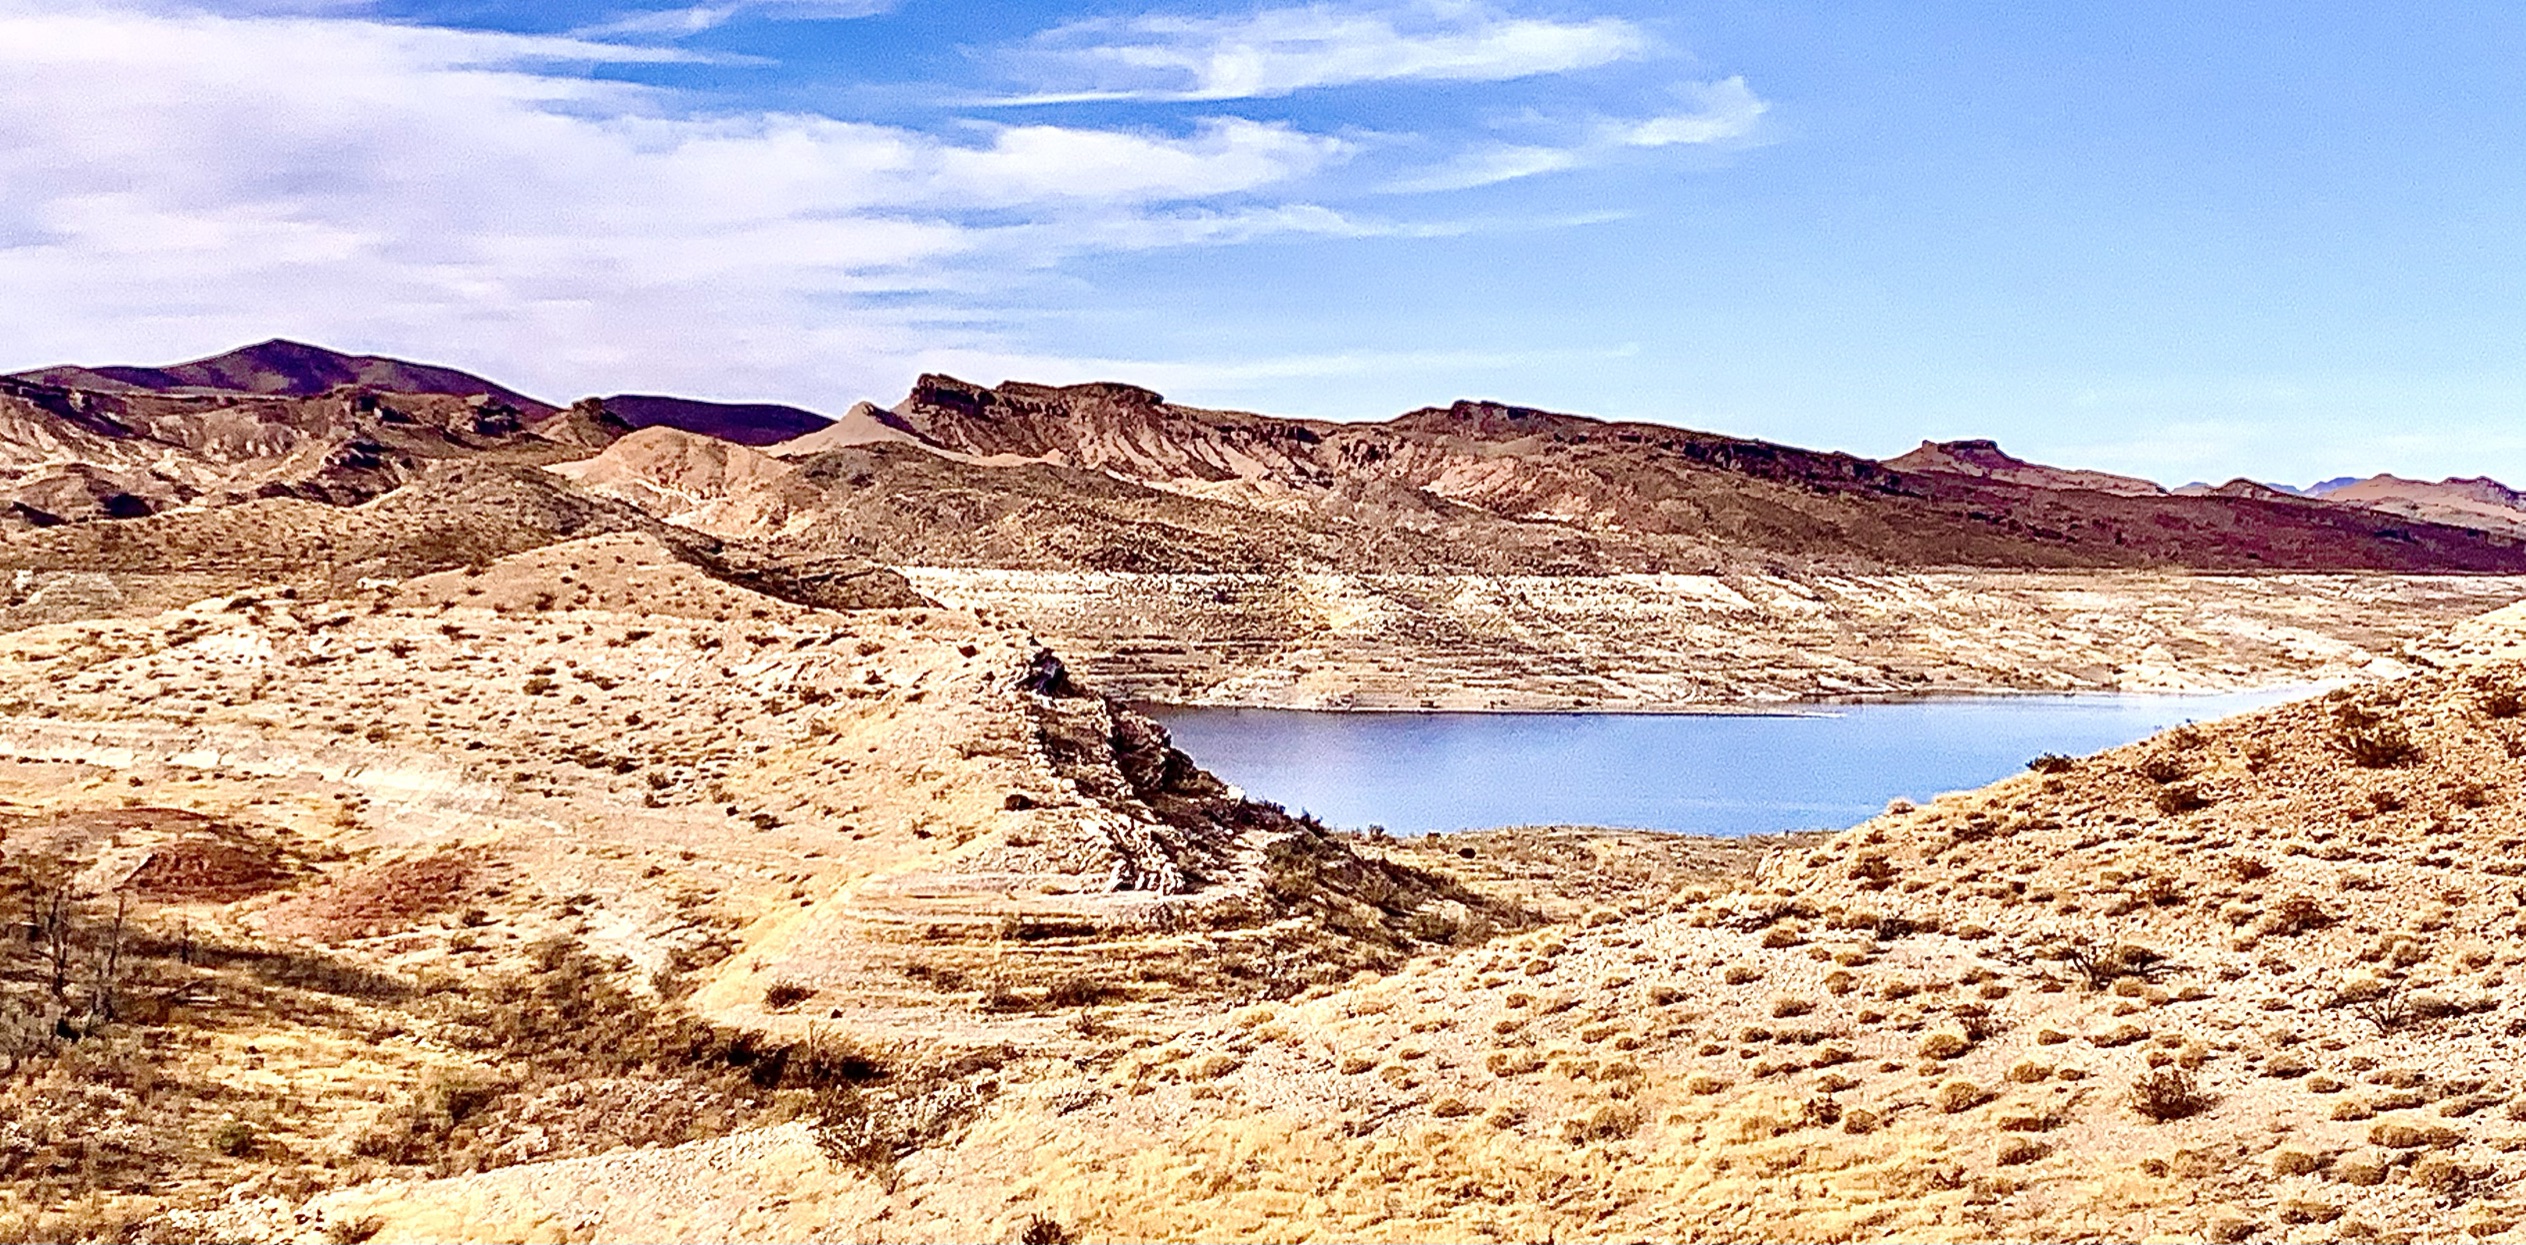
We were excited to explore the Lake Mead National Recreational Area, our first stop was Katherine Landing which is about 66 miles from Craggy Wash. There is WiFi and cell coverage and with an Access Pass it was only $10 a night. There is first come first serve spots and only two of the loops are open during COVIOD19 and winter. Each spot has a picnic table and firepit. There is water and a RV dump no electrical. There are several hikes and you can head down to the marina to paddleboard or rent water equipment like kayaks, paddleboards fishing boats, etc. When we were there it was way too windy, we just did a few hikes. We spent 2 days here and will come back.
(temple bar pictures)Surprisingly, there are very few people at Temple Bar which is 97 miles from Katherine Landing. The park ranger said since its off the main highway not many people head this way. We really enjoyed the peace and tranquility of this spot (and lack of wind!). There were nice views of the Lake and other than the camp host there was only one other camper at this 71 campground site. There is Wi-Fi and great cell coverage and a nice walk down to the marina and beaches. We liked this spot better than Katherine Landing. I paddle boarded and did several runs. Similar to Katherine Landing it is $20/$10 a night with picnic tables and firepits and some sites also had grills, water and RV dump station. We stayed here two nights and we’ll be back.
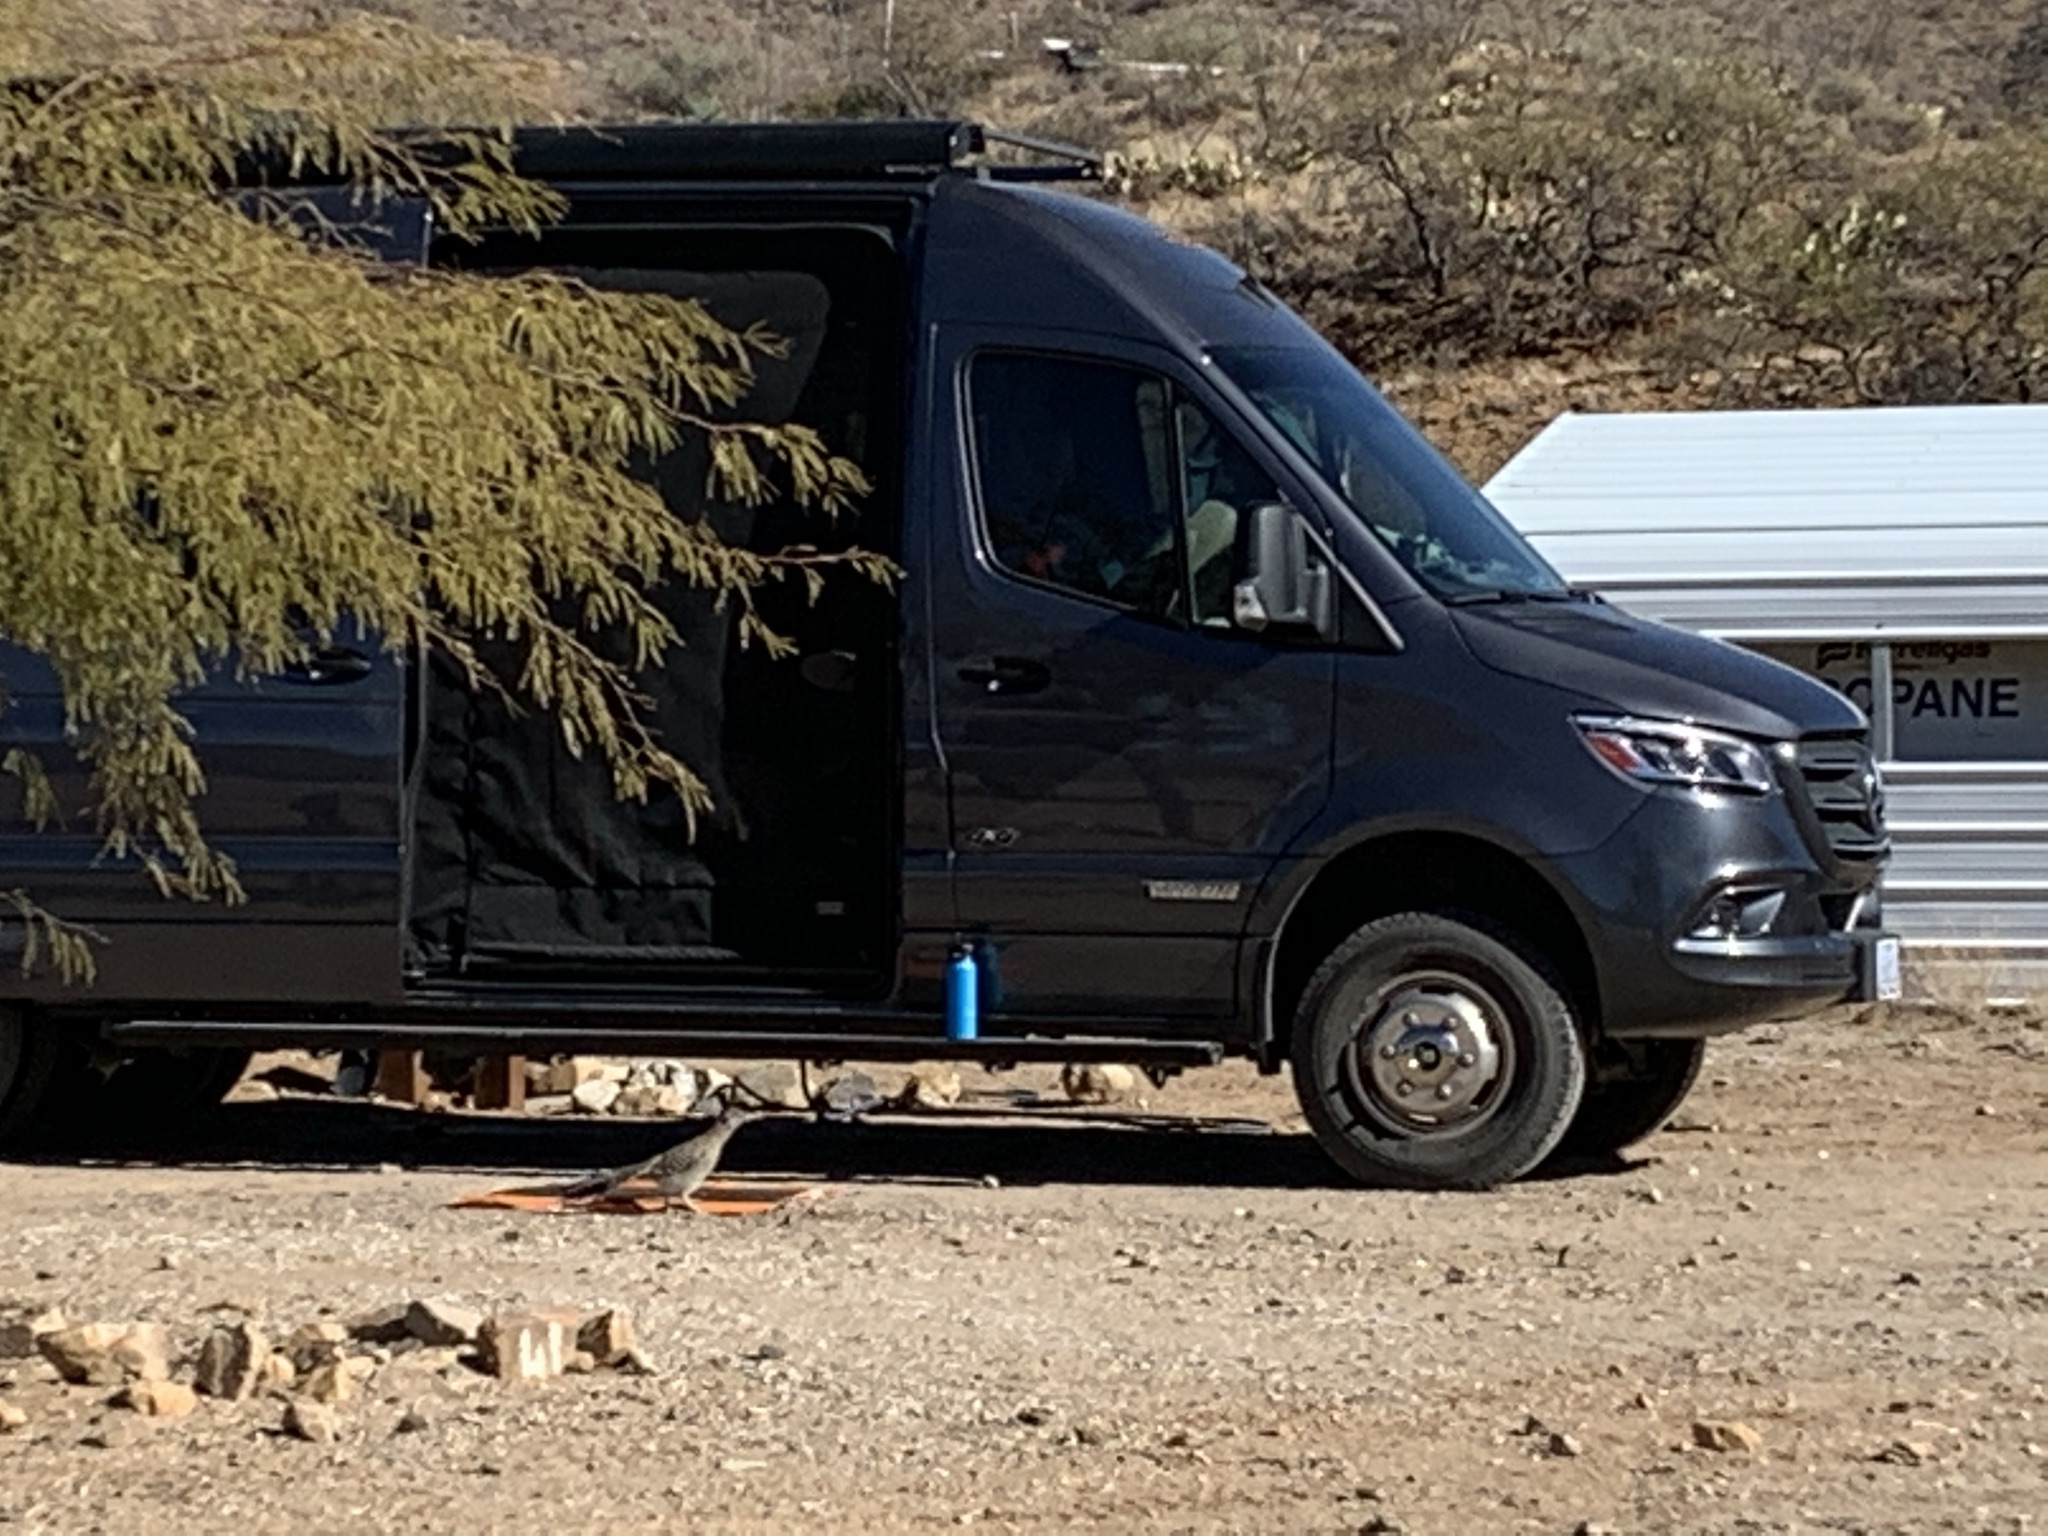
From Temple Bar we headed back to Tucson as we had an appointment at La Mesa RV to get some items fixed. We had planned to take the old Route 66 near Kingman but we ran out of time. Kingman is a great spot to get gas, groceries and get your Starbucks. On freecampsites.net you can get several free spots to stay on Route 66 and if you are a Harvest Host Member there are two spots on Route 66. For us, we headed down the hwy 93 to the Cerbat Foothills Recreational Area about 76 miles from Temple Bar. Its convenient, right off the freeway so we only stayed one night. It’s a true boondocking spot with nothing but just a gravel parking lot but there are lots of cool mountain biking and hiking/running trails. The landscape was beautiful you have a mixture of one-night campers and a few long-term homeless campers.
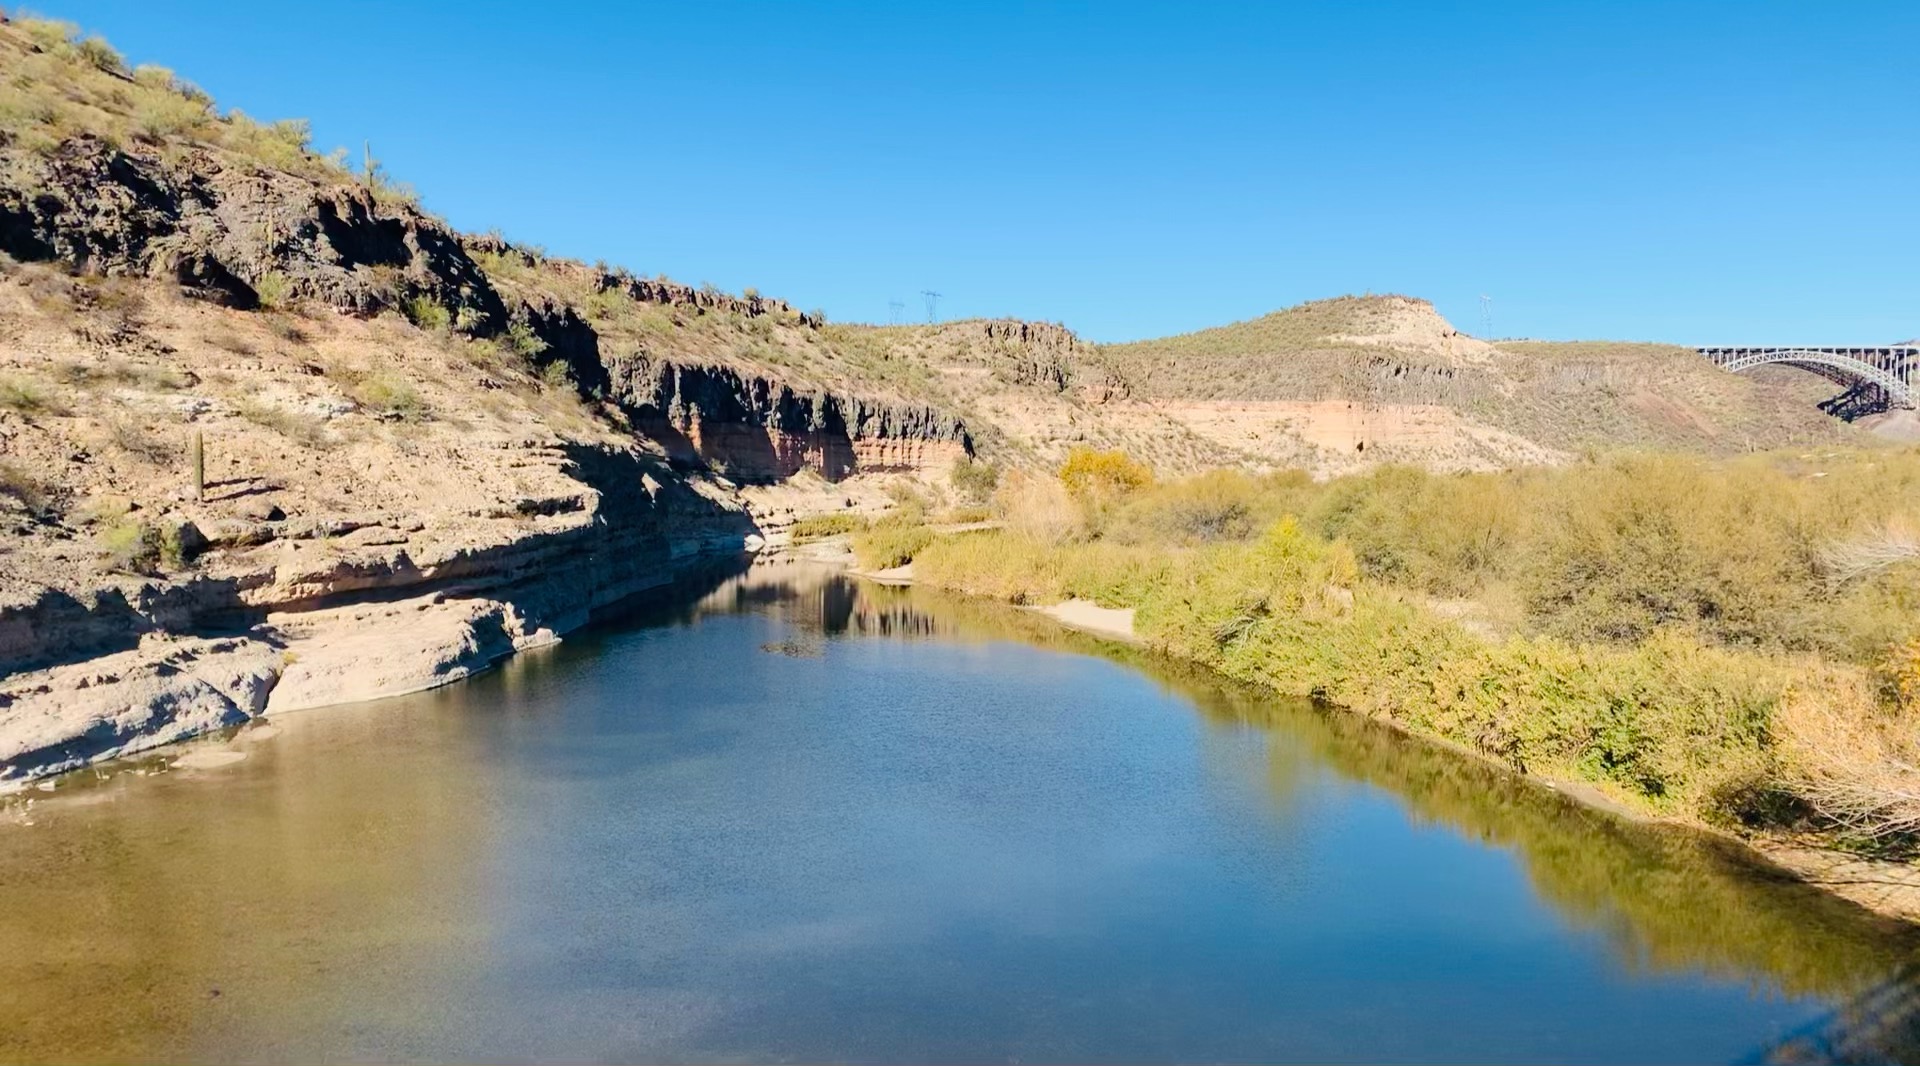
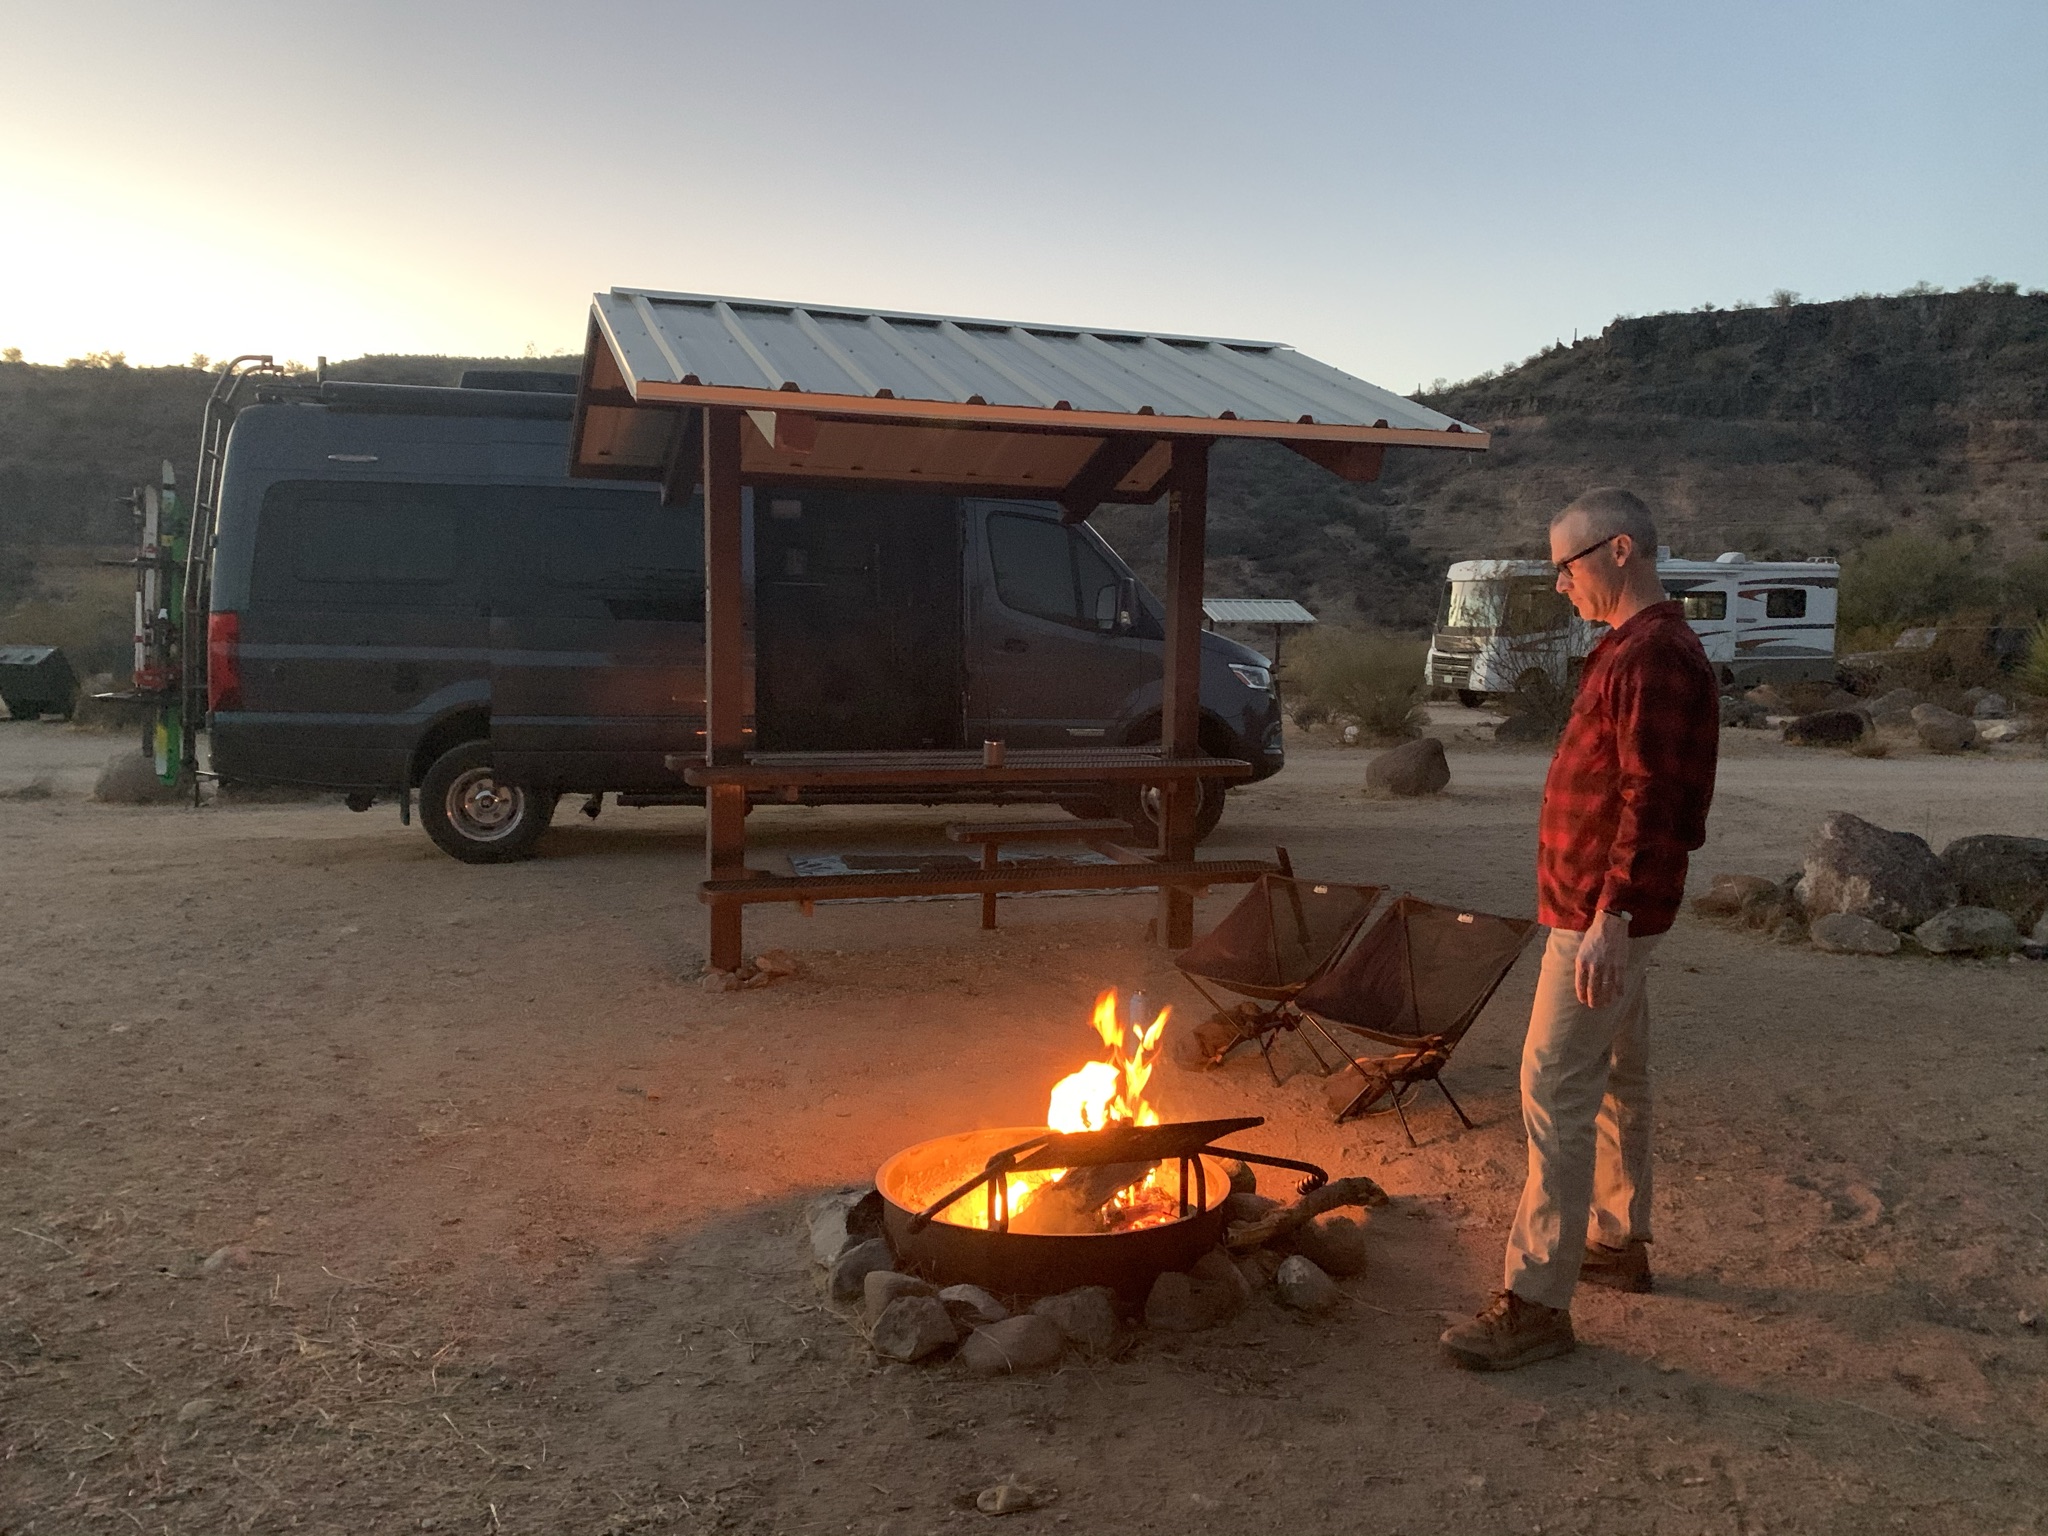
A nice quiet spot that is right off the freeway is Burro Creek Campground that is 75 miles South. (Top 4 pictures below) For only $7 a night it is great to get water and have an RV dump. Its right on the river and a few nice spots with views. We stayed here only one night there was a little too much generators for peace and quiet. I had a nice run in the area but there are a lot of cattle and the trails are over grown. There is BLM booondocking spot above before you get to the campground that we would most likely stay next time. We left super early so we could get through Phoenix before rush hour traffic.
(We needed to stock up on groceries and there is inexpensive Costco Gas in Chandler, so we drove 139 miles to the Cracker Barrel in Chandler for the night. There are three RV spots and its pretty calm place. Early the next morning we headed out to bypass any traffic and headed to Gilbert Ray Campground in the Tucson Mountain Park which is about 98 miles. We really enjoy all the trails you can mountain bike and hike. For Arizona $20 a night is the most inexpensive campground you will find outside the forest service and there is an RV dump, water, picnic tables and firepits. Its quiet and there is a first come first serve loop. We will be back!
We hope you enjoy these spots as much as we did! Enjoy!
When we set out for our one year + travels on the road I had huge grandiose plans to put our Bend home for rent for a year and our beach house on Airbnb vacation rental for a year and not come back. We were going to head North then East then South and not look back but COVID-19 hit and all plans changed. Finding reliable and dependable help during this time, was quite difficult so when things break at our two homes it ended up being us needing to travel back and fix. The idea of only staying in the great outdoors disappear when you need to get a lot of miles in and you are just too tired to go exploring down dirt roads. Those are the times that a Cracker Barrel parking lot doesn’t look too bad. The idea of visiting James Beard award winning restaurants all over the country has ended and I cook all our meals. So, my recommendation is be flexible, be ready to make course corrections and Cracker Barrel parking lots are a lot quieter than highway rest areas (except for the tweeker that we parked next to one unfortunate night in Rialto, CA, who decided to fire up his generator at 2am and run his grinder)!
Now that we have been van-lifing it for 10 months now, I have honed in some easy recipes to make on the road. With COVID-19, as I stated previously my idea of visiting James Beard award winning restaurants across the country is out the door and we pretty much never go out to eat. I make about 95% of all our meals in the van. A lot of our subscribers and other RVers ask how do we enjoy real meals on the road and eat healthy? I have to thank Greg on the wise purchase of the InstantPot! ( Disclosure: we are Amazon Associates, so we earn from qualifying purchases). I pretty much use it every other day. The 6-quart size makes about 2-3 meals for us per use. We eat very healthy and love the one pot clean-up! It really makes it easy to cook great dishes in our tiny kitchen.
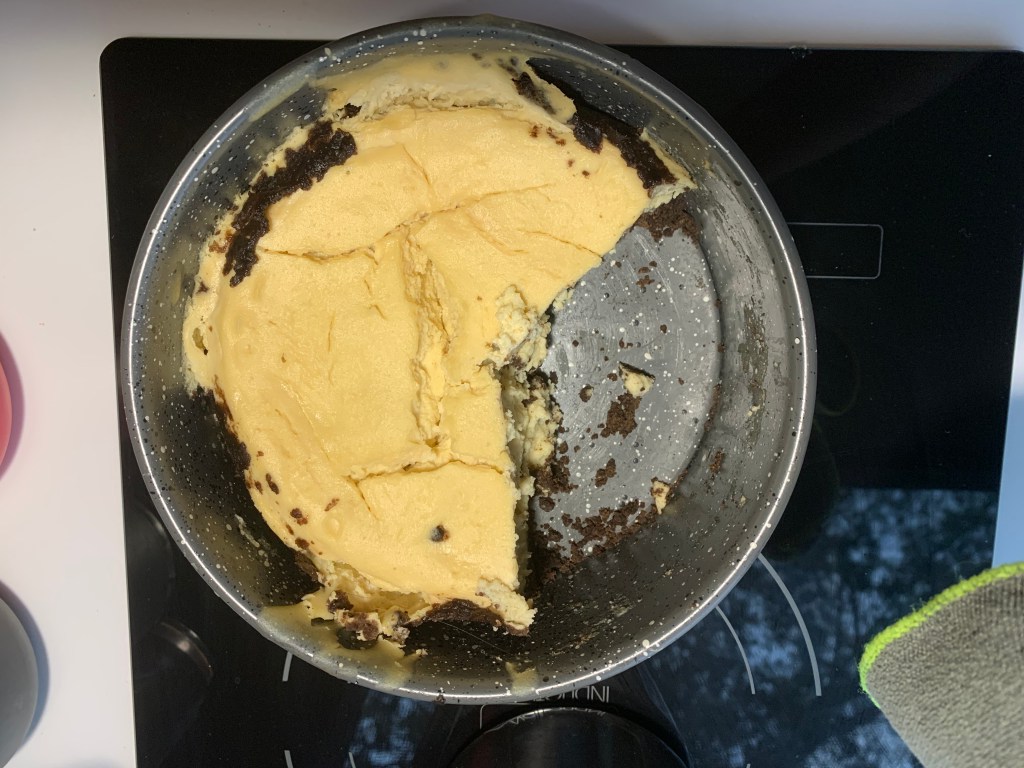
Greg’s favorite meals are my coconut curry lentil soup, split pea and pancetta soup, boneless spareribs, vegetables, potatoes & brown rice, chicken sundried tomato sausage & vegetable pasta and last but not least for dessert lemon cheesecake. When you are on the road and don’t have an oven, dessert can get very tricky. I have mastered fruit cobblers, banana nut bread and chocolate peanut butter cake in the microwave. These could be helpful when you need to quench that sweet tooth.
Coconut Curry Lentil Soup
Ingredients:
1 ½ cup lentil
1 ½ cup brown rice
1 zucchini chopped
1 onion chopped
Handful of baby carrots cut in half
Handful of chopped kale
4 purple potatoes diced
1 sweet potato diced
1 can diced tomatoes
1 shallot diced
1 yellow or green bell pepper diced
4 cloves of garlic diced
8 baby portabella mushrooms chopped
1 tablespoon ginger paste
4 cups of water with 1 vegetable bouillon cube soaking
1 can coconut milk
8 oz Greek coconut yogurt
2 teaspoons of following spices: grand masala, thyme, smoked paprika, turmeric
Salt and pepper to taste
2 table spoons of coconut oil

Cooking instructions:
1. Turn instant pot on sauté and sauté for 5 minutes- coconut oil, ginger, garlic, onions, zucchini, carrots, potatoes, sweet potatoes, shallot, mushrooms, bell pepper and add spices
2. Once onions are translucent pour in coconut milk, coconut yogurt, water, diced tomato, chopped kale, 1 ½ cup lentils and 1 ½ cup brown rice
3. Turn off sauté, put on instant pot lid, make sure its on seal, then select pressure cook for 24 minutes.
4. Let it release steam on its own for 15 minutes then select unseal a little steam may come out.  Once all steam is released you are ready to enjoy.
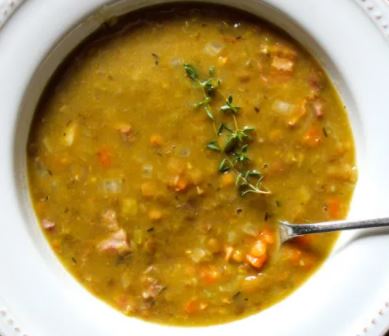
Split Pea and Pancetta Soup
1 ½ cup brown rice
1 ½ cup split peas
1 zucchini chopped
1 onion chopped
1 package of pancetta (I like the diced pancetta at Trader Joes)
Handful of baby carrots cut in half
Handful of chopped kale
4 small golden potatoes diced
1 shallot diced
4 cloves of garlic diced
1 tablespoon ginger paste
6 cups of water with 1 vegetable bouyon cube soaking
1 can coconut milk
8 oz Greek coconut yogurt
2 teaspoons of following spices: thyme, dill, parsley, basil
Salt and pepper to taste
2 table spoons olive oil

Cooking instructions:
1. Turn instant pot on sauté and sauté for 5 minutes olive oil, ginger, garlic, onions, zucchini, carrots, potatoes, shallot, pancetta and add spices
2. Once onions are translucent pour in coconut milk, water, diced tomato, chopped kale, 1 ½ cup split peas and 1 ½ cup brown rice
3. Turn off sauté, put on instant pot lid, make sure it’s on seal, then select pressure cook for 20 minutes.
4. Let it release steam on its own for 15 minutes then select unseal a little steam may come out.  Once all steam is released you are ready to enjoy.
Boneless spareribs, vegetables, potatoes & brown rice
Ingredients:
1 ½ cup jasmine rice
4 boneless spareribs chopped in 1-inch cubes (I like to get a package from Costco, they are long and 1 inch thick and then I put 4 in a Ziplock bag-usually you can get about 4 meals in one package)
1 onion chopped
½ bag of baby carrots cut in half
½ bag of broccoli crowns
8 baby portabella mushrooms chopped
6 small golden potatoes chopped in 4s
2 shallots diced
1 bell pepper Julianne
4 cloves of garlic diced
1 tablespoon ginger paste
1 ½ cups of water with 1 vegetable bouyon cube soaking
2 teaspoons of following spices: soy sauce, hoisin sauce, Worcestershire sauce, garlic salt, onion salt, smoked paprika, basil, coriander, rosemary
Salt and pepper to taste
2 table spoons sesame oil

Cooking instructions:
1. Turn instant pot on sauté and sauté for 5 minutes sesame, ginger, spare ribs, garlic, onions, carrots, potatoes, shallot, bell pepper, mushrooms and add spices
2. Once onions are translucent pour in 1 ½ cups of water, 1 ½ cup jasmine rice
3. Turn off sauté, put on instant pot lid, make sure it’s on seal, then select pressure cook for 15 minutes or rice function
4. Let it release steam on its own for 15 minutes then select unseal a little steam may come out.  While it is releasing put ½ bag of broccoli crowns in microwave for 2 ½ minutes.  Once all steam is released add broccoli crowns and mix up and you are ready to enjoy.
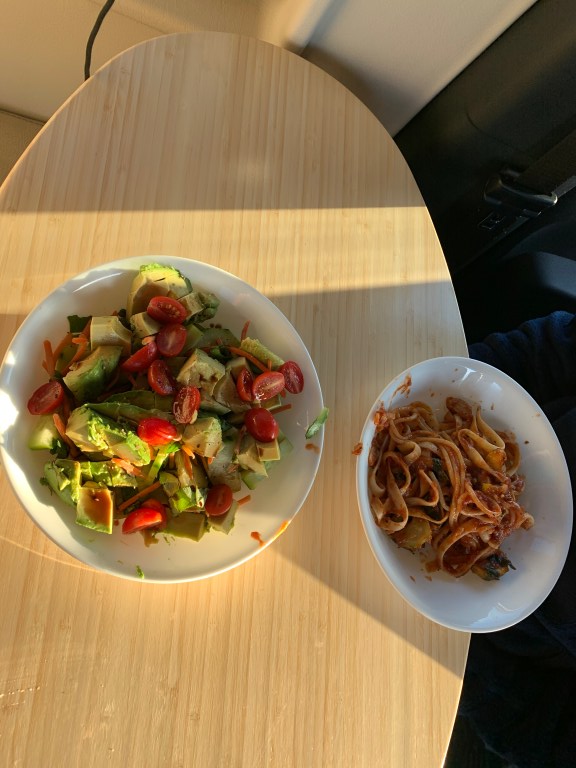
Chicken sundried tomato sausage & vegetable pasta
1 zucchini chopped
1 onion chopped
8 baby portabella mushrooms chopped
Couple Handfuls of chopped kale
1 can diced tomatoes
2 cans tomato sauce
5 sundried tomatoes diced
1 can sliced black olives
1 shallot diced
1 green bell pepper diced
4 cloves of garlic diced
4 cups of water with 1 vegetable bouyon cube soaking
2 cups red wine
2 teaspoons of following spices: parsley, Italian spice, rosemary, thyme, smoked paprika
1 box of penne pasta
Salt and pepper to taste
2 table spoons of olive oil

Cooking instructions:
1. Turn instant pot on sauté and sauté for 5 minutes olive oil, garlic, onions, zucchini, mushroom, shallot, bell pepper and add spices
2. Once onions are translucent mix all items and make sure nothing is sticking to bottom you may need to add more olive oil and ensure nothing is sticking to bottom of the pot.  Turn off sauté.  Then pour in water, add pasta do not mix (this is important so you don’t burn your pasta) add, diced tomatoes, tomato sauce, chopped kale, red wine-make sure pasta is fully covered.
3. Put on lid, make sure it’s on seal, then select pressure cook for 10 minutes.
4. Let it release steam on its own for 15 minutes then select unseal a little steam may come out.  Once all steam is released you are ready to enjoy.
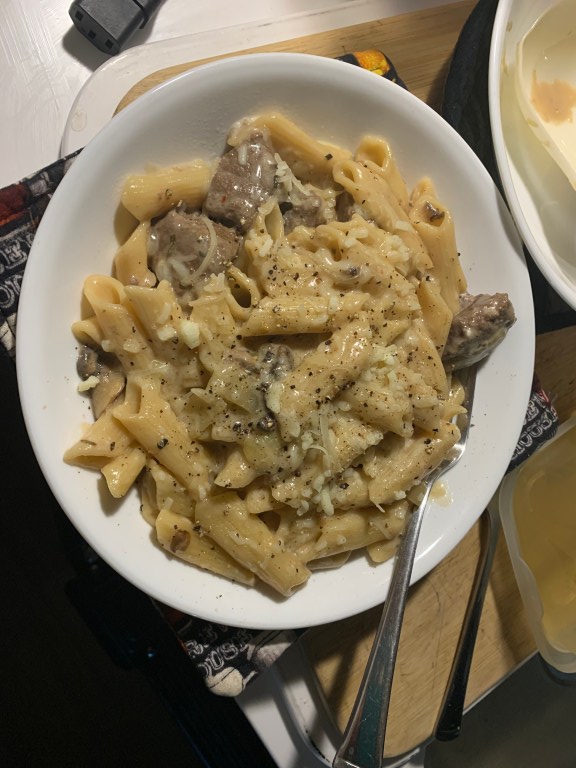
Beef Stroganoff
Ingredients:
1 rib eye steak or beef loin or beef roast (Trader Joes Balsamic Rosemary Roast is perfect) sliced in bitable pieces (marinate beef with 2 tablespoons: Worcestershire sauce & soy sauce, 1 teaspoon: garlic salt, onion salt, thyme, rosemary, black pepper, smoked paprika)
1 onion diced
4 cloves of garlic diced
5-8 baby portabella mushrooms sliced
1 shallot diced
1 can of cream of mushroom soup
8 oz of sour cream
1 bag penne pasta or tagliatelle pasta
4 cups of water with a beef bullion
2 tablespoons of butter

Cooling Instructions:
1. Turn instant pot on sauté and sauté for 5 minutes butter, garlic, onions, mushroom, shallot, steak and spices
2. Once onions are translucent mix all items and make sure nothing is sticking to bottom you may need to add more butter or olive oil and ensure nothing is sticking to bottom of the pot.  Turn off sauté.  Then pour in water, add pasta do not mix (this is important so you don’t burn your pasta) add cream of mushroom soup, sour cream and ensure all pasta is fully covered if not add a little more water.
3. Put on lid, make sure it’s on seal, then select pressure cook for 10 minutes.
4. I like to steam broccoli crowns in the microwave for 2.5 minutes to have with my stroganoff.
4. Let it release steam on its own for 15 minutes then select unseal a little steam may come out.  Once all steam is released you are ready to enjoy.
Lemon cheesecake
Ingredients:
You’ll need a 6” cheesecake pan I like this one from Amazon
1 ½ cups of grounded graham crackers (I make a bag of grounded up graham crackers and bring a ziplock bag full)
3 tablespoons of salted butter
12 oz of cream cheese
1 egg
½ lemon juice
¼ cup brown sugar
2 tablespoons honey
1 tablespoon flour
½ teaspoon salt
½ teaspoon cinnamon and cardamon
¼ cup heavy cream
2 teaspoons of pure vanilla (I like to use powder in the van)
Coconut oil spray

Cooking Instructions:
1.  Spray pan with coconut oil.
2.  Melt 2 ½ tablespoons of butter and then mix graham crackers then make crust in pan.  I use a spoon to press the crumbs to bottom of pan and up the sides one inch.  Put in refrigerator when done.
3.  Mix ½ tablespoon of melted butter and cream cheese beat till smooth.  Then add egg, brown sugar, honey, salt, cream, vanilla, lemon juice and flour until creamy. Then pour into cake pan. Sprinkle top with cinnamon and cardamon.
4. Cover the top of the pan with a piece of aluminum foil.
Pour 1 1/2 cups of water into the Instant Pot and place the trivet in the bottom of the pot.
5. Create a “foil sling” by folding a 20-inch long piece of foil in half lengthwise two times. This “sling” will allow you place and remove the springform pan with ease.
6. Place the cheesecake pan in the center of the sling and carefully lower the pan into the Instant Pot. Fold down the excess foil from the sling to ensure the pot closes properly.
7. Lock the lid into place and make sure the vent is closed “sealing”. Press the “Manual” button and cook on high pressure for 35 minutes.
8. Let it manually release for 15 minutes.
Apple or Peach or Blueberry Crisp
Ingredients:
For crumble on top:
½ cup flour
½ cup rolled oats
2 tablespoons brown sugar
2 table spoons of butter chopped into smaller pieces
½ teaspoon cinnamon & cardamon & nutmeg
1 teaspoon a vanilla powder
¼ teaspoon salt

For Filling:
2 apples chopped or 2 peaches or ¼ cup of blueberries
2 tablespoons of butter
Honey for your desired taste, I use none as I feel the fruit is sweet enough

Cooking Instructions:
1.       Get a microwave safe mug and melt 3 table spoons of butter
2.       Pour in fruit add a little honey if you have a sweet tooth
3.       In a measuring cup or bowl mix all crumble ingredients then pour onto the filling, mix well
4.       Microwave for 90 seconds, mix and then microwave another 90 seconds.  If you are at high elevations you may need to microwave for another 30-90 seconds.

Banana Nut Bread

Ingredients:
1 teaspoon baking powder
5 tablespoons of flour
2 tablespoons of milk or half and half or coconut milk
2 tablespoons brown sugar
2 table spoons of butter chopped into smaller pieces
½ teaspoon cinnamon & cardamon & nutmeg
1 teaspoon a vanilla powder
¼ teaspoon salt
1 banana mashed

Cooking instructions:
1.       Get a microwave safe mug and melt 2 tablespoons of butter
2.       Add milk and all dry ingredients and mix thoroughly
3.       Mash in banana and mix thoroughly
4.       Microwave for 90 seconds, mix and then microwave another 90 seconds.  If you are at high elevations you may need to microwave for another 30-90 seconds.
5.       Be careful to not overcook but you don’t want it raw in places.

Peanut Butter Chocolate Cake

Ingredients:
1 teaspoon baking powder
5 tablespoons of flour
2 tablespoons of milk or half and half or coconut milk
1 egg white
2 tablespoons brown sugar
2 tablespoons of peanut butter or cashew butter
2 table spoons of butter chopped into smaller pieces
½ teaspoon cinnamon & cardamon & nutmeg
2 teaspoons of cocoa powder
1 teaspoon a vanilla powder
½ a dark chocolate bar broken into pieces or handful of chocolate chips
Handful of cashews or pecans broken into small pieces
¼ teaspoon salt

Cooking instructions:
1.       Get a microwave safe mug and melt 2 tablespoons of butter
2.       Add milk, egg white, peanut butter mix thoroughly and smooth
3.       Add all dry ingredients and mix thoroughly
4.       Add chocolate bar or chips and nuts
5.       Microwave for 90 seconds, mix and then microwave another 90 seconds.  If you are at high elevations you may need to microwave for another 30-90 seconds.
6.       Be careful to not overcook, it can dry out easily but you don’t want it raw in places.
We hope you enjoy these recipes as much as we do! With the holidays coming up, next week we will post our top 25 gift ideas for the RVer or vanlifer you have in your life! Cheers!